Sew Busy!!

I am not bustling in malls, standing in lines, or really buying much of anything for Christmas this year, but I am sew busy!!  ( I know my titles can be a little corny, sorry, I just can’t help myself!)

IMG_3315

I have been sewing up a storm and my latest creations have been a flurry of more up-cycled Merino PJs.

IMG_3311

If you have not tried this, really you must!!  I love those German Woolies, but with a $5 Thrifted sweater you could turn this……

IMG_3301

Into these…..

IMG_3307

Or take this…..

IMG_3303

cut like this…..

IMG_3310

And make this….

IMG_3314

and these…..

IMG_3319

And be lift with just a tiny pile of waste

IMG_3317

that will no doubt be used someday soon for something soft and sweet.

And that Cherry Red Grandma cardigan

IMG_3300

Christmas Jammys!

IMG_2374

Oh what fun we have on cold wintery days!  I may not have any money for lots of stuff, but who needs stuff when you got skills, now that is Christmas magic!!

Happy Winter magic making to you!

Up-cycled Woolen PJs

This year a dear friend told me the story of St. Martin, who is celebrated for giving his cloak to warm a cold stranger.  She told it to us while we were cuddled together, children in the folds of our legs, our lanterns a glow, lighting our way through the dark stroll around her pond a few weeks ago.  It was a magical evening and something she hosts every year in honor of the Martinmas festival, celebrating illuminating our inner light.  IMG_2116

This same friend is one who strives to see the light of each being and do what she can to bring it out, hold it up and help it glow.  What a blessing it is to have friends who will light the way for you, teach you stories and songs and accompany you onto the darkest trails into the night and then guide you home.  Well, that night she also told me the traditionally woolen garments were gifted on Martinmas, to prepare you for the long winter ahead and I thought it fitting to share my latest Recycled Sweater project.  It was super easy and almost like alchemy the way this

Image

turned into these

IMG_1990

Like this: 1st I cut off the sleeves

Image

Then I made a rough pattern for the little sleeves and cut those out.

Image

Image

Then I had all these parts and rearranged them into thisImage

once I could see what I was doing, I trimmed up the shirt and re-assembled it.Image

Then I sewed the

Image

sleeves together to make the pants. I was planning on making underwear pants like these..which works great when you have to be creative with too little fabric.

Image

but this sweater was big enough I didn’t have to, so the easier the better!  I just cut off the knit band and sewed it on as a waist band…And I go these snuggly little Merino PJ’s ( which cost $4.99 in materials at Salvation Army!)  Nope, just can’t beat that. IMG_2109

If you want to learn how to make some up-cycle magic of your own, that very same friend is teaching a class on Nov 23rd, see more here.  So here’s to getting cozy and shining that inner light!

Gigi’s hats

Sitting in front of the sewing machine on this rainy Saturday morning I set to making the 4th ‘Eddie Cap‘ for Jaengy.  So many people have asked me about this hat I swear I could have sold 100 right off his head… However I have no ambitions of making 100 hats, so I thought I would post where I got the pattern so you can make your own, and give credit where credit is due…  the pattern is another mama’s and you can find it on her blog Mushroom Village.  My versions are a lot less refined; not lined, without a firm brim, and I shortened the brims substantially, but her tutorial is what got me here and for that I am forever grateful.IMG_9794

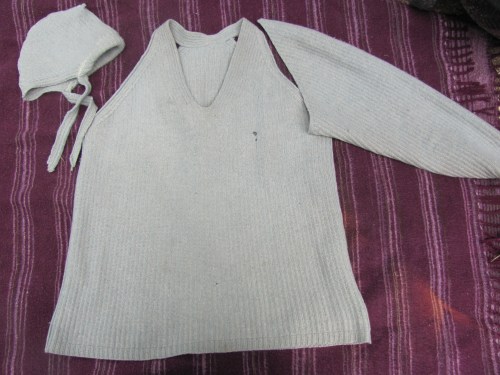
This hat making journey started because my son was born with a huge fuzzy head.  It still is very large (90%) and he still has very little hair.  This precious nogin seems very important to cover and care, to keep him warm and protect all those developing thoughts.   So I began with my own rendition of a pixie cap when he was a baby, made from the sleeve of an old beloved cashmere sweater from Salvation Army I had worn for years but was developing a hole in a very conspicuous spot– ( though would have been great for winter breast feeding..hehe)….

IMG_2754

He rocked that one for many moons, probably everyday of the first year.

IMG_2125

This one I knit in about an hour was the back up, cute though not as soft.

IMG_2669

When summer came I attempted a little Boy bonnet but improvised my own version and it wasn’t going very well.  I knew it was time to go back to the drawing board when I took him out in public and the guy who runs the local coffee shop said plainly,”What do you have on you son’s head!!”  I couldn’t help but laugh and admit defeat!

IMG_4883

With some serious searching I luckily came across the ‘Eddie Cap’

IMG_4965

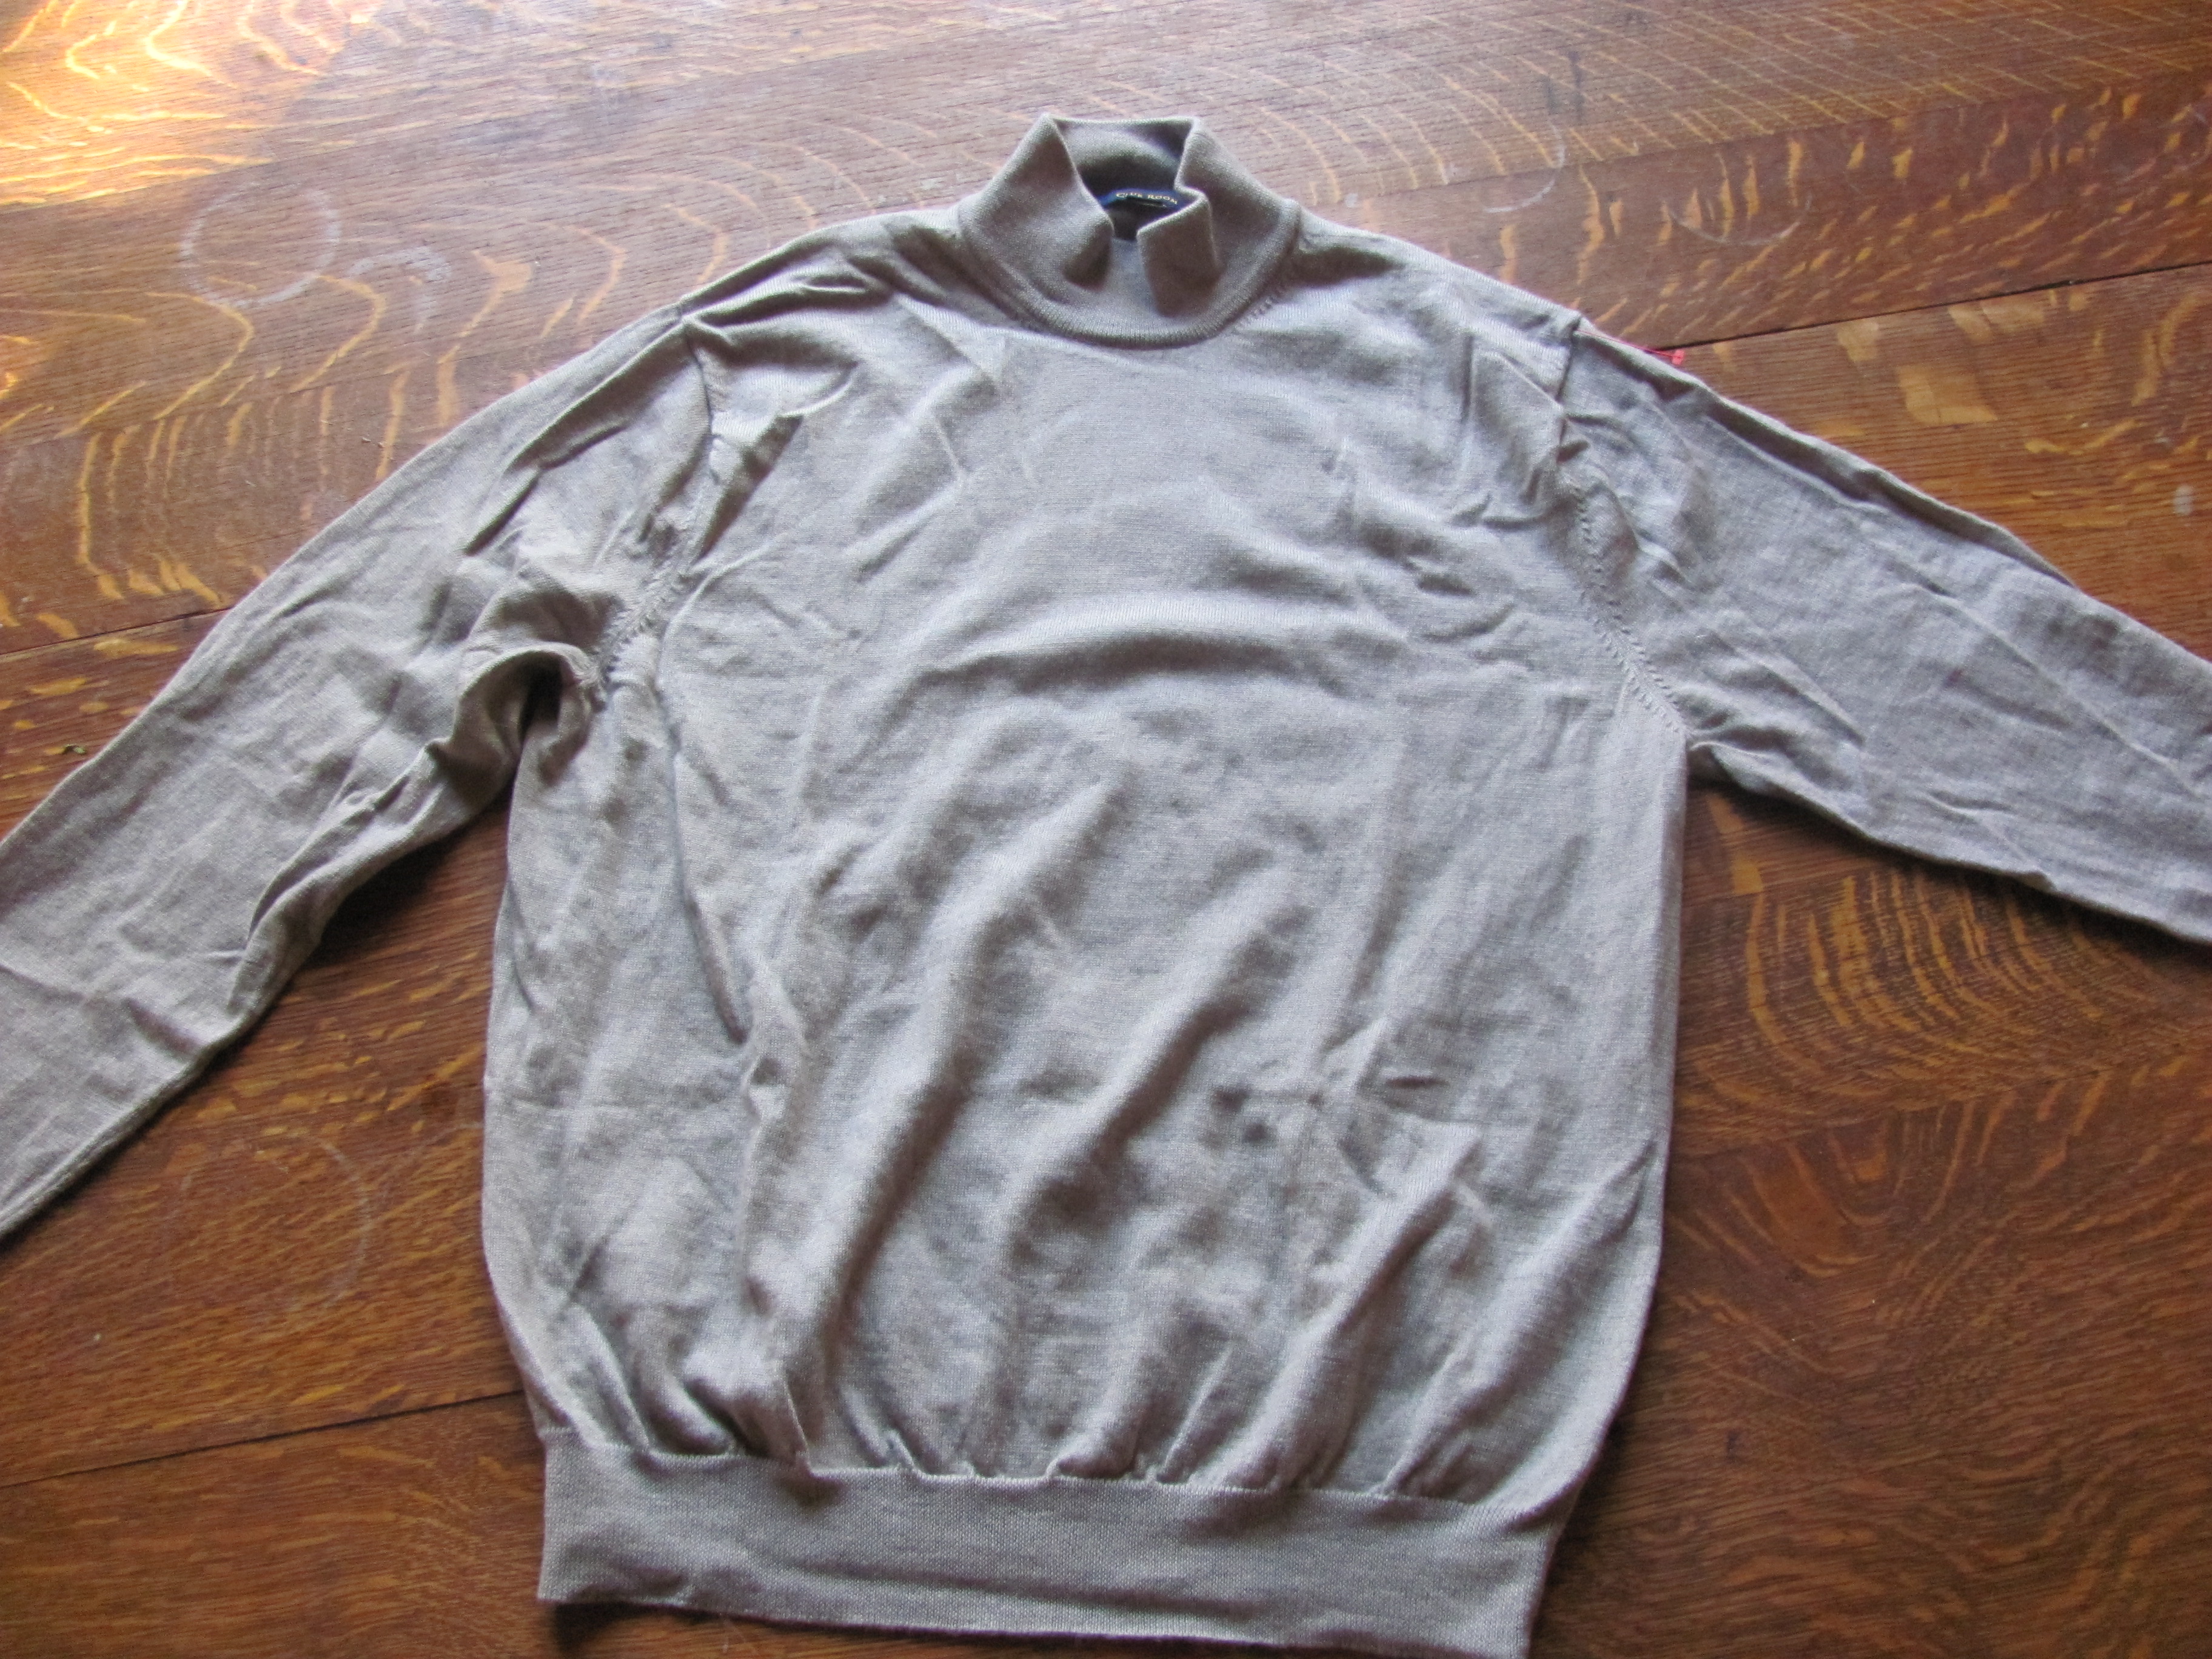
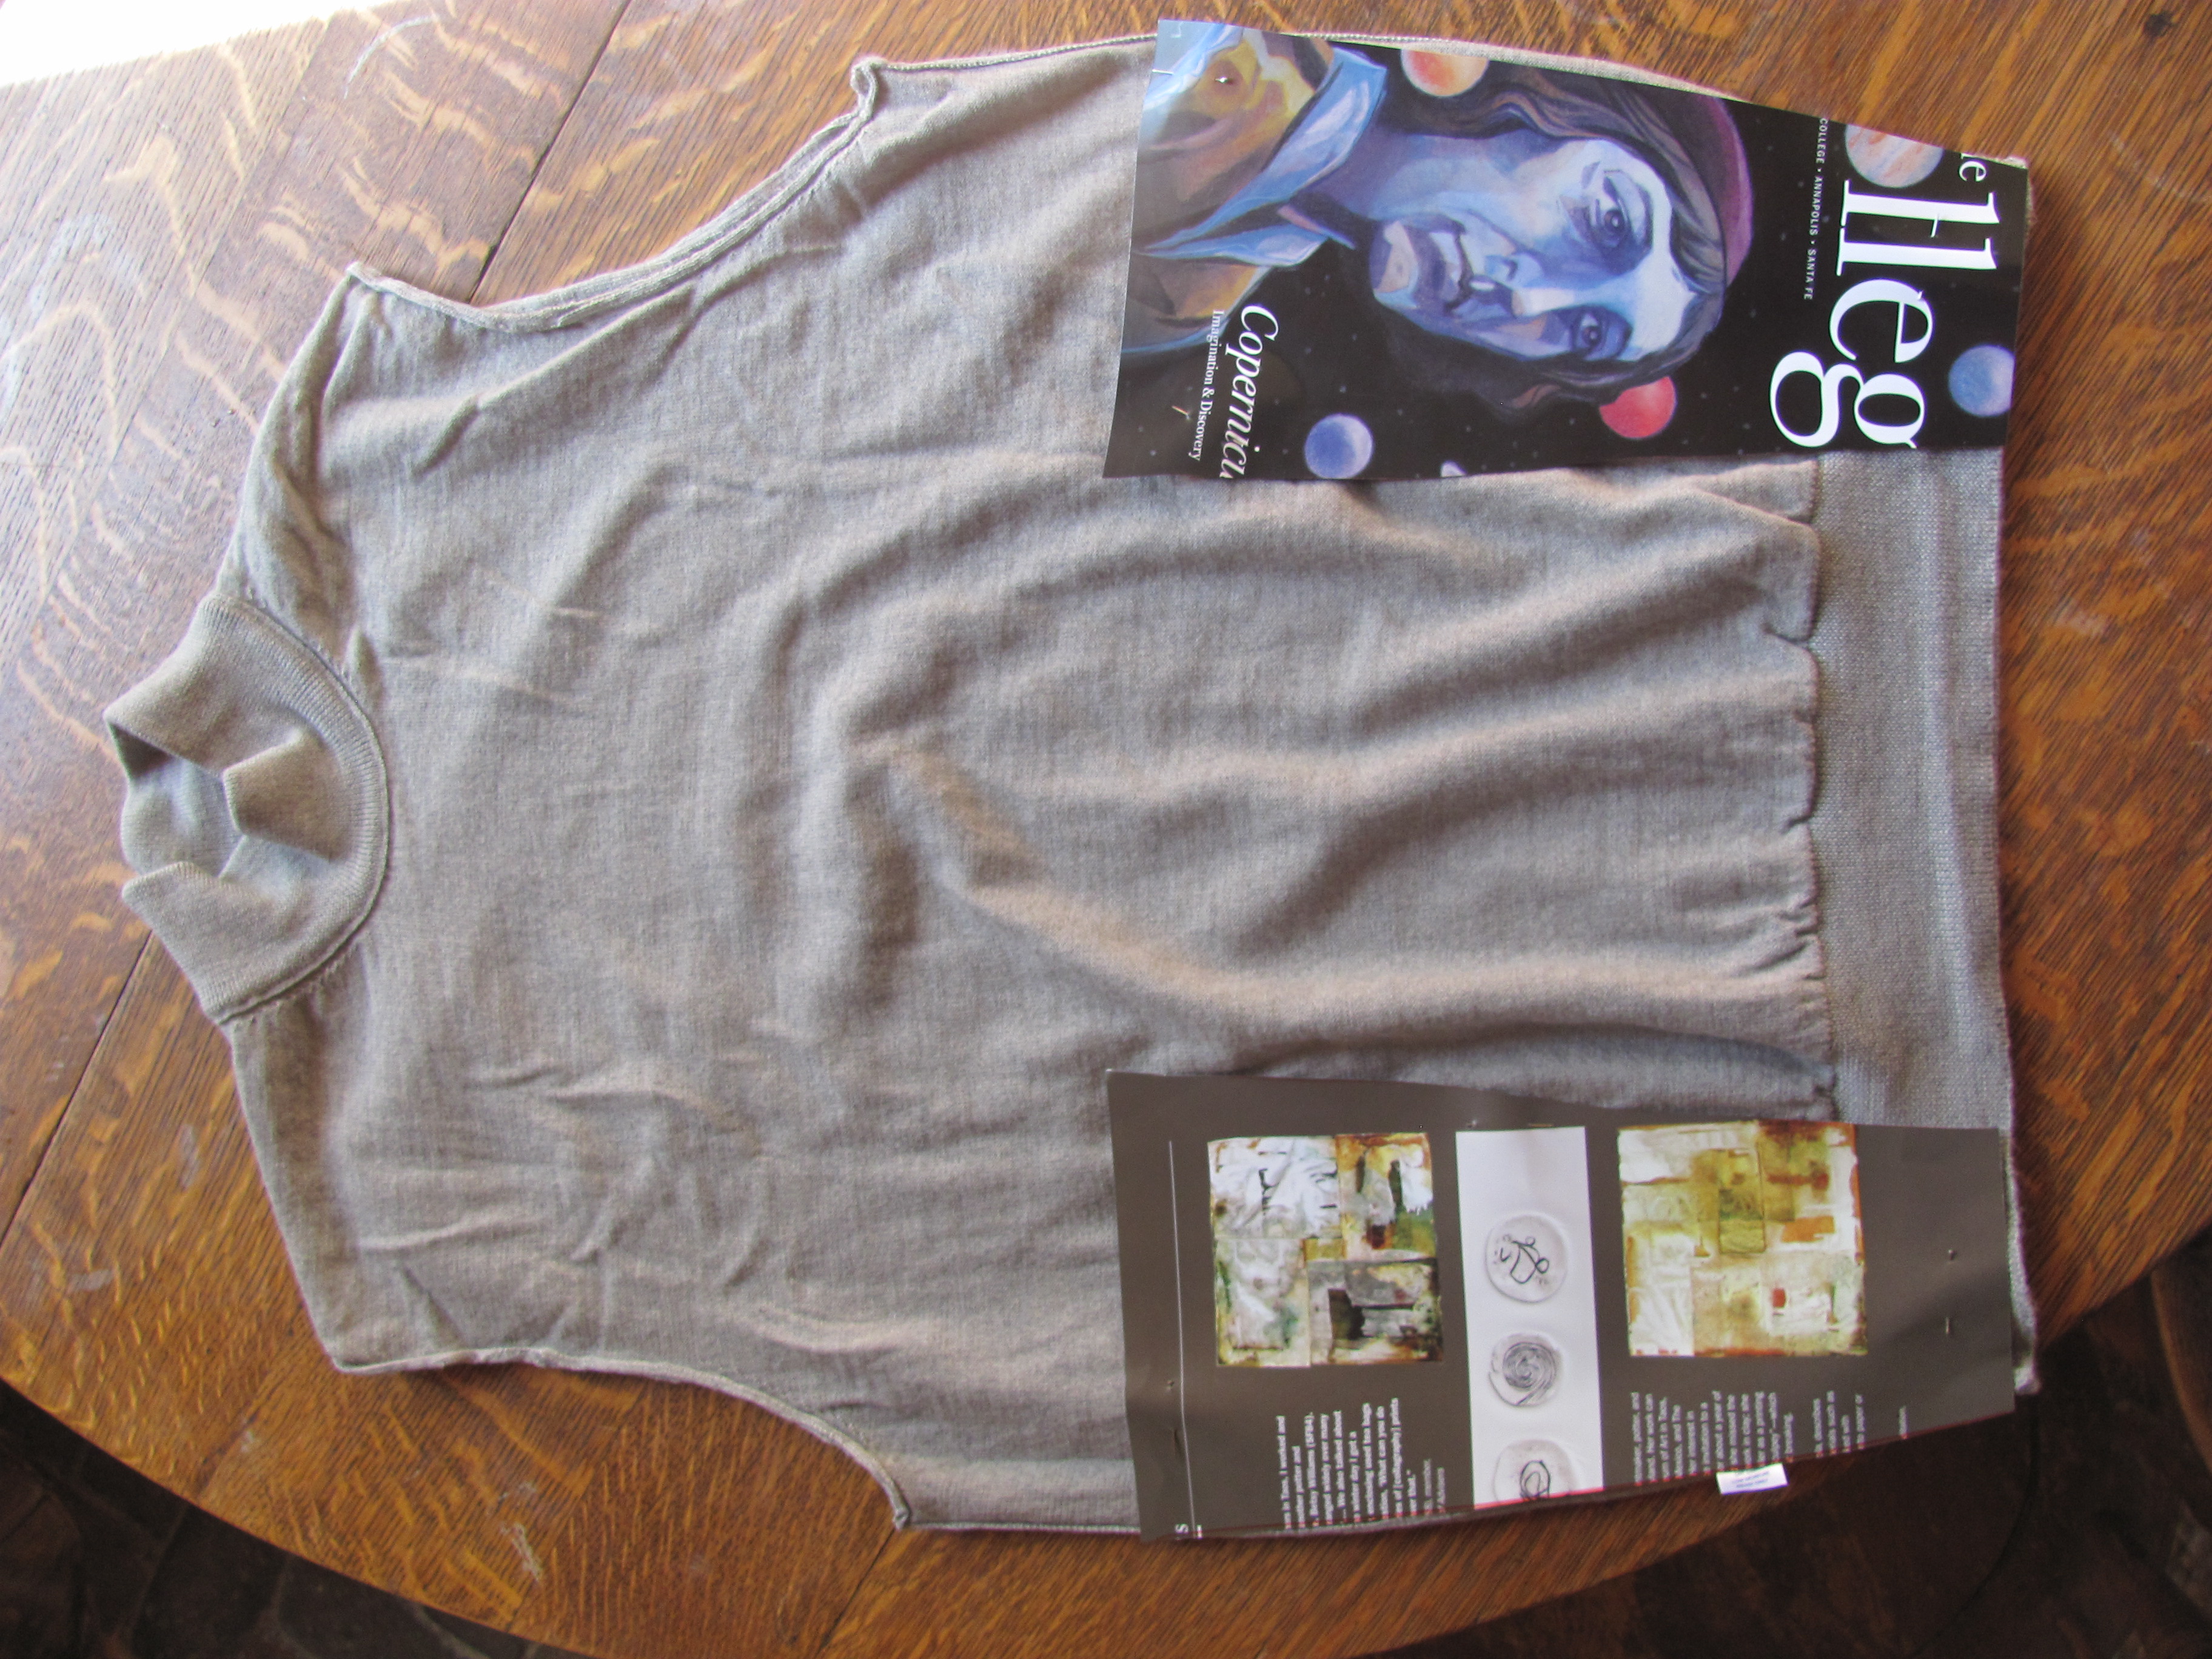
This one was made from an old cotton button down of his dad’s and it turned out to be perfect for summer.  After this, I was on a serious re-purposing mission and was lucky enough to come across this handsome wool Pendleton on a thrift store run.

IMG_7755

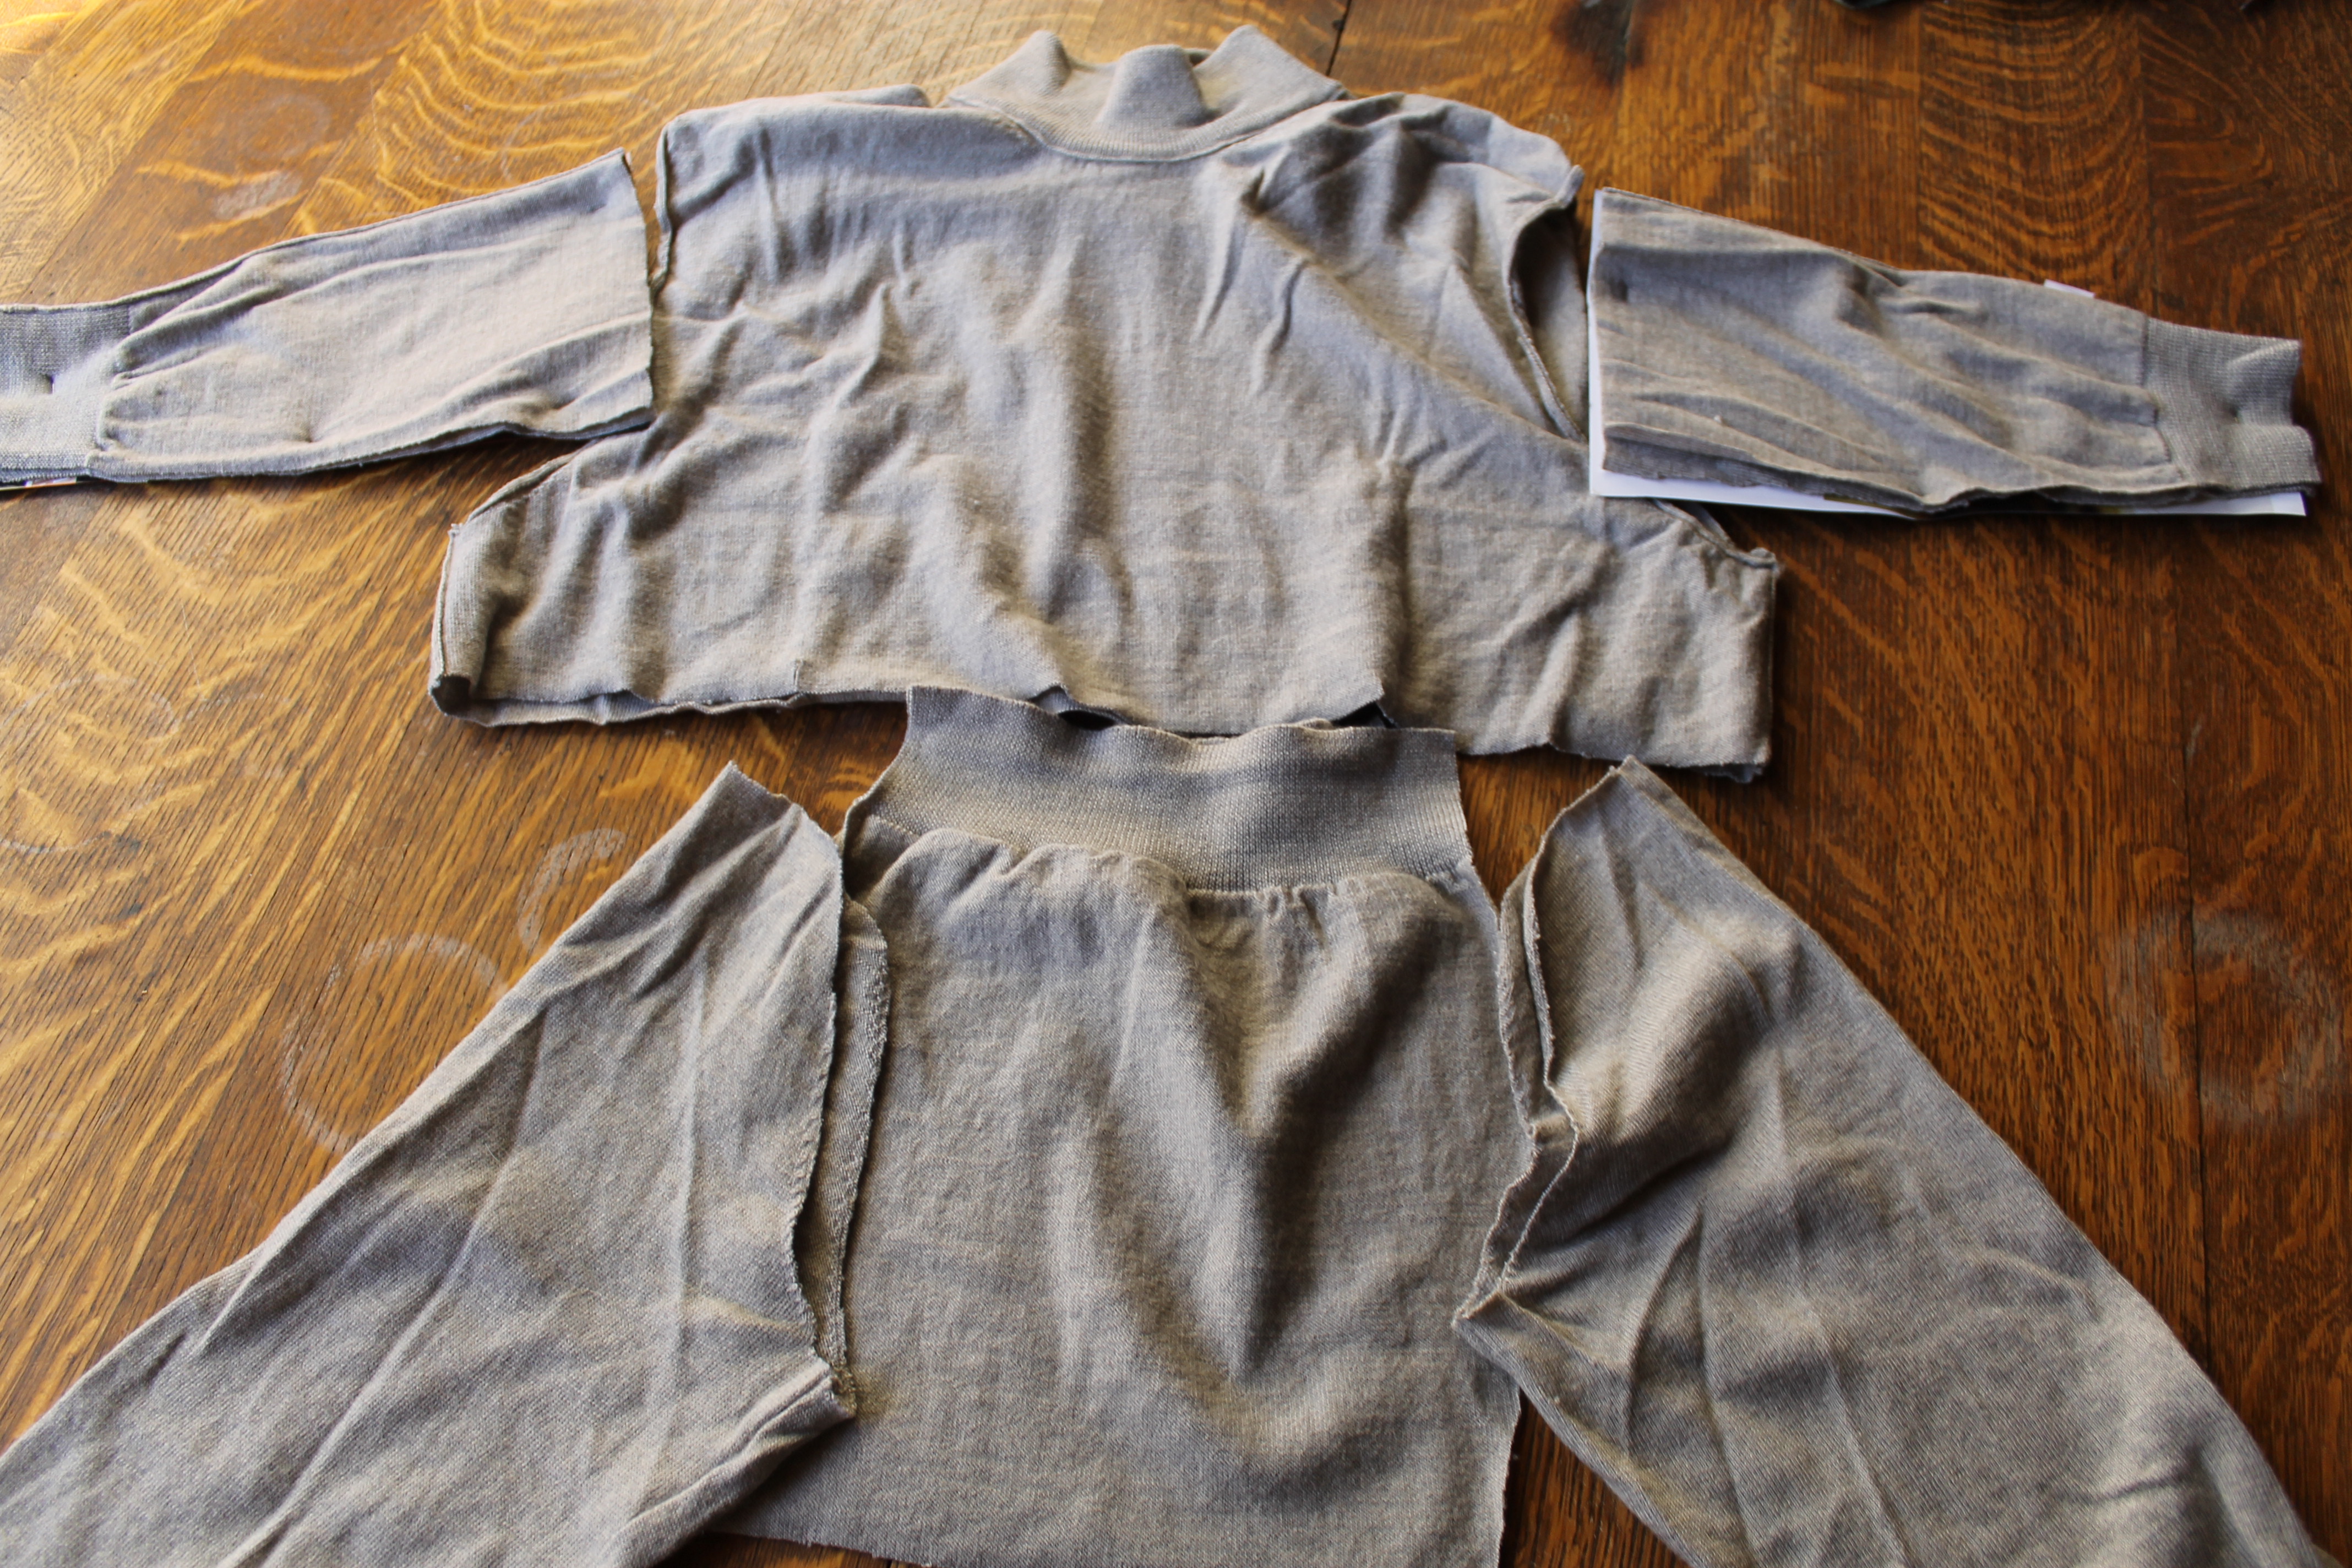
It looked like it had been shrunk so no grown man could wear it, but it was perfect for us.  I did some made up in the moment moves to leave on the collar, button strip and wrist cuffs.  I just cut off the sleeves and reattached them much closer in.  I then sewed up the sides to fit a 18 month old and hemmed it appropriately.

IMG_7777

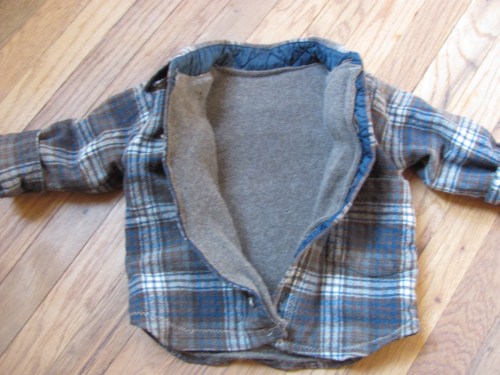
I then lined it with an old cashmere robe I had to cut up because wool moths had found it and it made me look pretty sorry wearing it around the house.IMG_7783

Totally inspired from my Pendleton experiment I cut a ripped sleeve off of one of Joel’s Pendletons and made it a short sleeve.

I then whipped up this ‘Eddie’ with the other sleeve.

IMG_7787

Lining it of course with the cashmere robe as well.

IMG_8047

I must admit, I sure was pleased with myself at how warm I kept my little nugget that winter.

FYI, If you find old Pendletons at thrift stores that are nice but size small, they serve perfectly for re-purposing, or you can of course mail them to me and I will use them gladly.  This little boy has many more winters ahead!!

IMG_9215

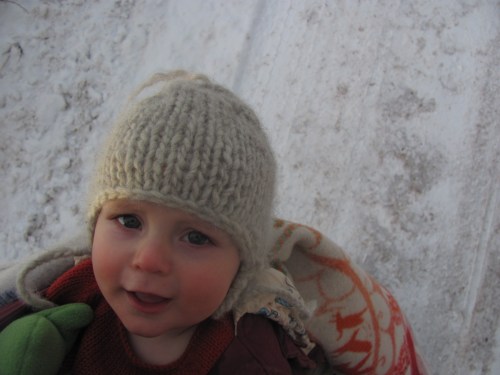
This hat was the winter back up made from the left over yard from his 1 year sweater( not pictured)

IMG_8878

And of course a matching one for cousin

IMG_8772

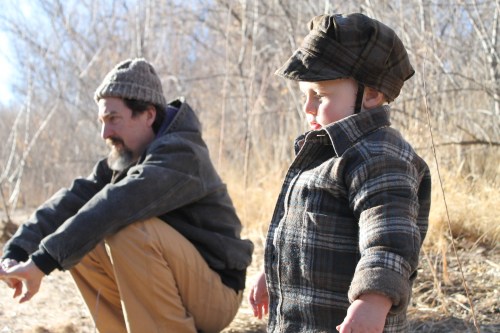
Then there was the most recent ‘Eddie‘, which was worn without fail every day this summer, and notice the 2 year old version doesn’t have a chin strap, he is so used to hats now he voluntarily puts it on when we leave the house.  This beauty served us well all summer, though sadly was lost last week.

IMG_0536

So enter the Fall/winter 2013 version….Well I am not done yet, so that will just have to be another post altogether.  But I hope this inspires you all and gives you a  place to start with your own hat adventure.

Making a Baby Swing- DIT

My husband and I do lots of things together well, but making things together is a kind of newly found joy.  I guess it started with our home, our garden and our baby of course, but actually designing & crafting something together is not something we have really done yet.  Saturday morning we spent nap time together drinking coffee and searching for images of baby swings.  There were lots, mostly plastic, some beautiful wood, some cloth and all kind of shockingly expensive.

We could have probably got one used, but it spurred a fun conversation about design and technique, craftsmanship & quality and of course our shared love of homemade.  I truly admire my husband’s fearless DIY attitude.  He can look at things and understand how they are made, alter them in his mind and tada!! he has made it with his own two hands and more likely than not with things he had stashed away in his shed, salvaged, saved for a rainy day.  For this project we put both our design minds together, rummaged around in our stashes and here is how we spent our Saturday DITing (Doing it Together).

It started with an old pair of Mountain Kakai’s, really nice sturdy work pants, worn, loved and finally ripped above the knee.  I stashed them in the sewing box to fix or transform someday and that day was today.

I basically looked at the swing I most admired and realized it was a basic cross of fabric.

This awesome swing I found on Pinterest from an Australian company called Swingz

I turned the pants into shorts and proceeded to line up, pin and cut the legs of the pants.  I got kind of engrossed so it didn’t photograph this part of the process but I tried to cut as little as possible and use those strong triple seams whenever I could so this swing wouldn’t make me nervous as my little baby swung around 4 feet above our brick porch.  It was a basic bucket seat with sleeves for dowels to slip into so the swing would have a skeleton to hang from.  That is where my husband came.  He drilled the oak dowels, cut and sanded them so they stuck out a bit from the sleeves.  Then he got an old climbing rope slipped it through the sleeves as well, made a few knots, and hung it from a carabiner and big eye bolt in the viga on the porch.  And just like that–there it was……smiles for all!!

We all love the swing and have spent hours playing with it already.  But more than the actual thing, we love being together; envisioning, creating, recycling, using our hands & stashes of saved goods, staying home and enjoying the sunshine……and as we like to say around here ‘Why DIY when you can DIT’?