As winter slowly slips in we are starting to transition into the internal senescence of the season. The leaves are falling, blanketing the world & garden for a rest. As a human being I too will rest, though I continue to eat all winter long and love to provide, as least a little fresh food for my family. I believe in letting go, but I also like to hang on, just a little. The key is just consolidating so you can conserve your resources and maximum energy in all forms. Here are some of my secrets for high desert winter food production.

Plan:
Timing is what makes a winter garden. Planting your winter vegetables in August will ensure good hardy plants that you can protect and keep harvesting off into the winter. Planning ahead is really what winter gardening is all about. If you got a late start, transplanting can be done into the fall, but don’t expect much growth till spring, your plants will most likely live, but may not thrive until spring…however they will have such a head start you will be eating from them when it is technically still winter, most likely March. Last year I made my own calendar with sowing dates for year round high desert harvest and sold them locally. I am working on the 2014 one right now which you can preorder, just send me a note that you would like one in the comment box.

Plant:
You can still plant perennials in the fall and early winter. October is a beautiful month to plant, garlic, bulbs like tulip and daffodils, Perennials & Fruit Trees. It is also pleasant, as most nurseries have big sales on perennials this time of year so they too can consolidate and converse labor in the coming months. Perennials will need to be watered in the winter, but no more than a good watering every 3 weeks( unless they are covered in snow and then you get the day off!). In the spring they will have a beautifully established roots system and be stronger against harsh spring conditions. As for seeds, I honestly do not plant any seeds from Fall Equinox to Winter solstice, remember, mother nature needs to rest too. If you do have ways to cover your beds or have cold frames, established plants, or even starts can be covered of put in cold frames in the fall. After November 15th though, I would probably hold off till February for this too, as it is really hard for a little guy to go through transplanting shock in the cold season.

Gather:
Building soil and adding organic material is our main goal as gardeners, especially here in New Mexico. Learning wild foods is of course crucial, but if we want to eat cucumbers originally from India and Lettuce from the Fertile Crescent we must provide the tilth and nutrients needed for these delicacies. To do this we must gather, save and cycle as much organic material as we possibly can into our systems.

Leaves– for mulching beds, making compost and general building organic material on your site. Bags are lining the streets right now, you have a trunk in your car, right? Mine get delivered to my front yard; after years of living under the same big tree my neighbor and I have figure out the perfect harmony. He rakes the leaves that fall in his yard, bags them up and throws them over the fence into my yard. I dump them out onto my beds and give him back the bags to reuse!!

Jaengy smashes the toasted egg-shells for me in the clay mortar and pestle, one of his weekly tasks
Egg Shells– Every time you crack an egg put it on a cookie sheet in the oven, the pilot will dry them out and when the sheet is full they can be crushed to a powder and saved in a mason jar for calcium amending later. I have found them very effective in preventing blossom end root in my tomatoes. Last year I saved a gallon full and it turned out to be perfect for 100 tomato plants, one handful per plant. Since tomato planting time ( May) I have already gathered almost a gallon…luckily there are some other amazing uses for eggshells.
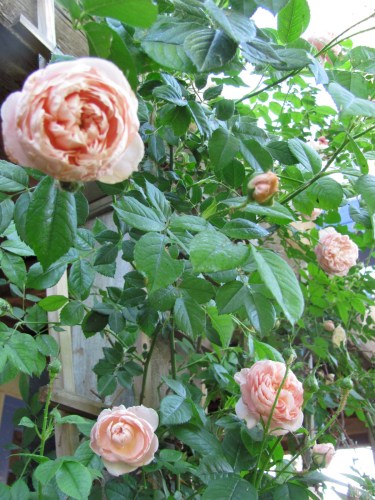
The sweetest smelling soft country roses outside my front door
Coffee grounds– Great for acid loving roses. They can be applied directly to the soil around the rose during the year, or you can cycle them through you compost system. Worms love them too!
Compost– If you garden and don’t have a compost, start one. You will be amazed at how much less garbage leaves your house and won’t have to worry about stinky, leaky garbage bags anymore.
Compost:
I usually start a new pile of compost every spring, so that by fall the old one is fully decomposed and can be harvested. Making compost where you would like to have a garden the next year is ideal, as the soil is being worked & amended for you. To harvest compost I usually take off the top ‘cap’ of leaves or straw, (used to keep moisture in a pile and keep in any smell) dig out the ready compost and pass it through a shifter over a wheel burrow. This can be out of a chicken shed, worm pile or just plain old compost pile. If the compost has sat all summer, it is probably ready to use, though sifting gets out any bigger pieces that have not decomposed which can be added to the new pile. Shifting also gets out the worms so they can be added to a new pile. Then sprinkle the beds with about an inch of compost and turn the compost in a bit. By harvesting compost now you also can store it in a container so you have it on hand for potting mix in the late winter. Trust me, you will only wait till January to harvest compost once, it is no fun at all!

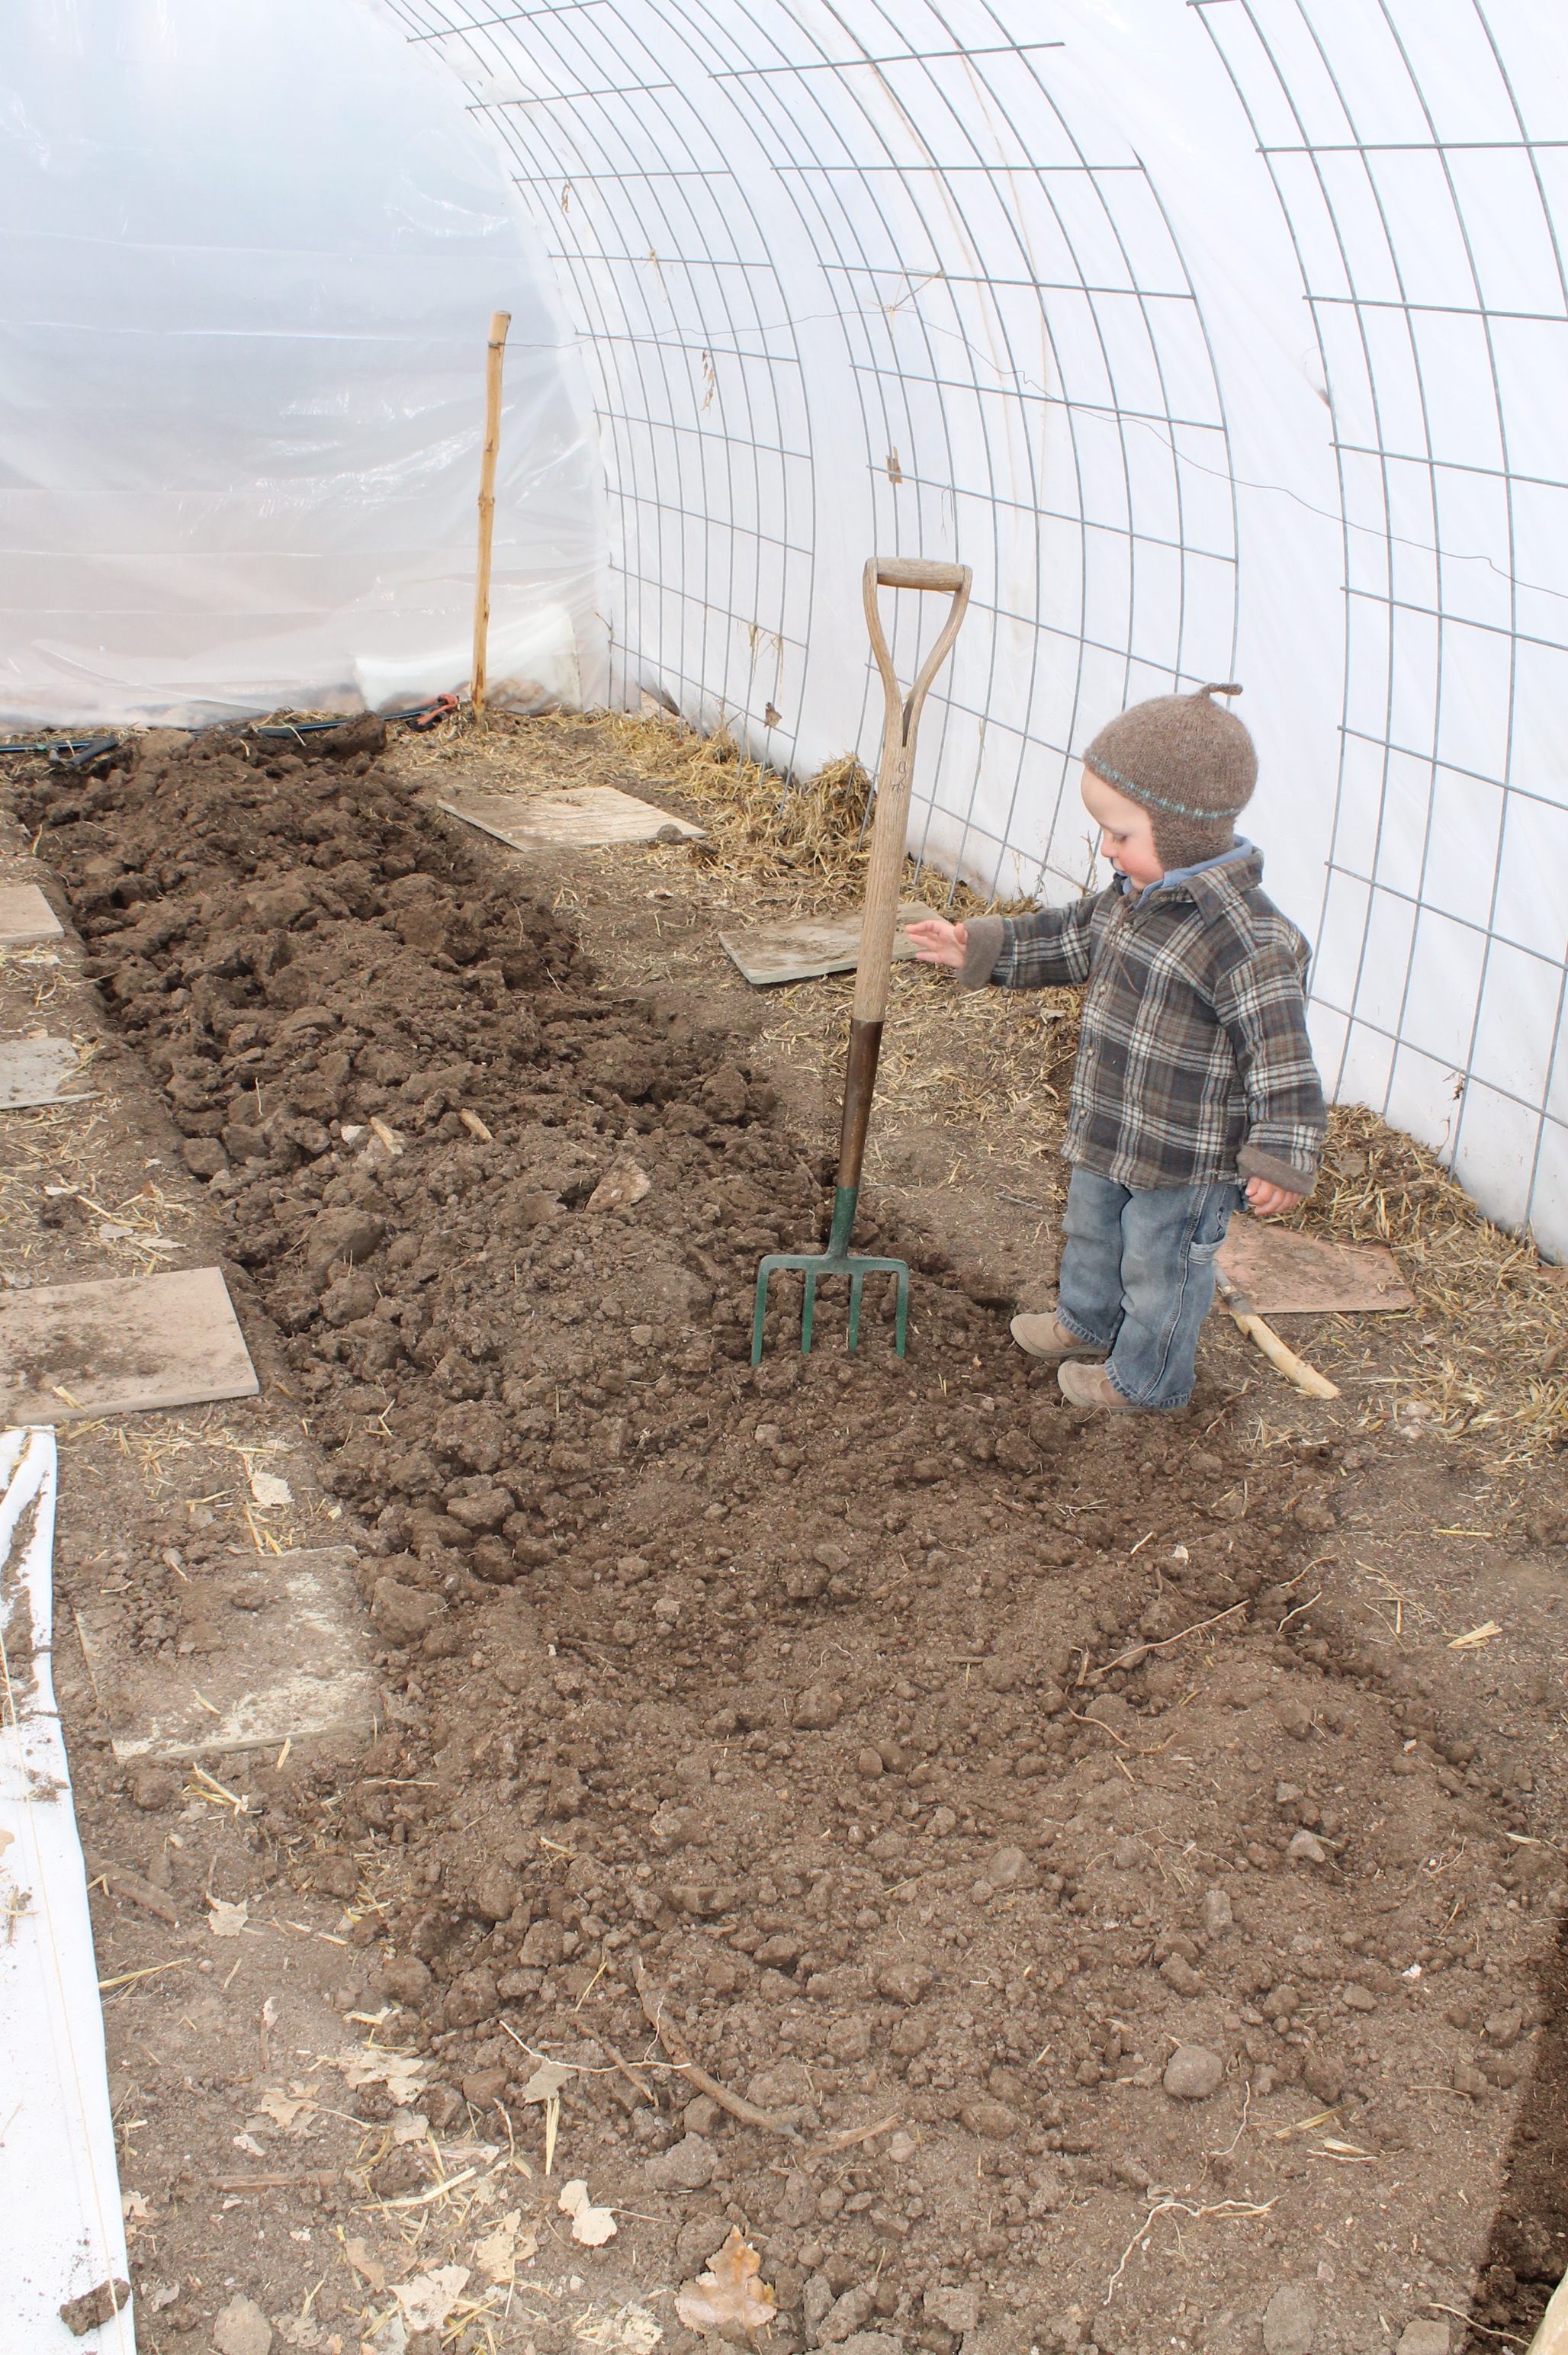
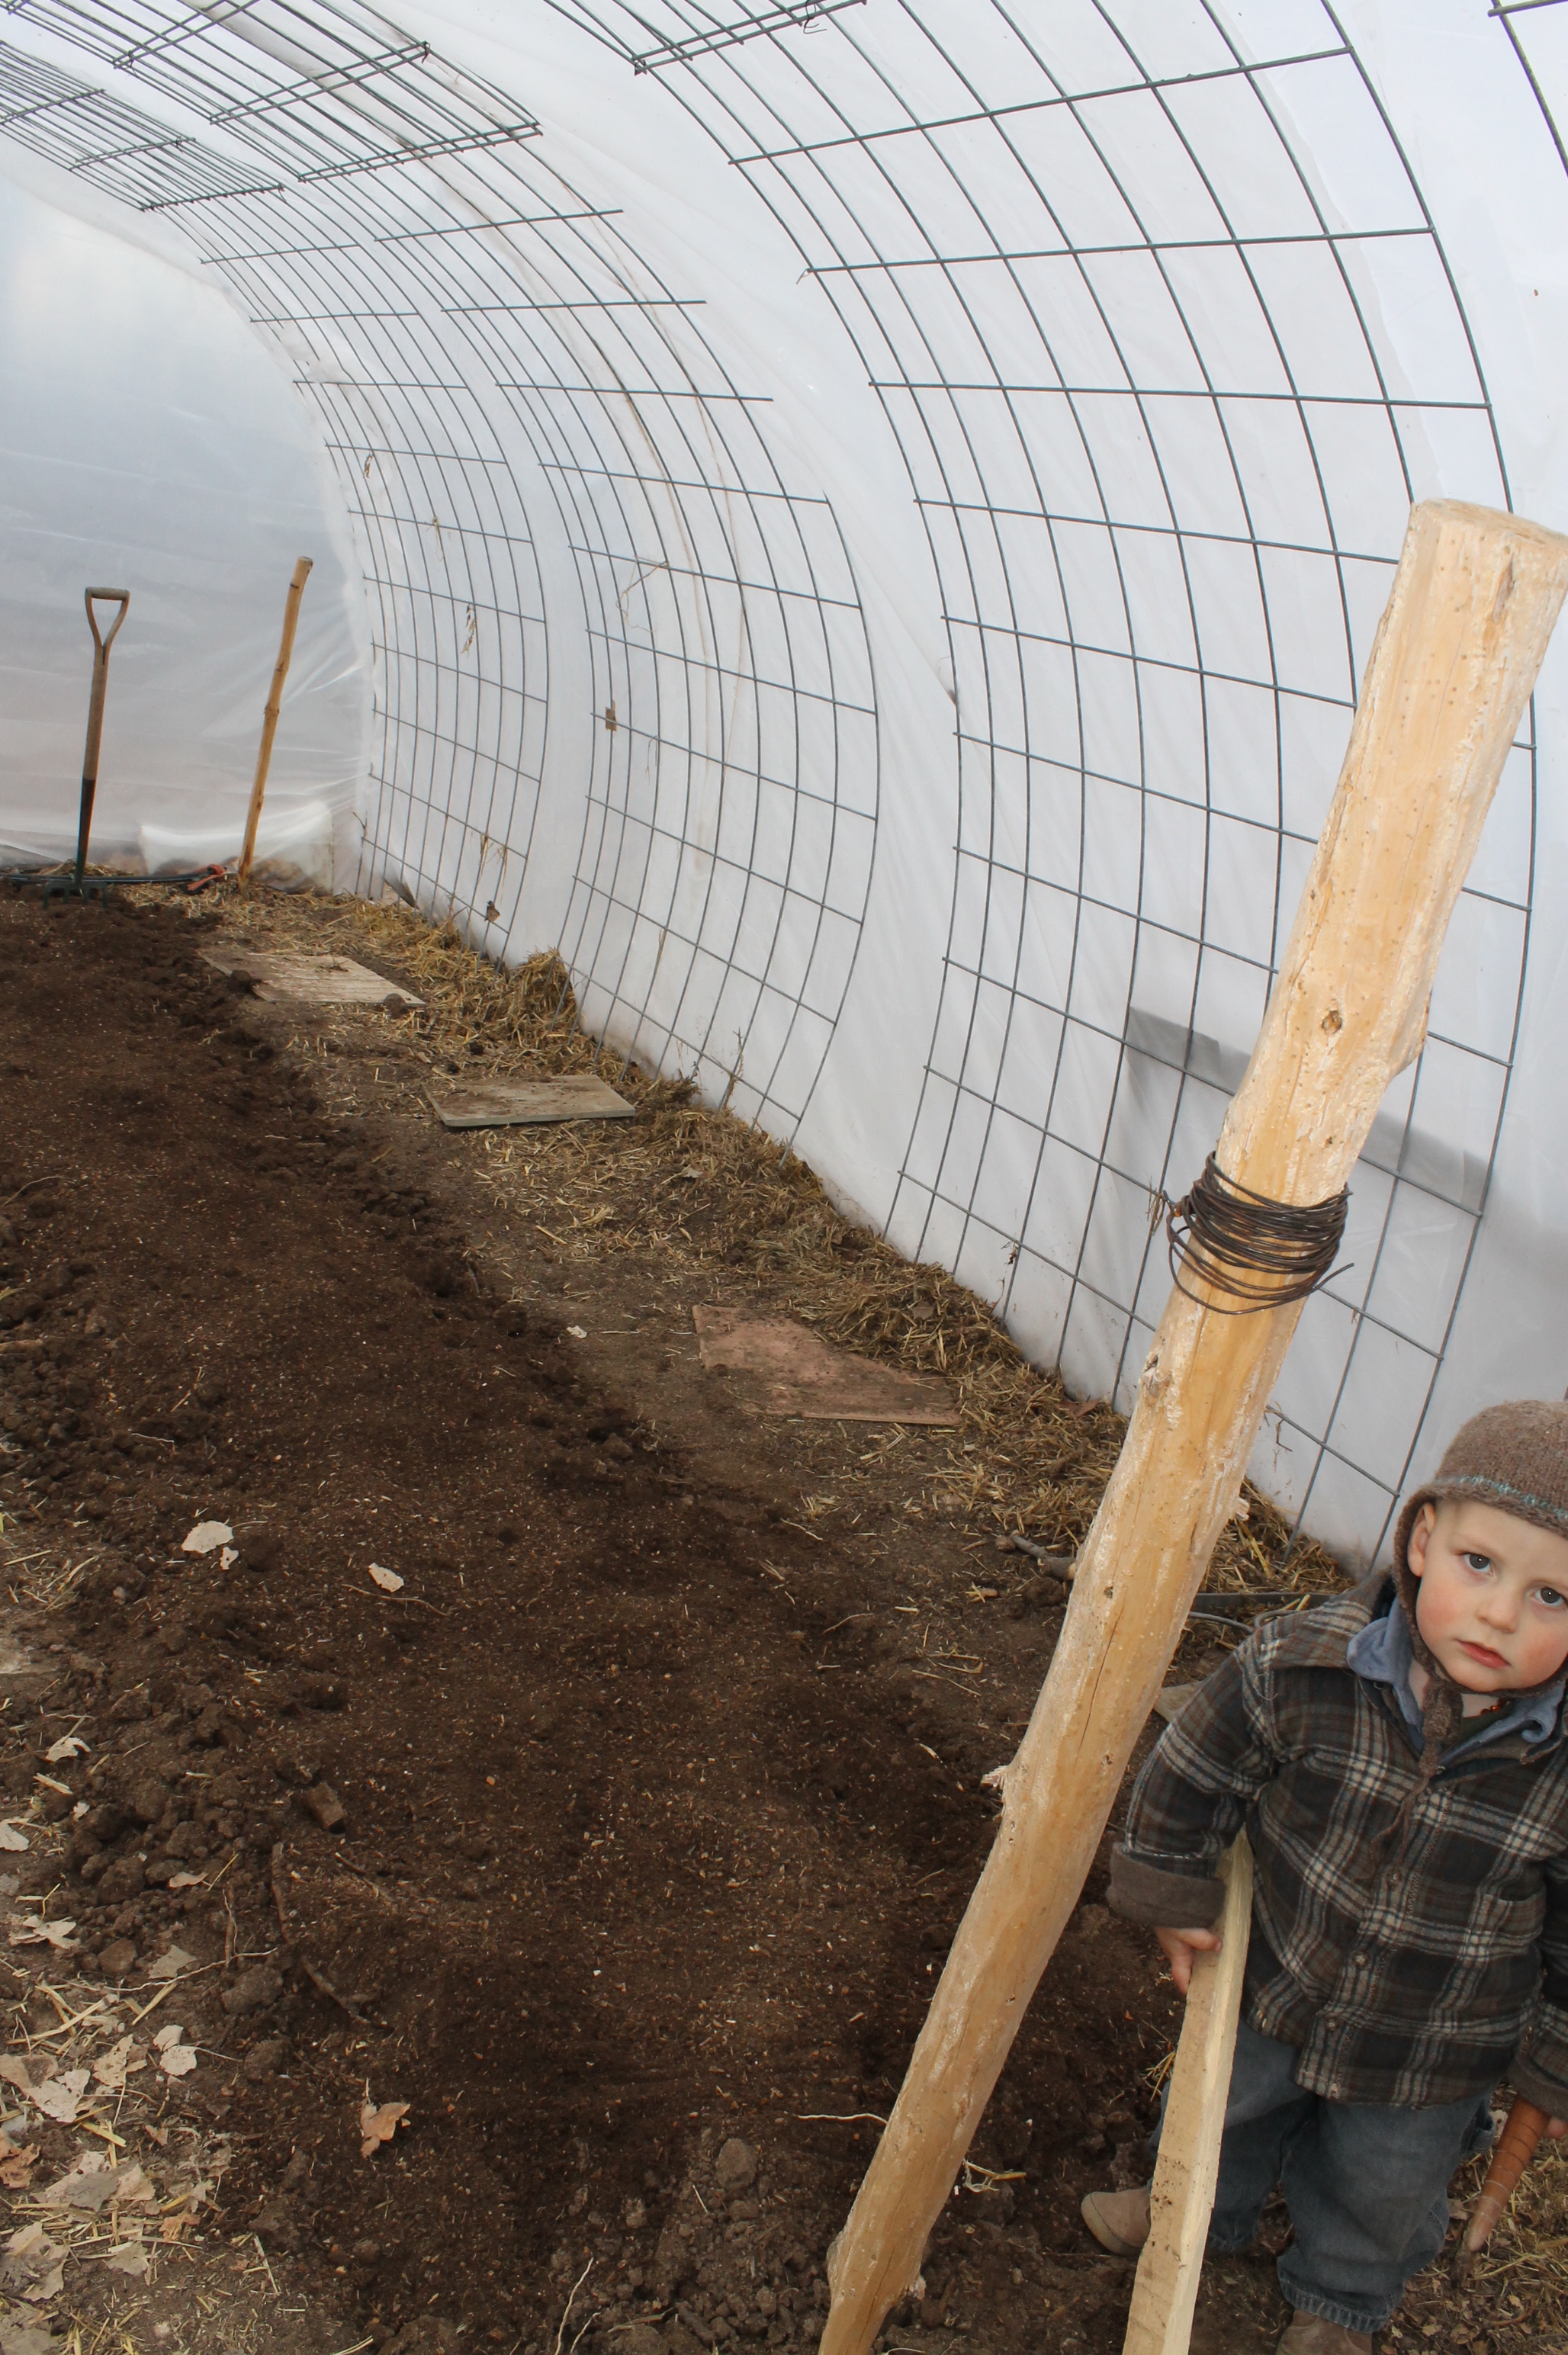
Turn soil:
This can be done with a pitch fork or a broad fork, which doubles your efforts and can be bought locally here. If the compost has fresh manure in it, it will break down and leach over the winter and should be plenty safe for spring planting. Fall is a great time to dig, fork or loosen beds, as the soil is warm and often moist from the fall rains. If you wait till spring, the ground may be frozen when you are ready to plant your early crops. perennial crops do not need tilling, and prefer not, but annuals do seem to respond best to lightly fluffed soil with good titlth (texture) and well broken down organic material so nitrogen isn’t robbed in the process of decomposing other things. Here is a whole post on bed prep, oriented towards spring, but you will get the idea.

Mulch:
Once this is done, heavy mulching really helps retain moisture, keeps the soil a bit warmer, as well as suppresses weeds in spring and build organic material. Leaves & aged straw, are my favorites and usually free. Cleaning, Composting, turning and mulching a bed now helps for early spring planting. Once you do all these steps in the fall when the weather is still lovely, your beds are ready for early spring planting and you need not spend too much time out on the April wind chipping at frozen ground.

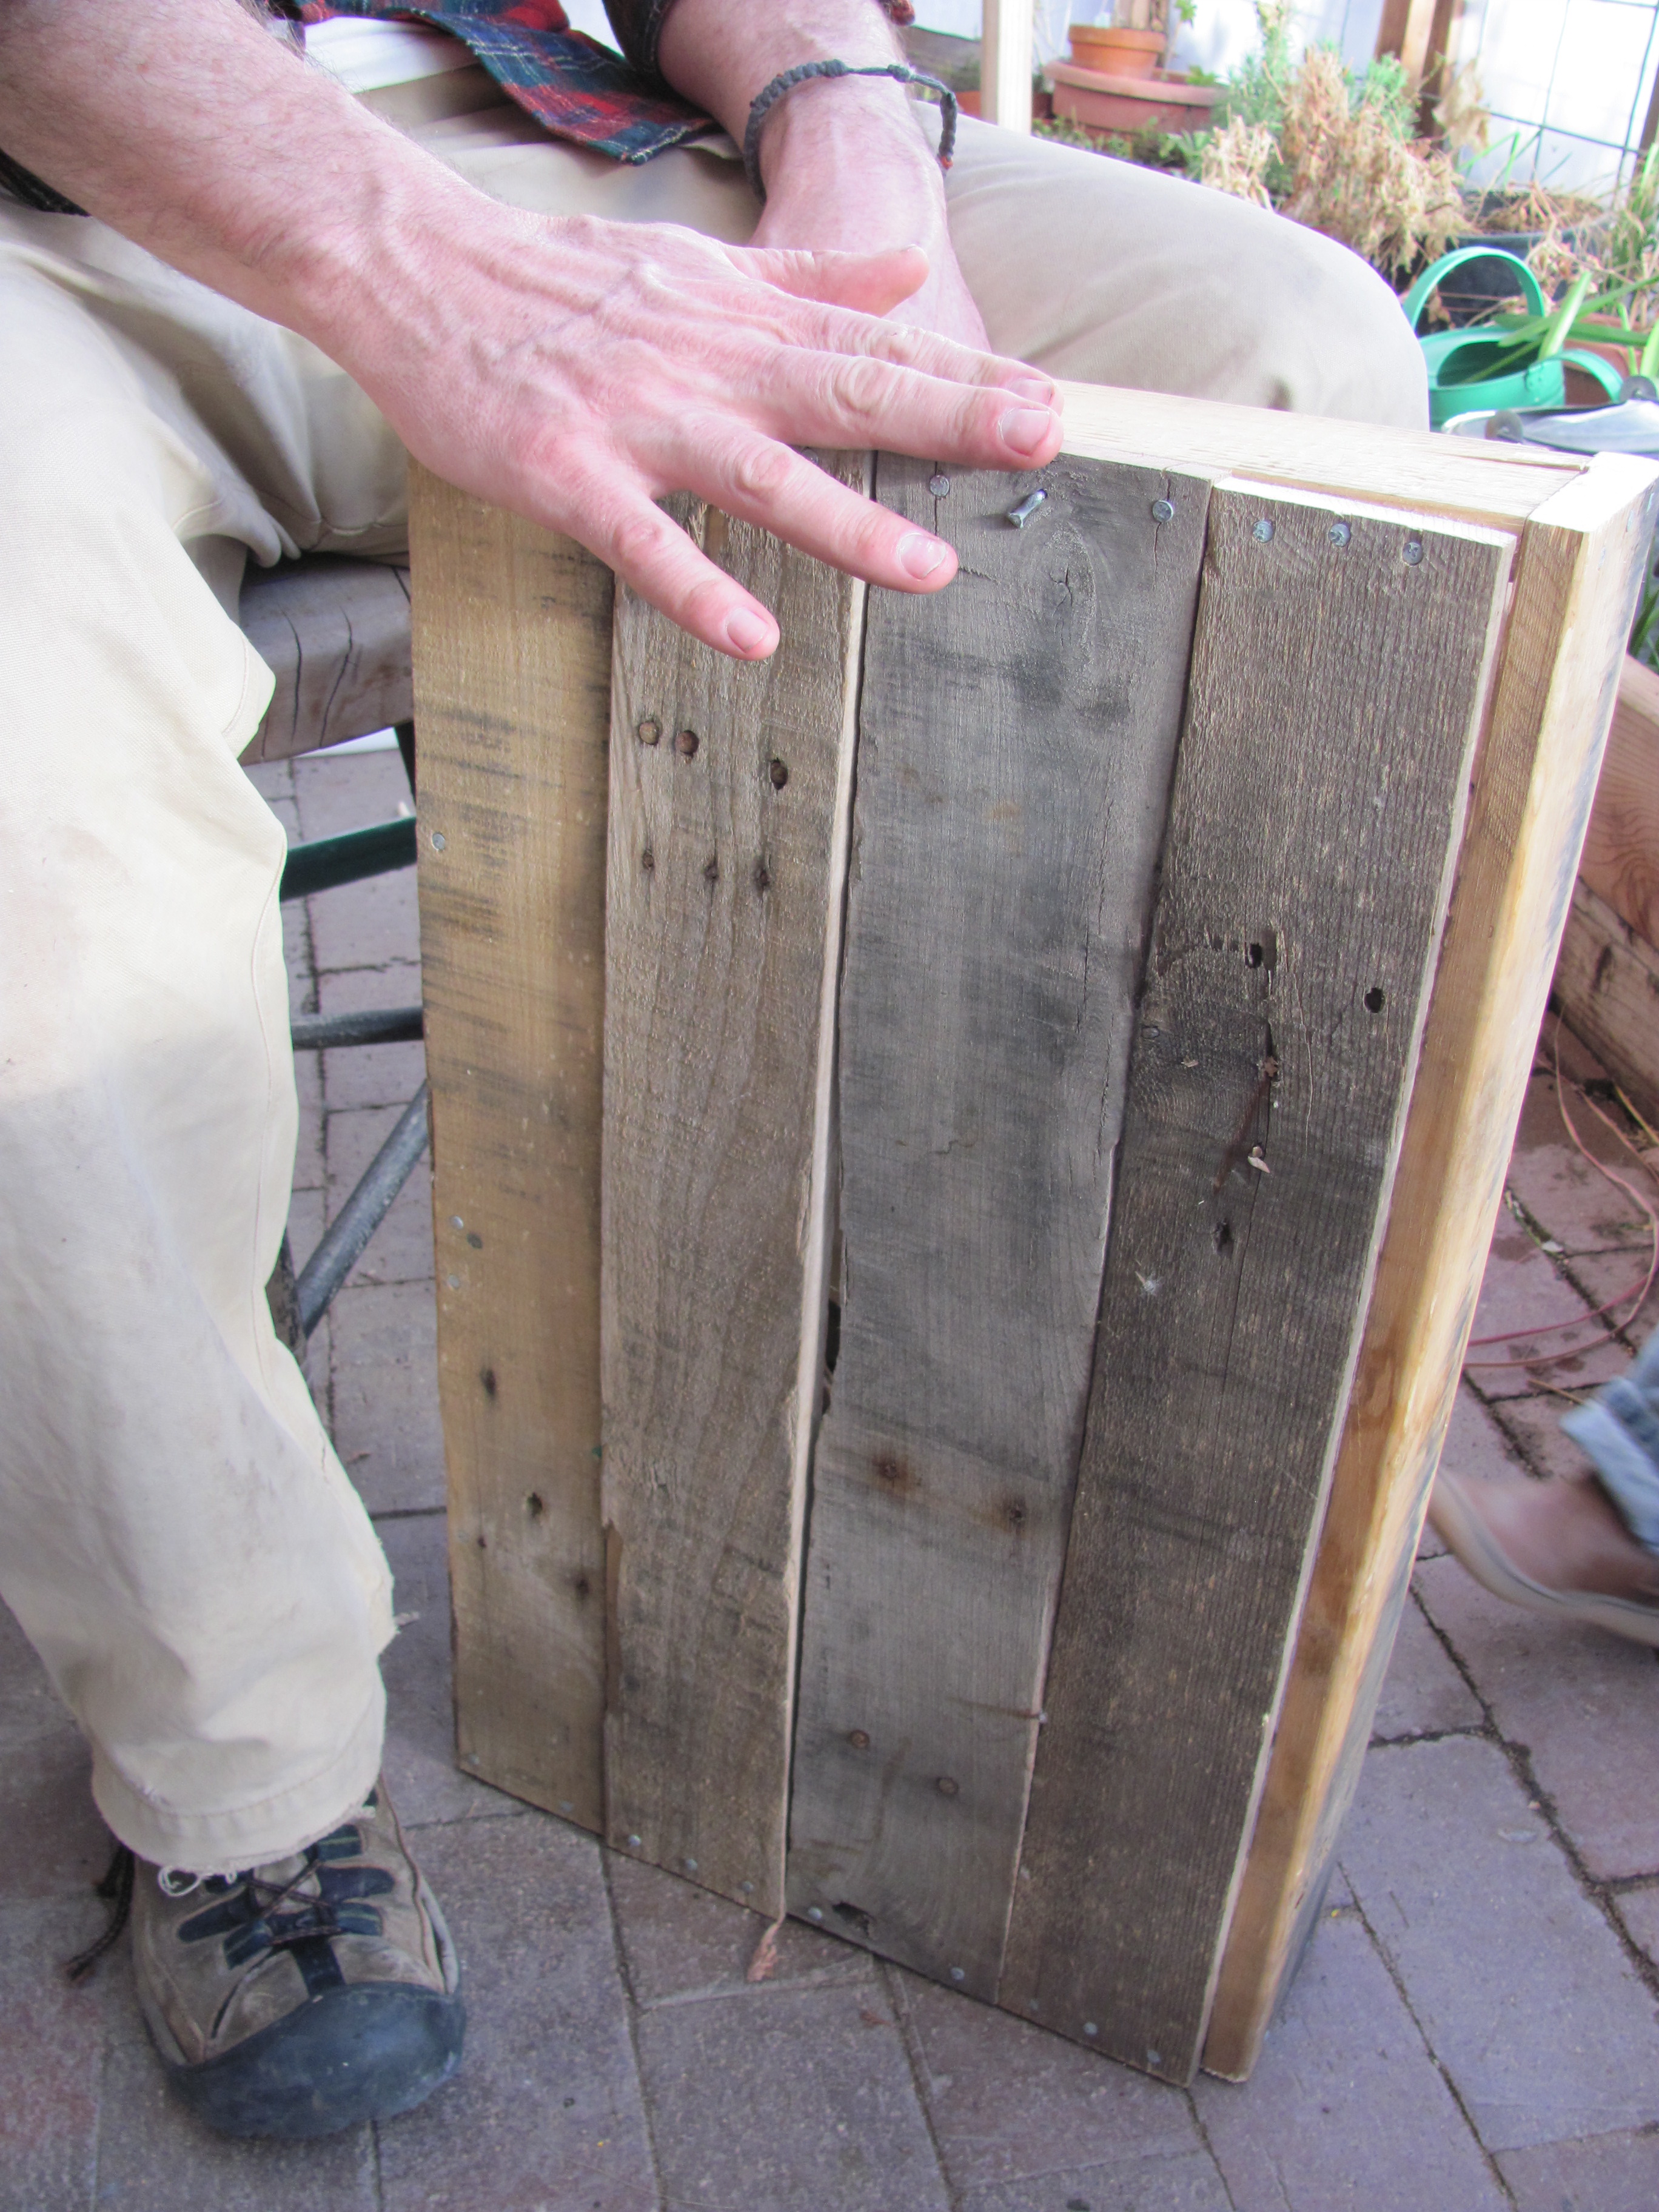
Lazy gardening- the self mulching bed.
Row Cover :
I often will cover up my fall crops with row cover in late September before the first frosts, but most of the listed crops below are cold hardy and can take a few light freezes, so they can be ignored for a bit while you focus on rescuing the summer crops from the cold. First you make little hoops from 9 gauge wire that you can buy in a spool from the hardware store. Cut 3-4ft pieces and bend them to be a half circle. Stick these in the ground about every 3 ft and then wrap with your row cover. I get the heavy weight floating row cover from Plants of the Southwest for $3.50 a yard. It is 12ft wide so you can cut pieces that fit over your beds…remember to leave extra on the edges so that it can be well weighted buy soil or stones- any strong breeze that catches under the covers will create a sail affect which could tear or remove your covers altogether.

Let the Sunshine in:
Once I do cover my beds, I cover them for good, as protecting them from wind, and cold is important, the air moves freely, so no need to open and close them every day. The fabric also keeps in moisture and with cooler temps you need to water less. When I do open them up, I do it in the hot part of the day, as some plants actually freeze and thaw in the cold season. Winter watering will need to be done, just like summer watering, when you scratch the surface of the soil and stick your finger in and the soil is dry a fingers depth, you should water, unless of course the soil is frozen. I usually water my in-ground garden beds every 3 weeks in the winter. Snow is a great thing for your veggies and there is no need to water if there is snow on the ground, just remember it also may not be the best time to harvest your plants either.

Select Cool Season Crops:
Winter gardening really just mean keeping alive summer and fall crops. Winter gardening for me starts in August when I start planting all my crops. It can also mean prepping the soil in fall, heating it up early with cold frames and planting in late winter early spring.
In New Mexico, before or during the monsoon season is ideal for planting fall crops because the soil opens up and receives the rains and so do your seeds. The moisture and cooling that season brings is great for fall crops and the plants thrive in the lessening light. Choosing cold hardy varieites is key to a hardy winter garden. In his book Four Season Harvest Eliot Coleman lists all his winter varieties and most seed companies now have lists of cold hardy crops like at High Mowing Seeds
How low can they go?
When you do open them up, do it mid day, as the plant enjoy the sun and may even be some what frozen. If you harvest them like this they will turn to mush, but if you wait till the thaw they will be fine! It is kind of amazing to watch during the day. I have negelected to cover my Chard yet and it looks totally dead in the morning but by the afternoon it is perky again and ready to harvest. Different vegetables have different cold cold tolerances which are useful to know.
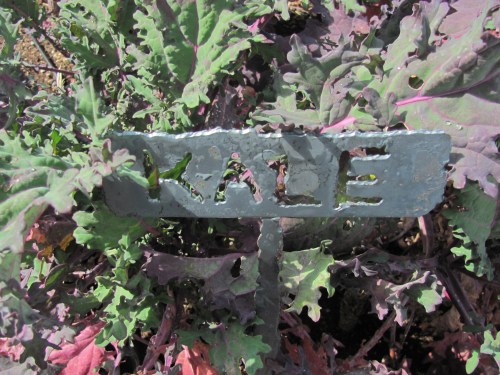
The hardiest of the winter vegetables are Kale, Collards and Spinach which can take Temps as low as low 20’s and in the high teens.
Broccoli, Brussel Sprouts, Cabbage, Kohlrabi, Mustard Greens, Parsley, Radish, Parsnip, Turnip can all take temps 28-25 degrees.
All of these can survive under thick row cover all winter, though they may not show many signs of growth, they will start to spring new leaves in February.
Other semi-hardy vegetables are Beets, Carrots, Cauliflower, Celery, Chinese Cabbage, Endive, Lettuce, Radicchip, Rutabega, Salsify, Bok Choy, Tatsoi and Swiss Chard, tolerant of Temps from 32-29degrees. These can usually be harvested till Christmas under heavy row cover, but will need to be replanted in the spring under row cover as well.
Cold Frames: Cold frames can be built in all kind of ways and there are some great designs out there you can easily be guided by. I would start by reading Eliot Coleman’s books. There are glass, plastic, straw bales, adobe and even some pretty sweet custom made ones by our local ‘Grow Your Own’ veggie man, Ken Kuhn. I love cold frames and could talk forever about them. But the first thing to think about tis your winter reality. How much do you really need, how much are you really willing to do and how far are you willing to go. I recommend finding a nice south facing nook close to your front doorstep where you can reach out in your bathrobe a slippers, raise a lid and snip a few fresh leaves on a cold winter day. Now doesn’t that seem nice. I wrote a whole post on making those greens last.
So hopefully all this should get you started. Stay tuned for the ‘Late Winter in the Garden’ post in a couple of months when you & nature are really ready to get growing again.


 Here is a
  Here is another on with
 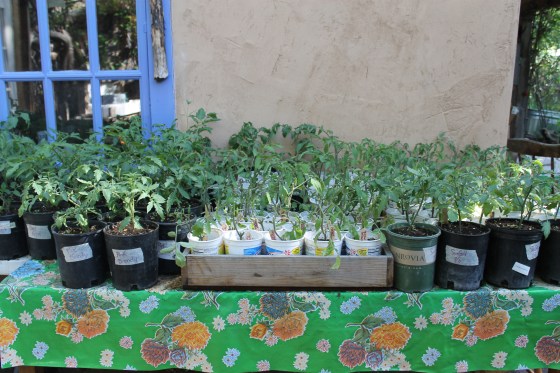 And lastly one about
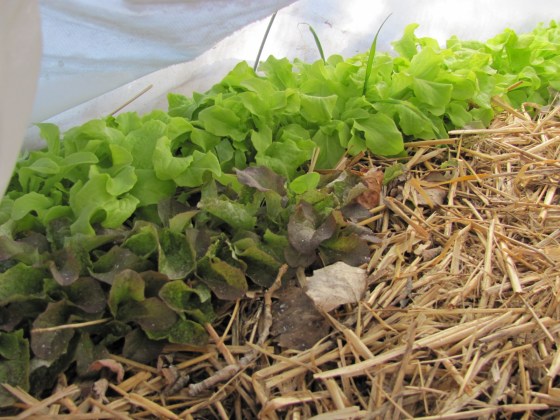
 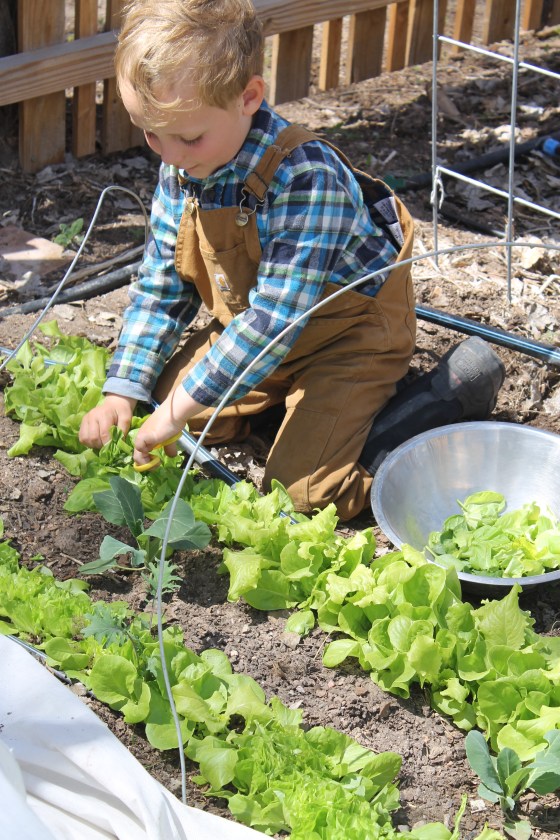 What a spring we have had! Erratic whether, moisture, crisp cool air, and really spring greens like nothing better! I have begun harvesting multiple pounds of Lettuce, Spinach, Kale, Chard and Chinese Cabbage every week and just wish I had more garden space to plant more.
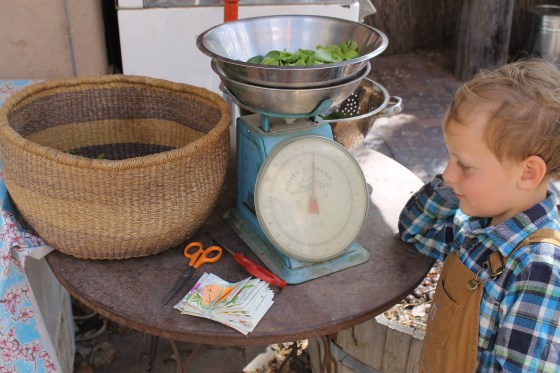 If you are doing succession planting in your garden planning, timing and leaving space for the future is everything!! You have to think about how long it will take for a head of lettuce to produce,(about 60 days in the spring) and then plan what you will pop in its place once harvested. In these pictures above and below you can see I planted Cabbage babies among the cut and come again Lettuce, so that by the time the Lettuce is bitter the Cabbage will take over.
 I usually plant a lot of cut and come again varieties of Lettuce, Spinach and Kale and Chard so I don’t have to keep planting…but this year I knew I could sneak in a bunch of head Lettuce before the warm season crops needed the square footage, so now the garden is full of butterhead and romaine varieties so I can remove the whole plant and put in warm season crops the same day…..lots of salad ahead for Mama’s Mini Farm CSA!
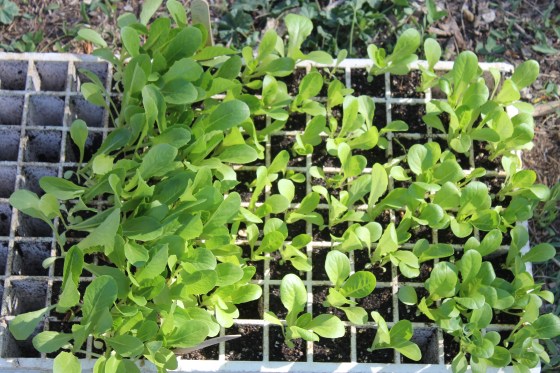
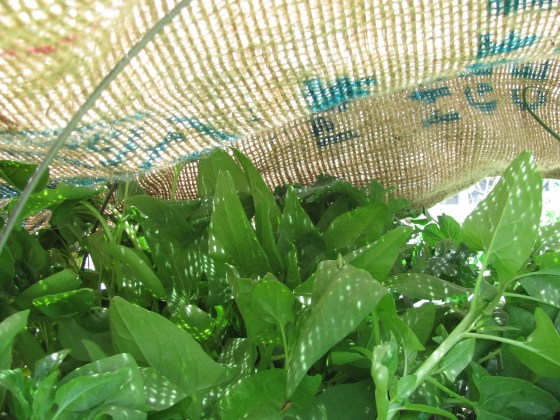
 I often raise the row cover so wind and beneficial insects can find their way in on the ends, because another set back of having your crops under constant cover is pests, namely good old aphids can take over while you aren’t watching.