This is really a dream come true! Humble as it is, a 8×8 Pallet and Mud shack….it changed my whole life and for this I must thank my wonderful husband and his crafty hands– Thanks Joel!!

Garden cottage in evening light
You see it all started last March 2011…Baby was on his way and we needed to turn the studio/storage room into kids room….So while I sat, very pregnant watching…Joel built us this little number from some old pallets picked up behind the hardware store, some mud and straw (instead of a baby shower we had a cob party!! Thanks Everyone) insulted the roof with packing peanuts, (that thrifty guy), and finished it off with a marvelous over hanging roof that added outside storage and of course shade, nothing says loving like a porch!!

This photo was taken of the same spot a few years earlier. Where the Cottage now stands was an outdoor shower over the well house
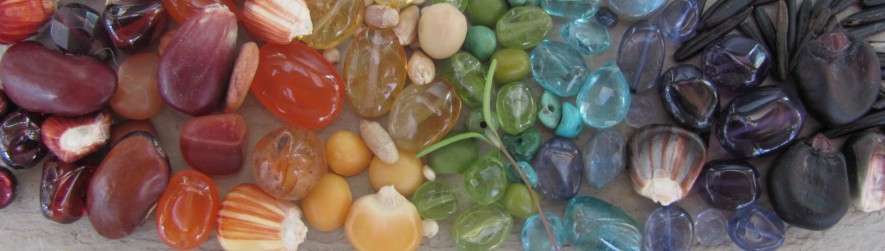
Now, almost two years later, on this cold winter day, I sit snug in this perfect little space creating like I was born to do. Gems hang in the winter light among pattern books, sewing machine, yarn, and all kinds of materials to weave together into something beautiful, someday. My challenge is pacing my creative self, knowing in time it will all get made, and tearing myself away when life…or my toddler need tending. I just feel so grateful for this space, quite, calm, focused, a sanctuary for my spirit to rest and my hands to run wild.

New Jewelry for Next weekends Holiday Craft Show
Because my husband is a crafty genius himself, I thought I would share the making of this little craft shack, and a few of Joel’s words about the process.
When my wife and I were expecting a baby, and my shop was too full of stuff to work in, we decided to build a shed on top of the concrete slab roof of the well house. We’d been using it as root cellar for a couple of years and also needed a pantry and a place for the used sunfrost freezer we’d bought. Our goal was to build an attractive (it is right outside our living room window) temperature-stable, weather tight structure using as much waste material as possible. It also turned out as a good way to use up scrap wood cluttering the yard.

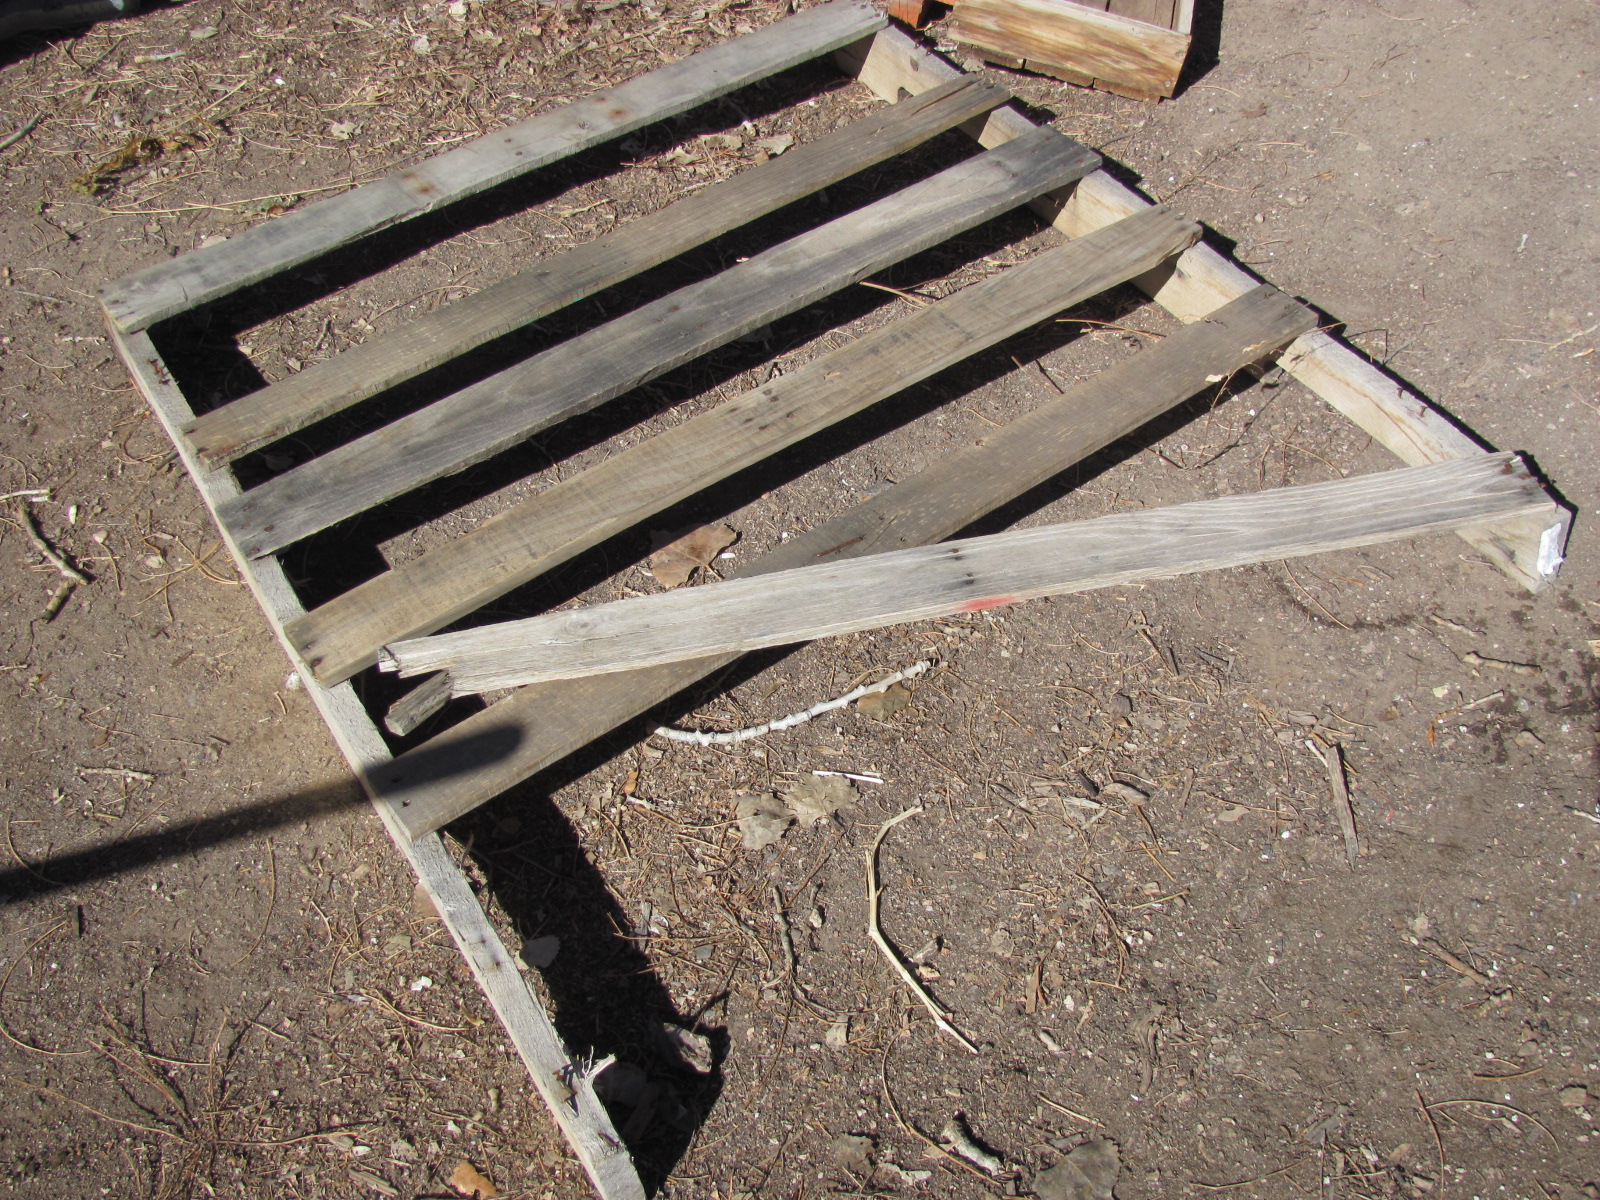
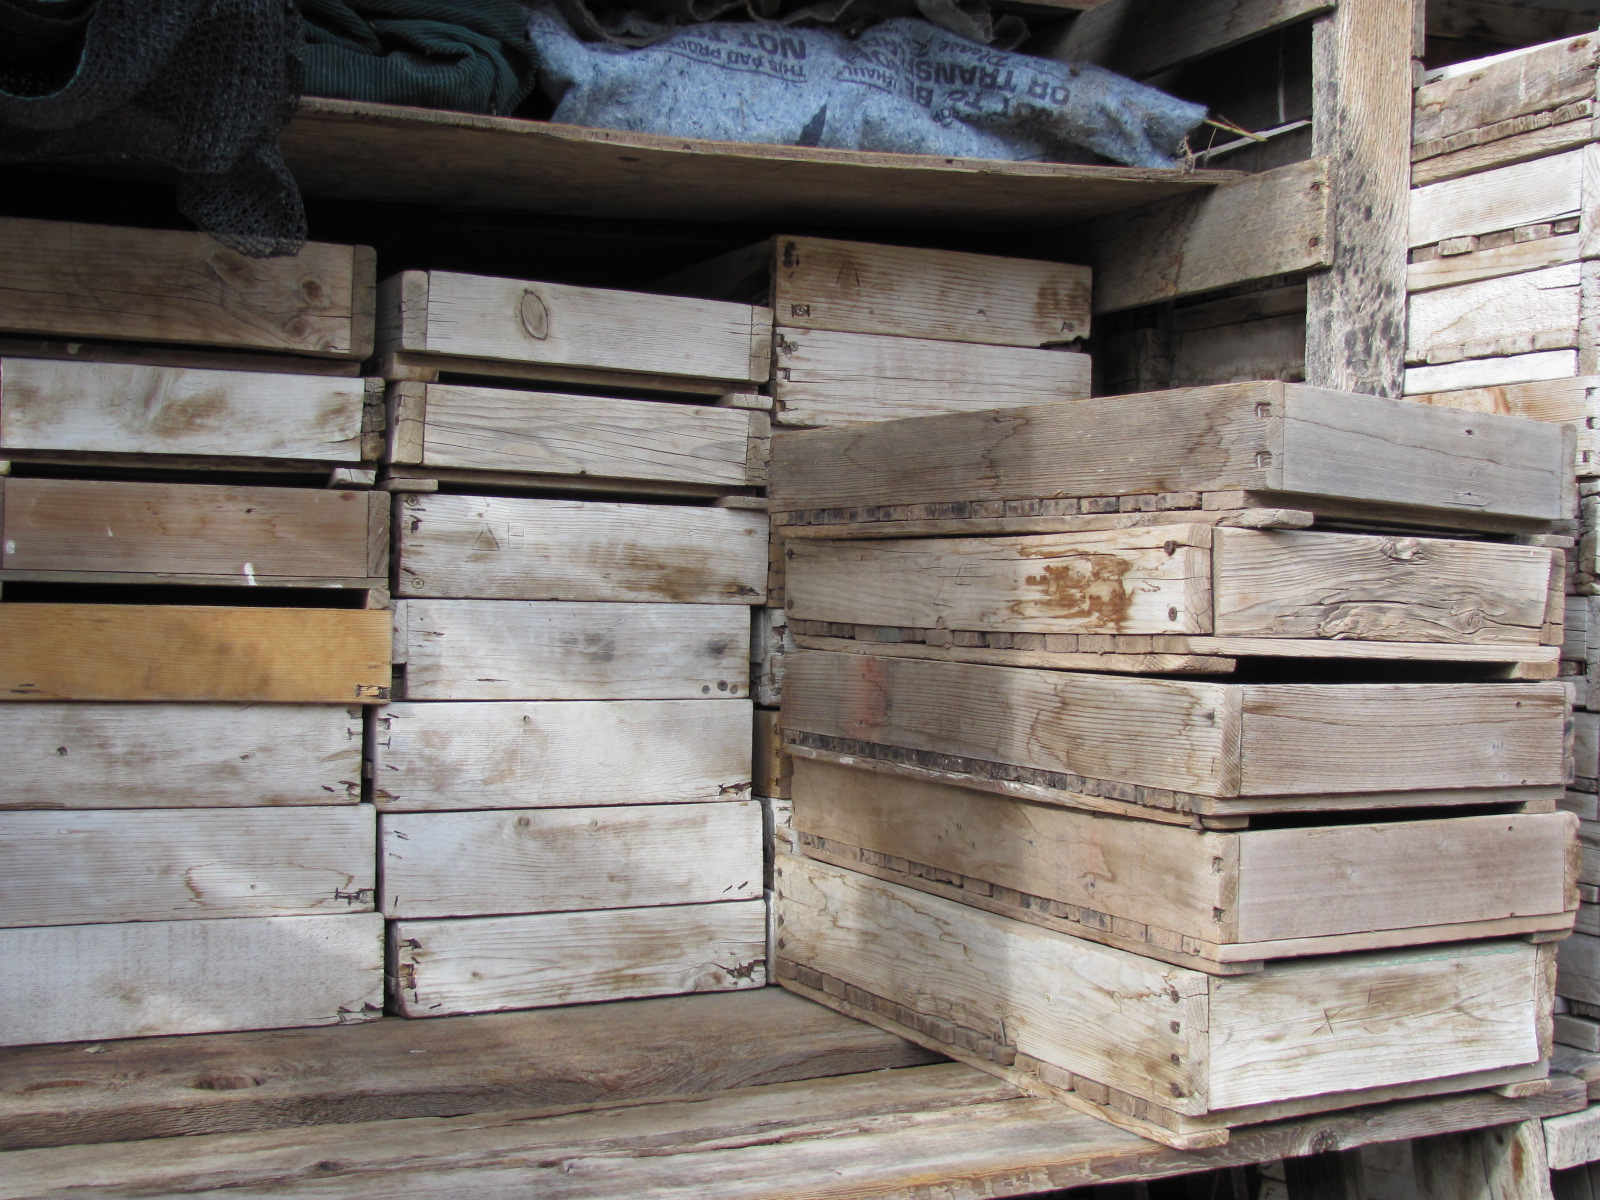
You can see the concrete slab over the well house is the floor, and the pallets being placed together as the frame
I decided to do a modern twist on the traditional jacal technique of Northern New Mexico. Upright posts are set in the ground and the whole thing is plastered over with mud. Instead we used wooden pallets and filled and plastered them with strawy mud. Using four portland cement pallets (very strong), a 4’x 8’ “ pallet for plywood, five pallets from a cabinet shop, and miscellaneous pallets from behind the hardware store, I pieced together the walls. First redwood 2 x 4 plates were screwed to the concrete slab using tapcon screws. The pallets were attached with scrap pieces of 2×4 screwed flat to the plate that keyed into the voids in the pallets. Short pieces of scrap 2x 4 also tied the pallets to one another.

Door came from Habitat for Humanity restore and because we already had it, Joel build the doorway to fit it…it is a lot harder going the other way around.
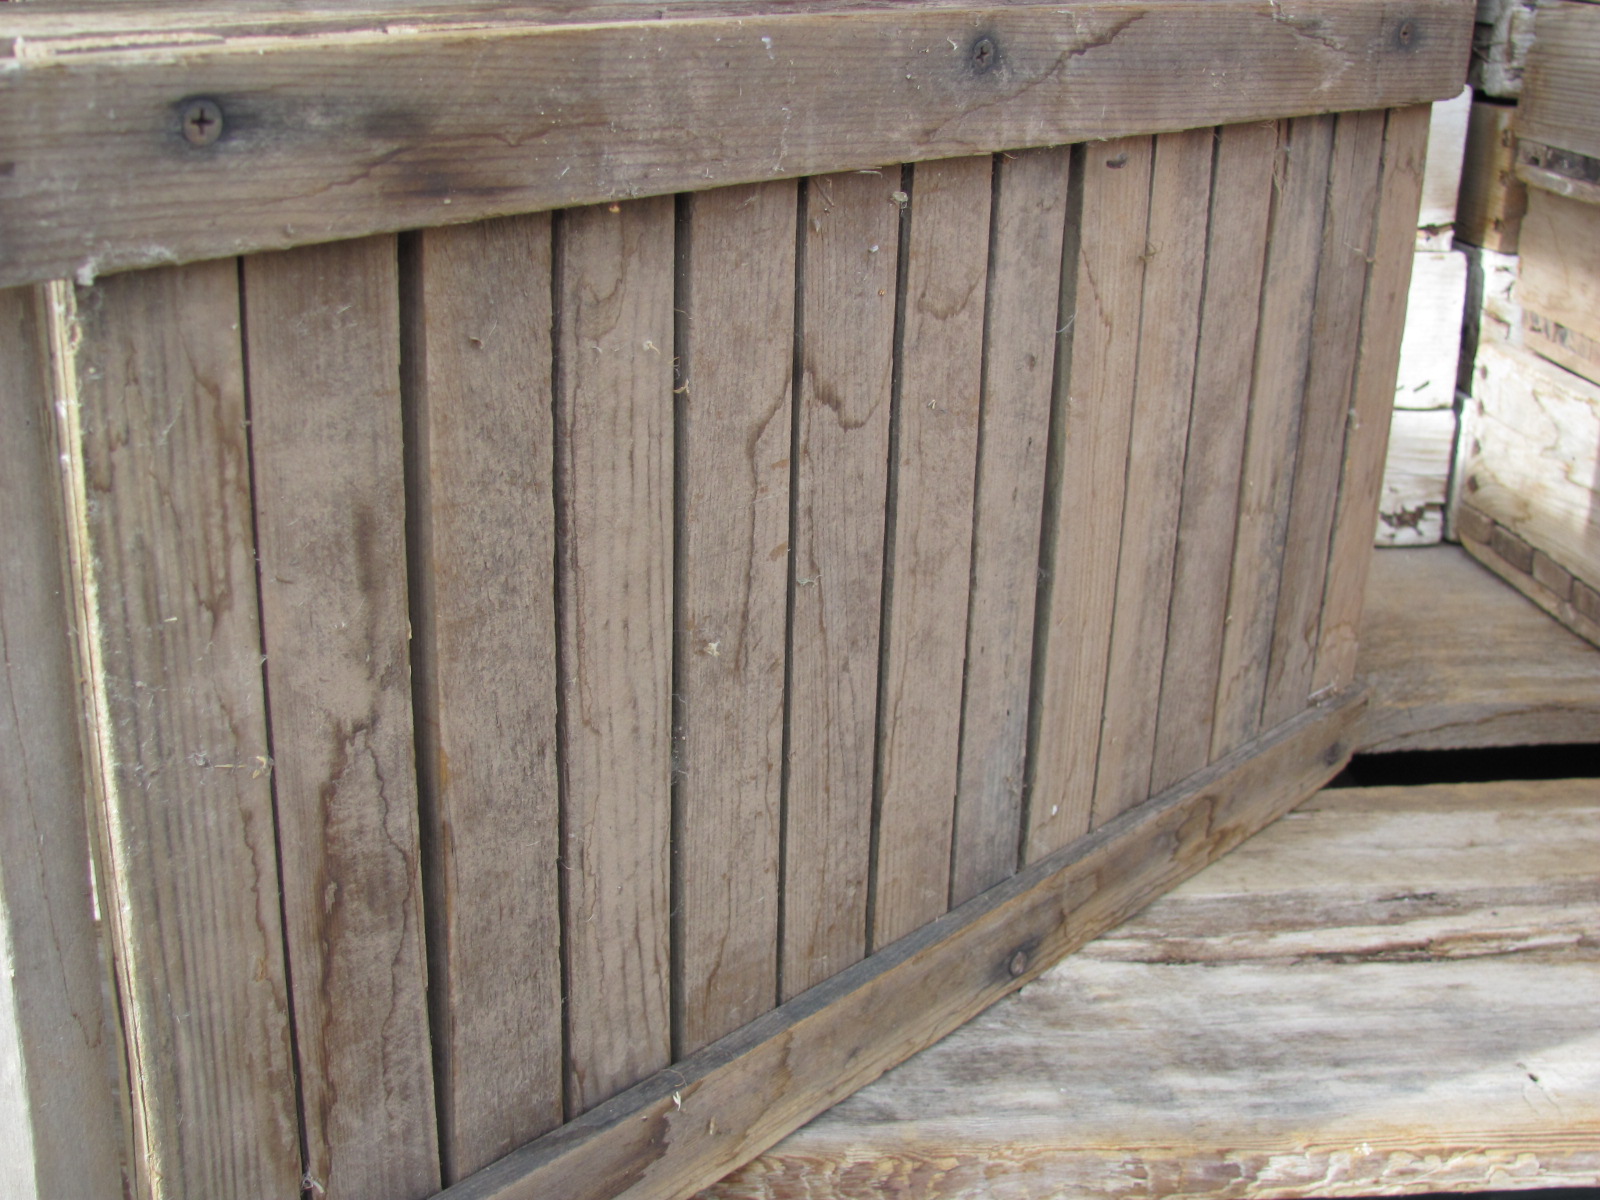
The south wall went up first because it was against the neighbor’s fence. It was sheathed with T 111 before being stood-up. The front wall included some straight lumber for framing out the door and window openings. A 2” x 8” ridge joist resting on upright members in the wall pallets carried the four cabinet shop pallets. The OSB on these pallets serves as the ceiling, the 2×4’s the roof joists, and the one-by skids are the nailers for the metal roof. The inside was sheathed with 1/8thinch pine plywood and the south wall and ceiling insulated with packing peanuts.

Roof framed for extra over hang
The pallets were filled with a straw-rich cob mixture using dirt dug in the yard. This was all plastered over with the same strawy mud mix. The straw bridges the wood members and the wood members act like wood lathe to hold the cob in place.

Strawy Mud stuck in the walls
The whole thing then got plastered over with earth plaster. The final coat was an aliz of Carle Crews’ recipe (see her book Clay Culture).

Final coat of clay plaster
Using a pallet base, a floor of douglas fir seconds was installed along with a ladder and trap door to make the root cellar more accessible. The building including electrical cost about $500 mostly for metal roofing. Many have said that would be a great extra bedroom. The big front and side overhangs make the building.- Joel Glanzberg

All Done, Pretty as a picture!!
Oh what a difference just a little shack of one’s own can make It has already taken on so many forms, a storage shed, a herb drying/potting shed, a studio space for me to make jewelry, sew and knit, a writing studio for Joel’s New book….and hopefully some day we will..Have an outdoor kitchen under it’s eves, grow mushrooms in the root cellar, use it as a bedroom for our son when he turns into a teenager… and who knows what else the future will hold for this 8×8 shack of love.

West side storage for bikes & garden tools, love that over hang
Storage

And of course the freezer with the trap door to well house/root cellar
Stocking up space

Grilling out front
Outdoor living

Creative space

Garden cottage, looks like it has always been there, tucked away in the garden