What an honor to have our little 1/5acre of paradise featured on Soule Mama’s Blog this weekend. I was shocked at how many visitors this little blog of mine got and since a few of you asked to see more, I am so happy to share. You may have noticed I love taking pictures of my garden just about as much as I love taking pictures of my kids, so I have a lot of images to share. I put together an extended garden tour from photos I have taken over the past 5 years when I started this blog of mine, so it was also a good reflection for me to see how far we have come in seven years… so with no further ado, Welcome to our humble abode…
My husband is kind of a twisty wood collector, before we got married I think he thought he would retire early and set up a twisty wood furniture company… well, no early retirement for this papa of three, and now our gardens are all hemmed in with twisty wood creations…lucky me! He also built that ladder out of a single black locust log up to a tree nook in the box elder where he wove the branches together so it feels super cozy for the little birds who hang out up there.

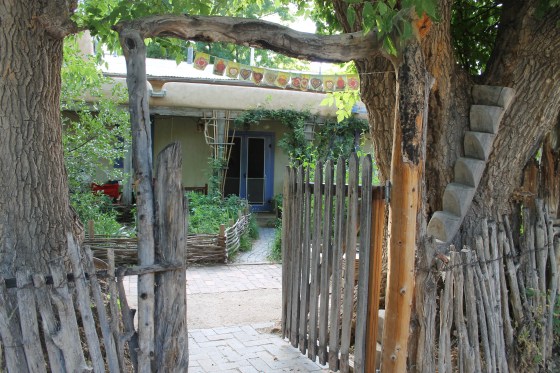
When you enter you will inevitably be greeted by a curious small person. This very small person helped my weave these low garden fences out of willow we gathered together and hauled up the lane from the river. They keep the babies out of the garden and the constant layers of leaf mulch in. ( mulch is a must in a desert garden)

As you can see, I never remove weeds from the yard, I simply pull and lay them down in place. In the desert they dry up in a day or two and act as mulch, skips the step of buying mulch. My husband has been working for years, slowly surrounding the growing spaces with bricks he finds on craigslist. They are great water catchment, thermal mass and of course great for playing with trucks, riding bikes and learning to walk on.

Another masterpiece built brick by brick by my husband. Every nook ans cranny is utilized, horno under the shed roof, cradle on the freezer, etc… we use every inch we can!
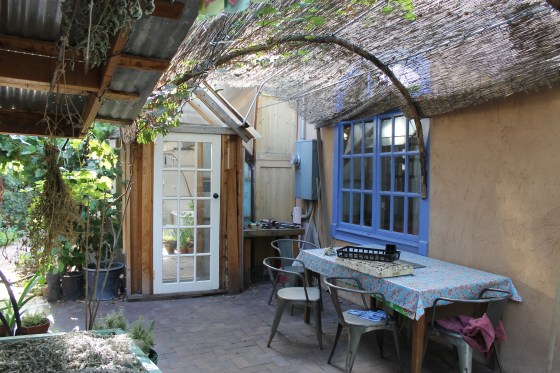
Shade is key in the desert, now we have grapes vines that are almost covering it, but those grass mat fencing things work great for shade in the summer. In the winter we remove them and have a super sunny spot to warm ourselves on cold days.
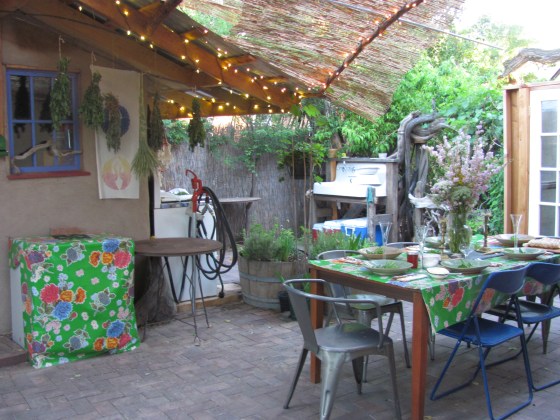
Our first dinner party in the outdoor kitchen….followed by many many more!!

The boys built our Horno a couple of summers back which we now spark up every May for our annual boy birthday pizza party and every November for the Thanksgiving Turkey.

The garden studio craft shack was actually built for food storage, but I quickly took it over with all my crafting supplies, a girl needs a place to put all her yarn right?!

It was built out of old shipping pallets and mud and straw…there is a whole blog post about the shed here, check it out, it is awesome!

Another genius of my husband!! He said he had that antique O’Keeffe Merritt stove under a tarp for almost ten years before I came along. Now I got that baby canning and baking all summer long, I barely even turn on the oven inside for months!

Our washing station where of course the water runs right out to the peach tree behind the sink. And yes that is a very large salad spinner that was worth every penny! I haven’t had a turn yet, the kids always want to do the spinning!!

Step through another twisty garden gate and follow the red brick path….to your right vertical growing on the south side of the greenhouse is usually covered with tomatoes. To your left is a vegetative hedge of Currants, Nanking Cherries, Wild Plums, Wild Roses, and Hops all that started as twigs from the national forest service that help buffer between us and our neighbors and feed the wildlife.
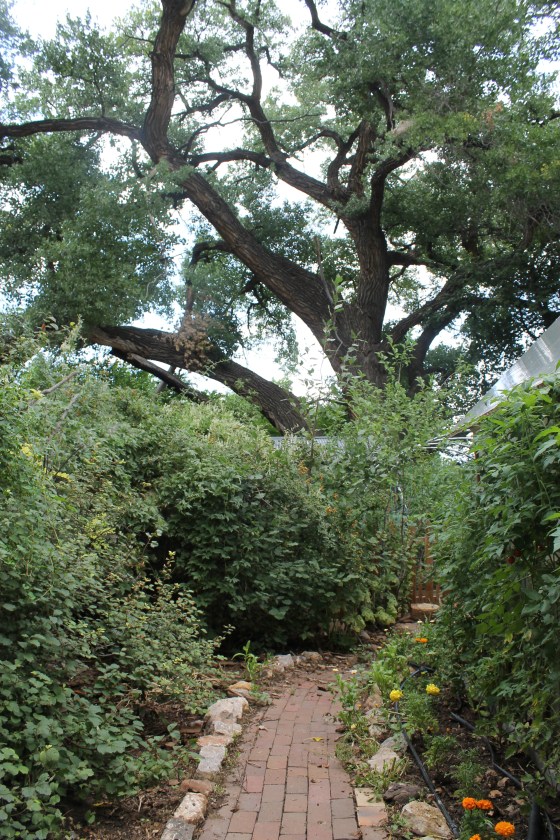
The grandma tree beckons you back to discover more around the bend, my husband always says it was this tree that sold him on the house. When he moved in 15 years ago the lot was completely barren and the house in a state of disarray.

A sharp turn to the north and you will find hundreds of gallons of rainwater being collected for dry days ahead. And yes that is a Chicago fig gifted to me from my friends mom, but it dies back every year and only produces a few figs, but it’s cool so we keep it around, who knows, maybe someday the climate will change so much it will thrive year round ( the bright side right?)
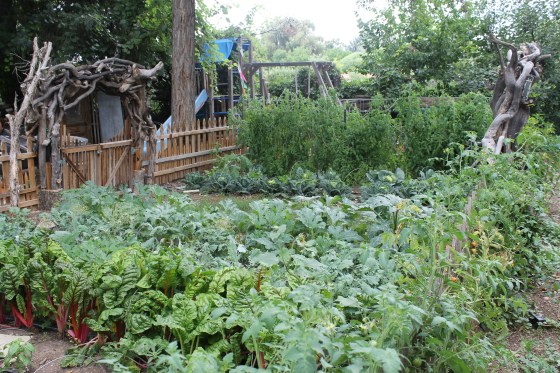
Peek over the garden gate and the prize vegetable await!

Yep, another twisty wood gate!
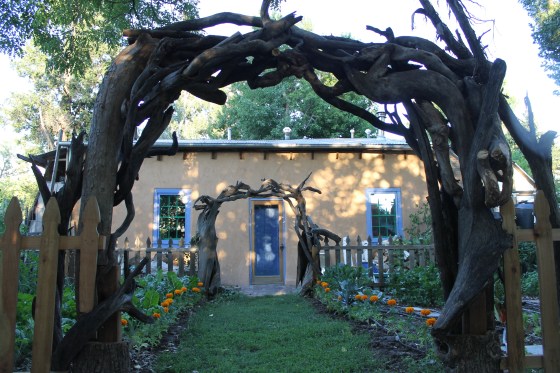
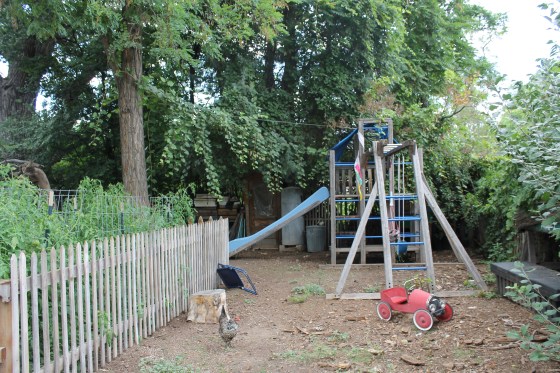
And here it is from the other side- twisty wood arches everywhere, I told you!! We decided to fence in the garden last year so that I could let the chickens free in the rest of the yard. They are too messy to come into my tidy happy place!

My desert maiden Amanda enjoying the Japanese knot weed ‘lawn’ while the kids enjoy her gift, “The Imaginarium“! What a great Aunty!!

Kid, chicken, bunny zone
Someday I would like to see a nice blue grama grass lawn here, someday!

The little garden that could all hemmed in.

Along the north side of the house is the drive way and a 4ft wide strip of dirt that once was the vegetable zone but now home to 20 espalier apple trees. They act as a living fence and this is the first year they gave fruit and they are pretty as a picture!
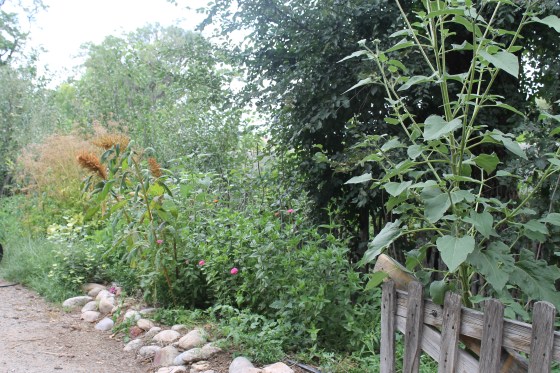
The north strip garden is now home to a ton of plants gone wild.. tomatoes parnips, amaranth, arugula zinnias and whatever else has naturalize and perrenialized itself there.

Our hops monster eating the porch
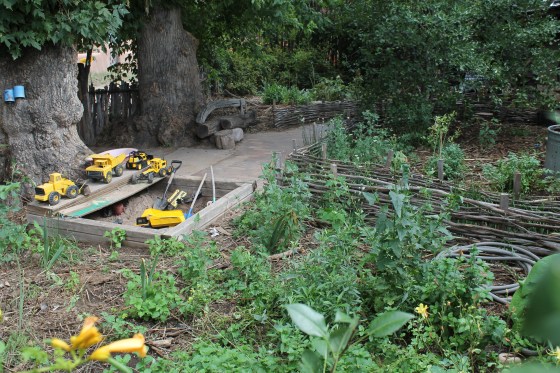
And back to the beginning, the front garden is mostly flowers, herbs and medicinals that are cycling through at different times of the year, mostly a spring garden but it gets lots of action all through the year with the sand box right in it.
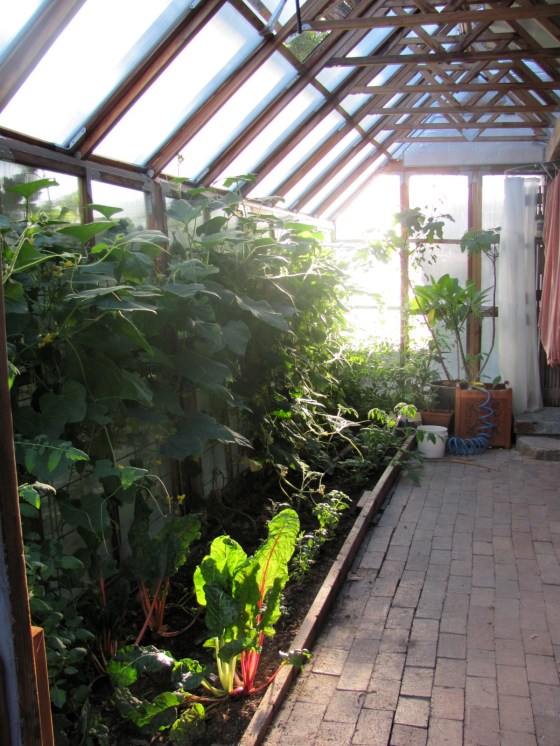
AHHH the Greenhouse in the high season, But I will save that for another day… next time I will invite you inside for tea and a look around!

Five years ago

Us today, my how we have grow!!
Thanks again Soule Mama for encouraging me to share and thanks to all of you who know small is beautiful and there is no place like home!