Ready to getting digging, to break a sweat and work out those winter kinks. Well I know I am, and bed prep is a great way to get spring started. Once you read this you may think– ‘Well that it a lot of WORK, do I really need to do all that!!’

The answer is of course no, you can do whatever you and your garden deem fit…There is no-till, there is lasagna gardening, there is digging in cover crop, there are raised beds, and of course rototillers & tractors could to the hard tilling work for you… oh I could go on, but if you do have in-ground beds, and want to get digging….. it goes like this….

First I raked off all the straw that was placed there to mulch the tomatoes that grew here last year. I removed the tomatoes and left the straw covering the beds all winter– though this is in the hoop house I like to keep my beds covered– Reduces erosion, keeps the soil warmer so it can be worked earlier and keeps in the moisture.
*Before prepping a bed, checking the moisture level is really important– If it is too hard you will be digging rocks, if too wet you will be slopping in the mud, lifting HEAVY wet soil, working you back twice as hard and of course compacting the soil where ever you walk….So always check the moisture level before you start. It should feel cool to the touch, leaving dampness on your skin, but not water…It should crumble in your hand into chunks rather than into dust….If your moisture level is too high, dry it out of course, if too low water it well and plan on digging a couple of days later, even the worst looking soil can be transformed with a little water.
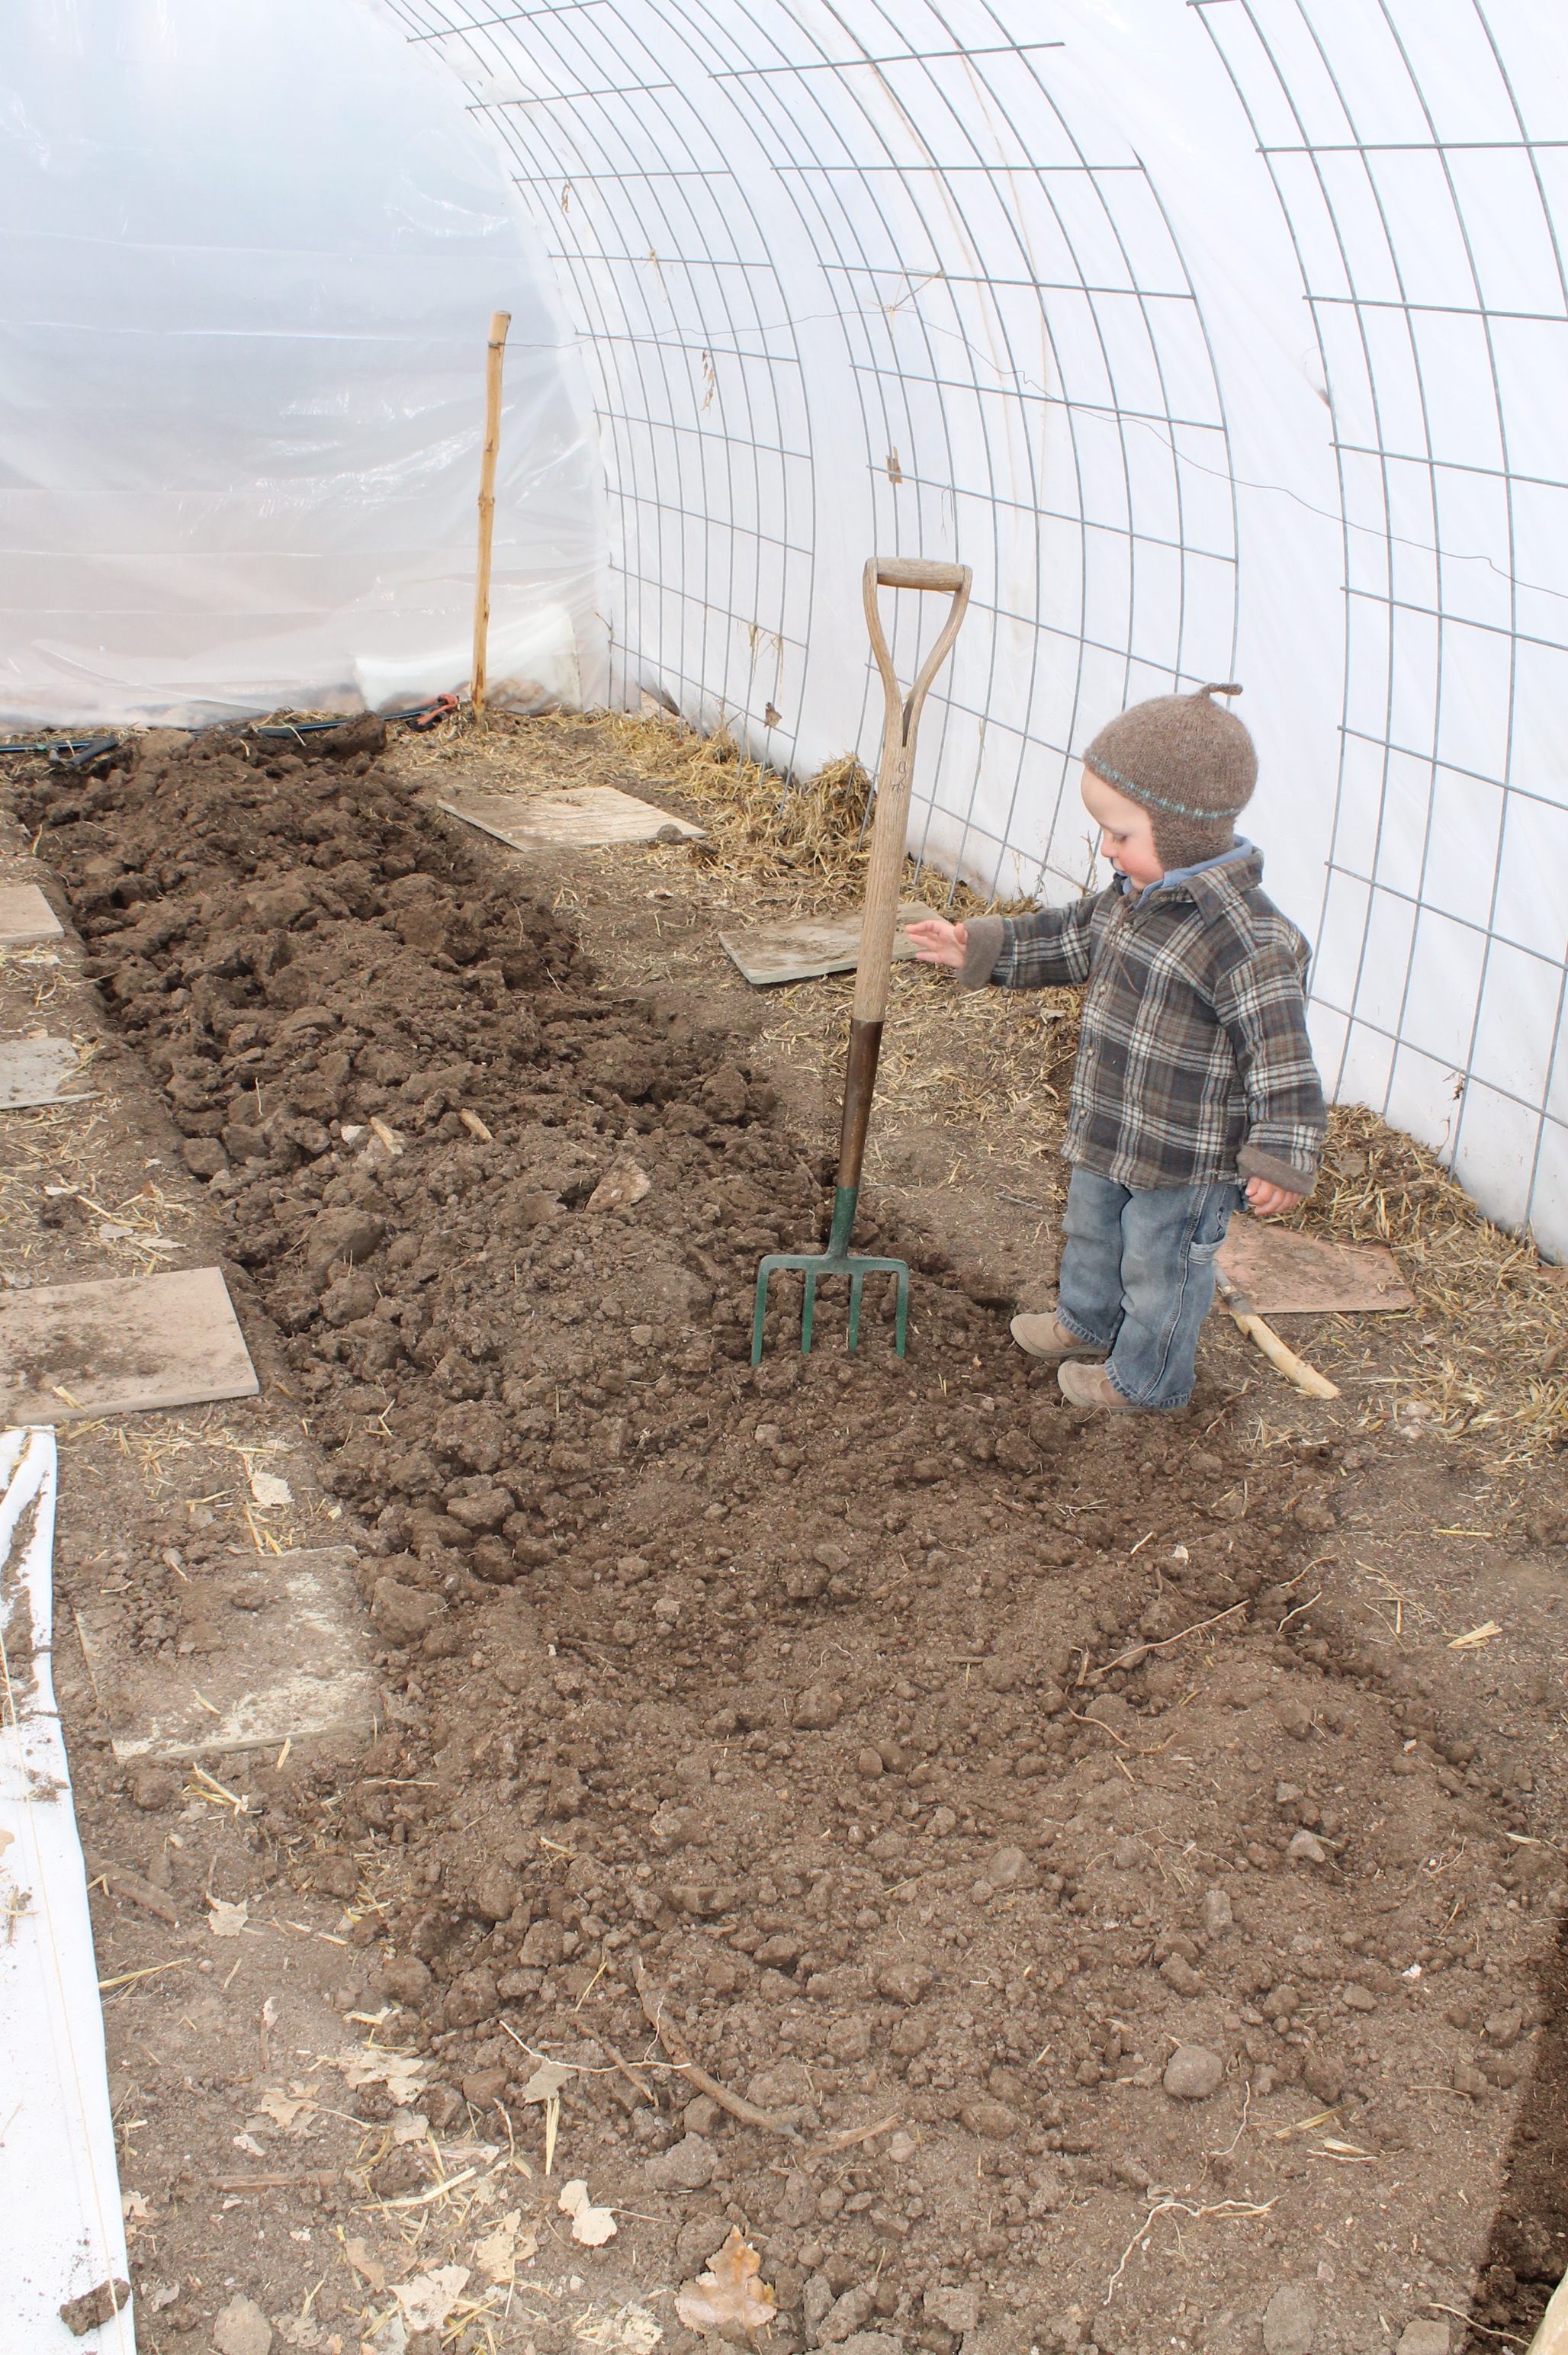
Once the moisture level is just right and the is bed clear, you can get digging. I began with my Spade to edge the beds, that is cut a line along the bed edge to make sure my bed is nice and straight by just sticking the spade in as far as it will go all the way down each side of the bed. This gives you a nice border to work within. Then I use my beloved digging fork, starting at one end and working backwards down the bed, flipping up the soil ad I go. That way I dig where I step, not vis versa, so the bed is nice a fluffy when I am done.

Next, I add my compost. This was harvested from my backyard pile that had been resting since last summer. I was delighted that I got 3 wheel burrows of compost from what looked like a pretty small pile. It may not be enough for my whole garden, but it was good to note that with our food scraps, leaves and garden waste we can produce about 3 wheel burrows worth of compost per season. I took my spade and sprinkled it on the bed, about 3/4 inch thick. I used 1/2 the wheel burrow for a bed measuring 3X20 ft.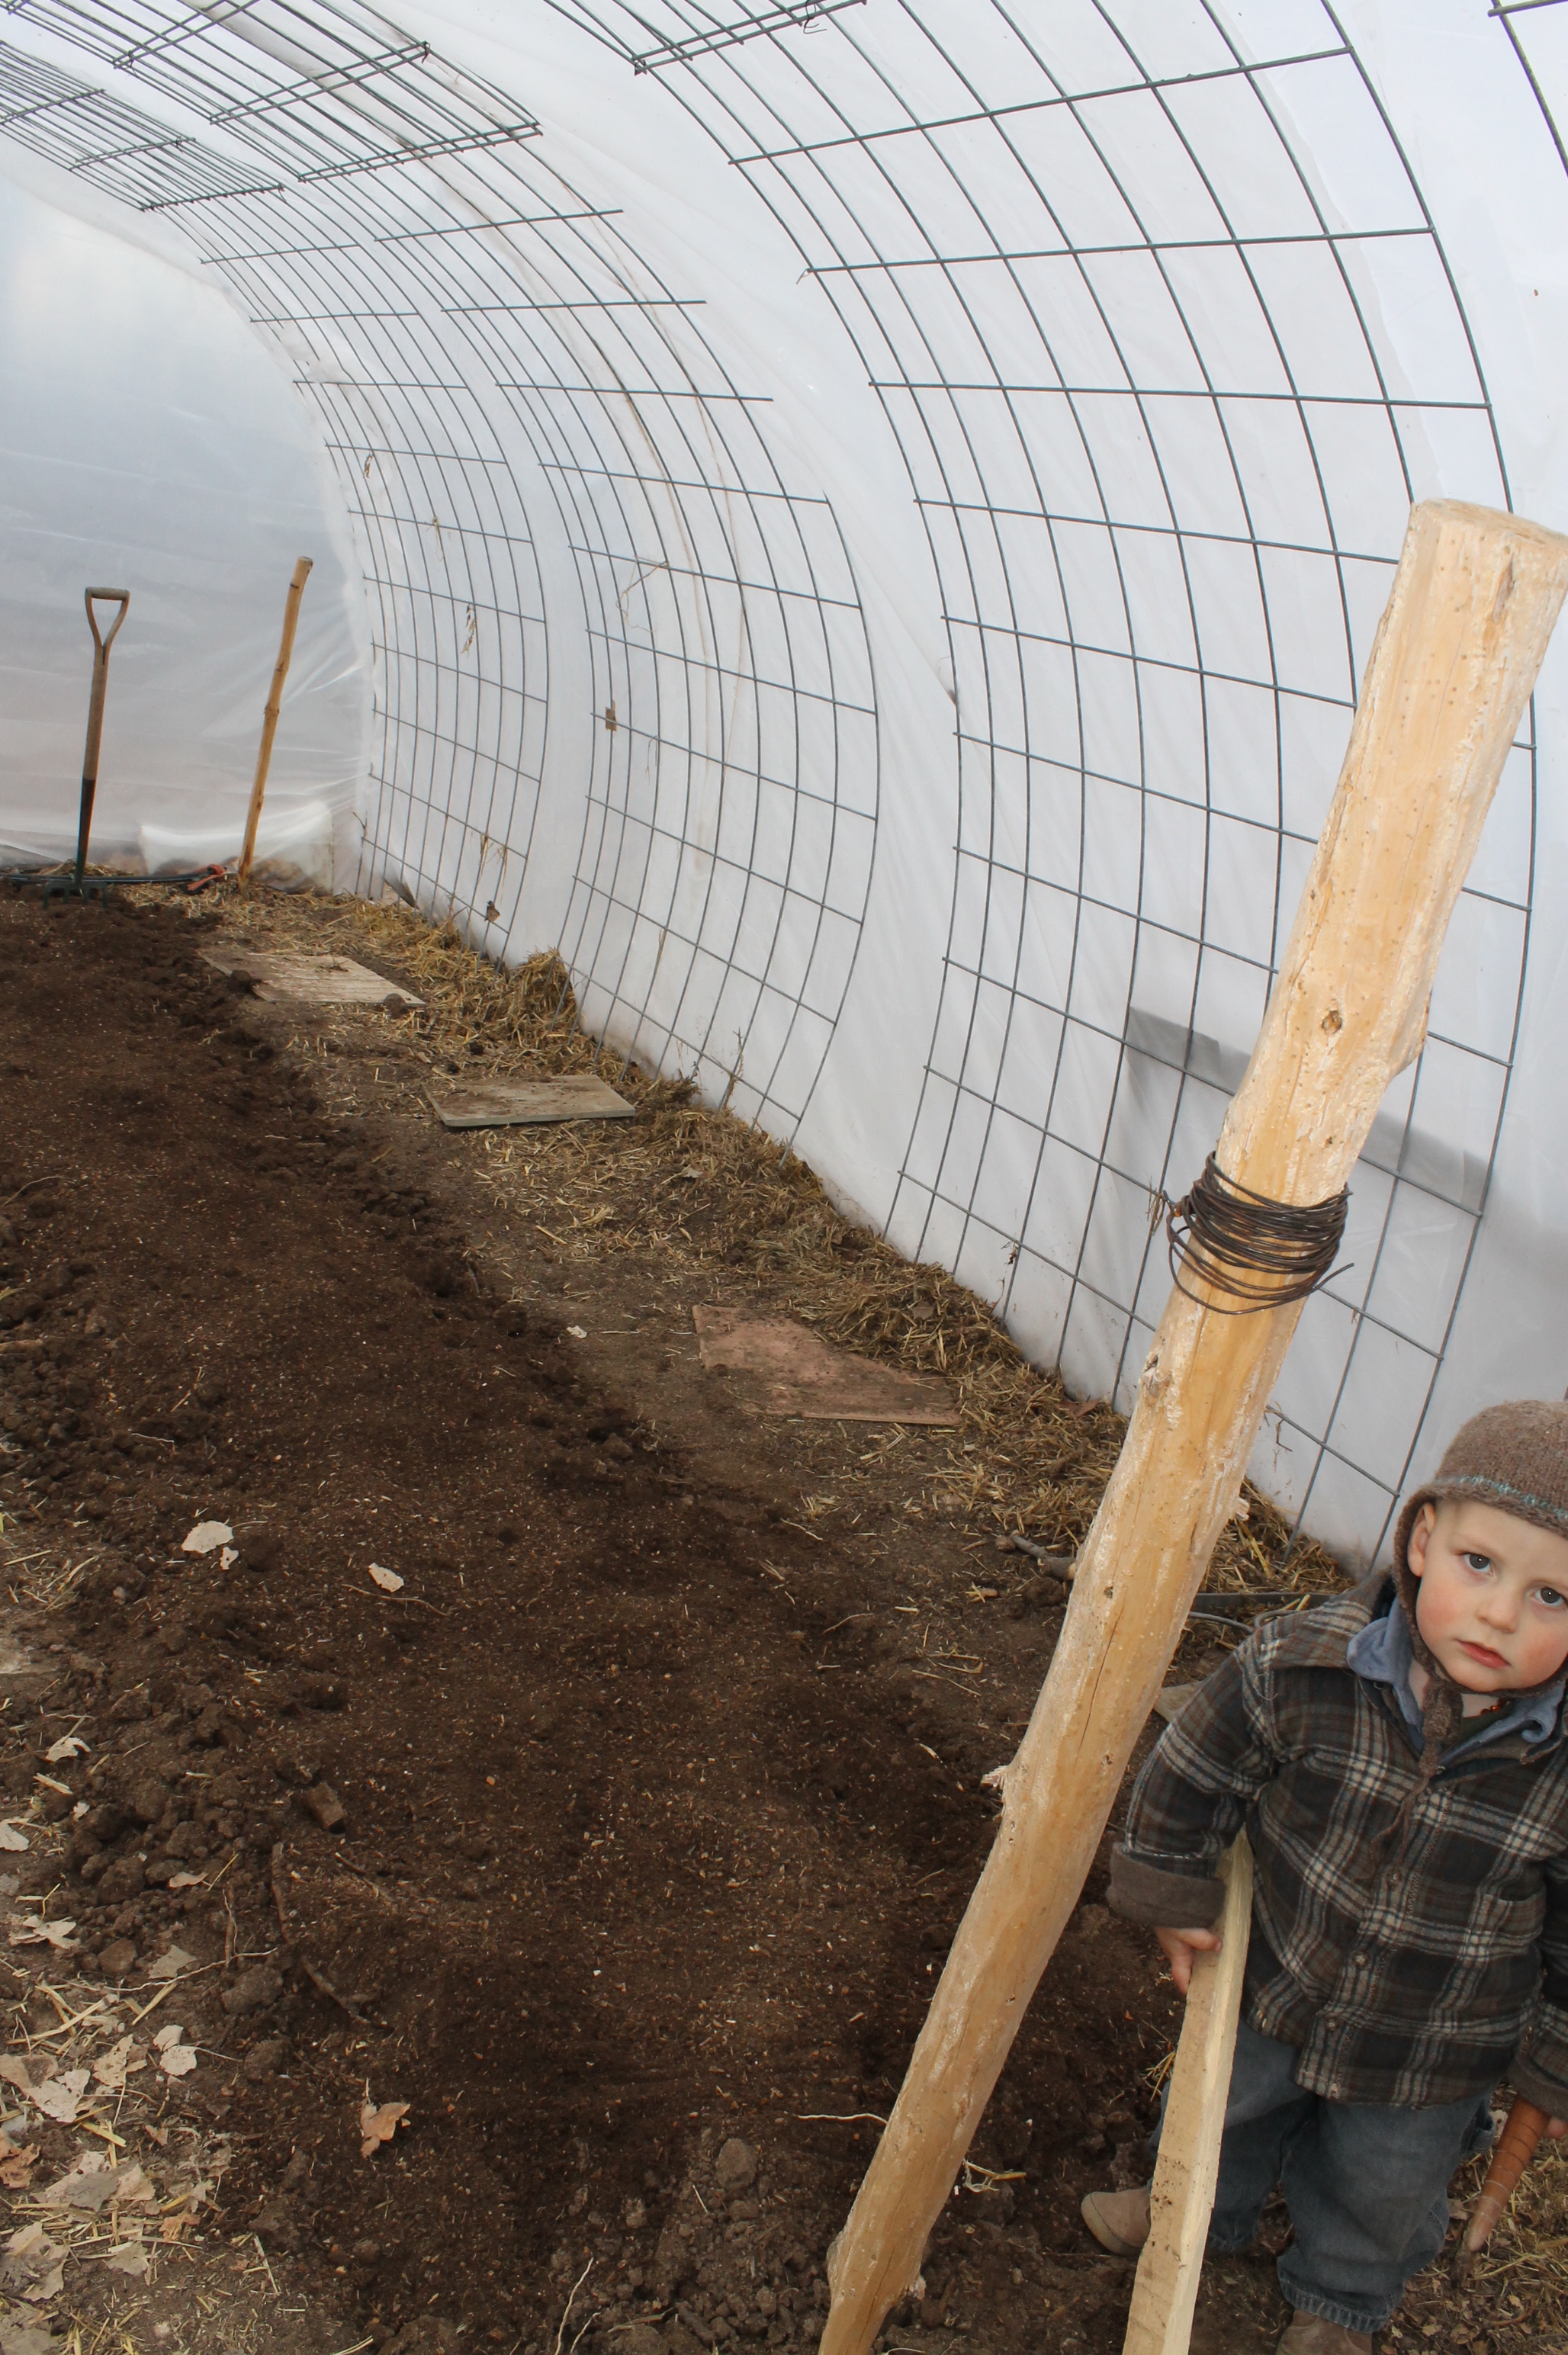
Once it was spread I went back with my spade in the same way I passed with my fork and dug and flipped and smacked, incorporating the compost and continuing to break up the chucks. A big part of what I did that day was in fact break up chunks, but I have to say it felt good!! I worked up quite a sweat in that hoop house, sure beats the gym!!! Now with smaller chucks I went back over, yes again, with a rake. This is the zen part. There is still a little smacking of clumps but mostly just smoothing it all out.
The finer you go, the tilth better for your seeds. And the more even you go the more consistently moistened when watered. Now this stage seems to be the most appealing for toddlers to step right in the make their mark… So I baby trapped the bed by putting in a few stakes and wrapping with twine about a foot or two high. This seems to work well for a person of 22 months– though past 2 years they can just hurdle it with ease– I guess I will cross that bridge when we come to it. There is drip tape already in the hoop house so I just re-laid it. It won’t be turned on for another month, but having it out gives me nice straight lines to plant along and a sure thing my babies will get the water they need as the season progresses. Now we Plant!!
 These are cool season crops started in the greenhouse, ready to have more space!! I divide them ever so carefully and placed them individually in the ground.
As I transplant I make sure to make holes deep enough for all the roots to rest in without being scrunched, I also make a little moat around each plant to ensure water pools around each and doesn’t run off.  Now we water & wait– though with the warmth in the hoop house it shouldn’t be long now!!
 I had to go away for week before posting this– so here is what it looks like a week later!! We should be eating in no time!!

Pingback: Gardening has NOT been Canceled | Seeds & Stones