Over the years I think the most common question I get asked as a garden teacher is “What do I plant, and when?” I have answered the best I can, sent people to my favorite books, taught classes, blogged about it….But I fear I may be giving too long and complicated answers… the basic home gardener doesn’t want calculate and compute, they just want to know what to plant and when and get on with it, am I right!! So here is this years attempt to make gardening in the high desert all the more straight forward and accessible to everyone. Please keep in mind, many might argue with me, as we gardeners all love our own way of doing things..I am just sharing what I do and what I believe you can do too. This post is loaded with links so be sure to click on them for more info. 
January–
Plan– Take a seed count, Order any seeds from your favorite Companies,( Mine are Johnny’s, Seeds Savers Exchange, Native Seed Search , Order potatoes (companies can and do sell out)
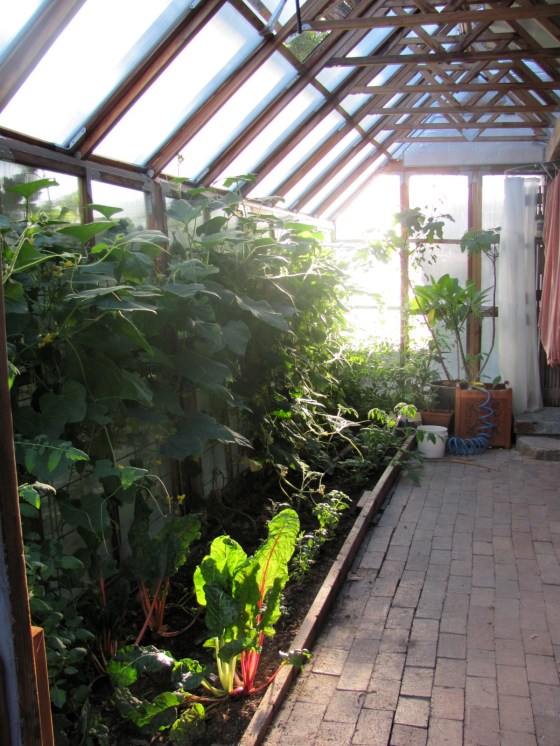
Plant–Greenhouse (Indoor south-facing window) Onions, Leeks, Scallions, Tomatoes(yes it seems early but is works for me)Lettuce, Cilantro
Cold Frame– Spinach, Mache, Cilantro, Lettuce, Arugula, Parsley, Peas, Radishes and other cold season greens.
February–
Plan– Decide where you might want to put everything measuring square footage, you can use graph paper, or this fancy software. Once you know how much of what it is you want to grow, you can really start.
Plant- Greenhouse (Indoor south-facing window)Broccoli, Cabbage, Kale, Collards (these can also be direct sown outside next month),Tomatoes
Cold Frame– Spinach, Mache, Cilantro, Lettuce, Arugula, Parsley, Peas, Radishes and other cold season greens, Carrots, Chard
Outdoors with Row Cover-Spinach, Mache, Lettuce, Arugula, Parsley, Cilantro, Peas, Radishes and other cold season greens,
March-
Plan-Order Compost (I like to put down compost every year, about 1inch thick on all my veggie beds, if you can produce this much on sight, well done!!, if not it is worth buying some here) Plan/Purchase Irrigation system–lots to say on this matter, but this year we are going with t-tape.(more on all that later)
Plant–
Greenhouse (Indoor south-facing window)
Basil
Broccoli, Cabbage, Kale, Collards, (can also be planted directly at under cover outside)
Tomatoes, Peppers, Eggplant
Cucumber, Melon, Winter Squash (Pumpkin, Butternut, Acorn, Etc…)Summer Squash (zucchini, Yellow Squash) These all do well direct seeded outside later in the season
Flowers- Calendula, Marigolds, Sunflowers, Snap Dragons, Tithonia, Zinnias (direct sowing works very well for all of these later in the season, I just have a greenhouse and can’t help myself!)
Cold Frame– Spinach, Mache, Cilantro, Lettuce, Arugula, Parsley, Peas, Radishes and other cold season greens, Carrots, Chard, Beets
Outdoors with Row Cover-Spinach, Mache, Lettuce, Arugula, Parsley, Cilantro, Peas, Radishes and other cold season greens, Broccoli, Cabbage, Kale, Collards, Carrots, Chard,
Outdoors in the great wide open– Potatoes, Spinach, Peas, Radishes, Lettuce, Dill, Chives, Flowers- Sweet Peas…I always try to get these guys in by St. Patty’s day, but am usually about a week or so late.
Just a note-March is when I really start planting outside as I am lazy with cold season watering. If I were more serious about production I would be gardening year round, but March really feels right to me, everything must rest, right?!! Remember, once you put seeds in the ground, you need to keep them moist for them to germinate and grow, granted the soil dries-out much slower in the cool season, but this is the desert, so only sow when you are ready to hand water (irrigation usually isn’t turned out till May). If you are watering outdoors in the cold months (you should be watering perennials and trees every 2-4weeks with these dry winters)…..always drain and unhook your hoses, they can freeze and burst and cause you real trouble!!
April
Plan- Spread compost and lay irrigation if that is part of your plan. Till or dig any bed you plan to turn.
Plant-
Greenhouse (Indoor south-facing window) I am full up in the Greenhouse by this time and just watering my babies. I always try to have a flat of sunflower sprouts growing, you can sow these once a week.
Cold Frame-Pepper, Eggplant (If your cold frame is tall enough this ensures a nice hot mini greenhouse that you can close up if we get frost before they ripen in the fall)
Outdoors with Row Cover- Spinach, Mache, Lettuce, Arugula, Parsley, Cilantro, Peas, Radishes and other cold season greens, Broccoli, Cabbage, Kale, Collards, Carrots, Chard,
Outdoors in the great wide open- Onions, Leeks, Scallions,Potatoes, Spinach, Mache, Lettuce, Arugula, Parsley, Cilantro, Dill, Chives, Peas, Radishes and other cold season greens, Broccoli, Cabbage, Kale, Collards, Carrots, Chard, Beets, Parsnips, Flowers- Marigolds, Snap Dragons, Sweet Peas
May (Last Frost date May 15th)
Plan-Spread compost and lay irrigation if that is part of your plan. Till or dig any bed you plan to turn.
Plant-
Outdoors in the great wide open- (Direct seed or transplanted from the greenhouse)
Broccoli, Cabbage, Kale, Collards, Carrots, Chard, Beets, Parsnips, Beans, Corn, Squash, Cucumbers, Melons, Amaranth, Basil, Flowers- Calendula, Marigolds, Sunflowers, nasturtiums, Cosmos, Zinnias
Who Did I Forget?- Garlic is planted in the fall, sweet potatoes I have yet to try though they are getting experimented with in gardens all around me, Bok choy- yet to really succeed against the flea beatles, but will let you know when I truly get a successful crop!
Well I hope that helps– never a short answer from me, but hopefully somewhat simple and straight forward? Happy gardening!


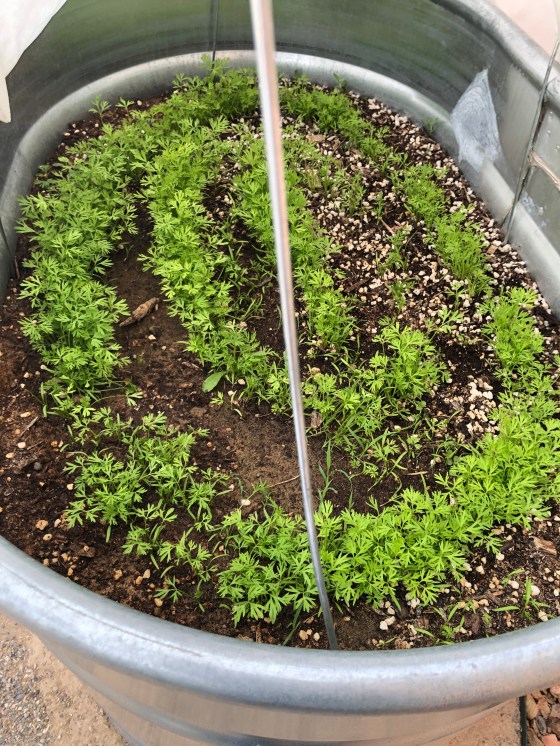
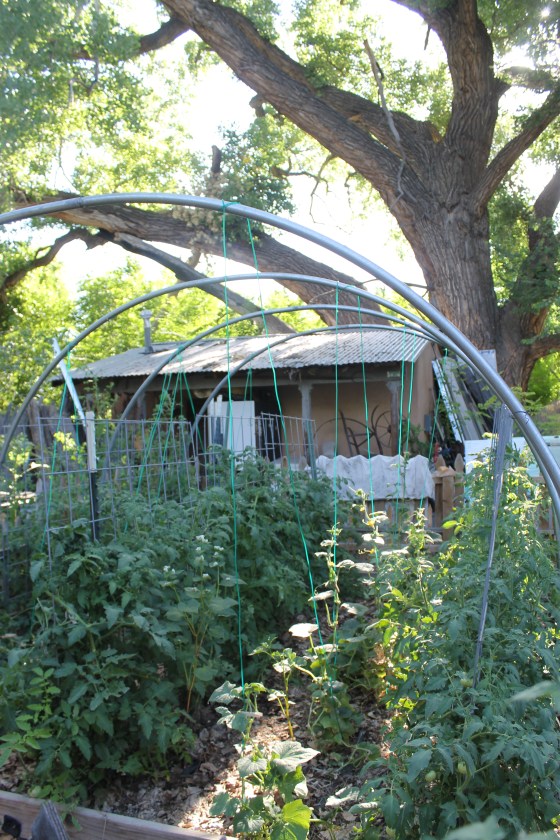
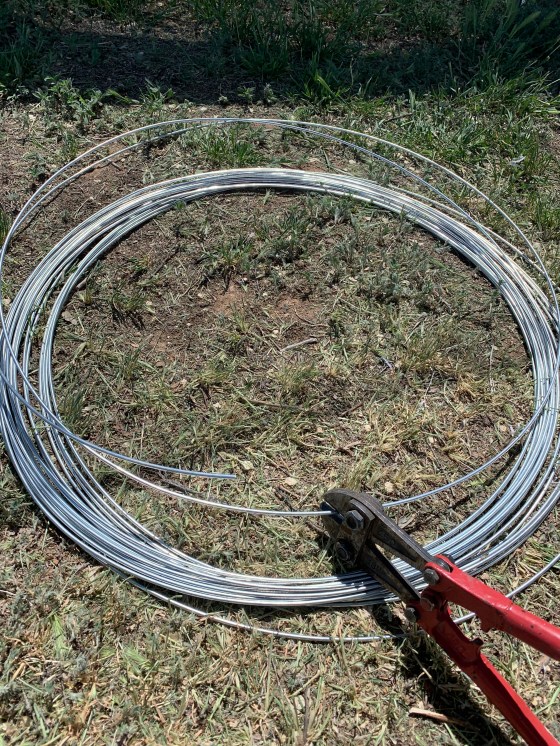 With a piece of medium weight ( 1.5 oz) row cover over top, which they sell by the yard at Agua Fria and Plants of the Southwest.
  We used plastic clips to attach the row cover to the tank and clothes pins to hold the row cover to the wire hoops bought at Walmart.


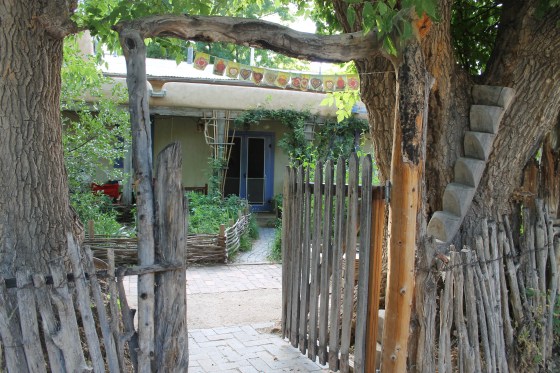
 Happy Earth Day- which is every day for me, but it always good to remember where you came from, your mother earth!
 Moisture– Don’t water by habit, water by feel. You don’t need to water every day but you do need to visit your seedlings everyday. Touch the soil, get up close. If the soil is moist to the touch (moist as a rung out sponge) you don’t need to water. Seeds are only in the first inch of soil so this is the area that needs to be moist. If when you touch the soil your fingers aren’t moistened, water. I water daily, but on a cloudy day if the soil isn’t drying out, I leave it. Outside I use row cover over my seeds, like a blanket. I sow the seeds, water and them put row cover over them, then water the row cover. I peek every day or so to check the moisture and water if need be. When I see sprouts, I remove the row cover and place mini hoops over the bed, then I put the row cover over the hoops so the seedlings don’t get squashed, but still are protected against wind, birds, cats, children, etc… I do fold the row cover back to water with a sprinkler until I have my irrigation up and running.
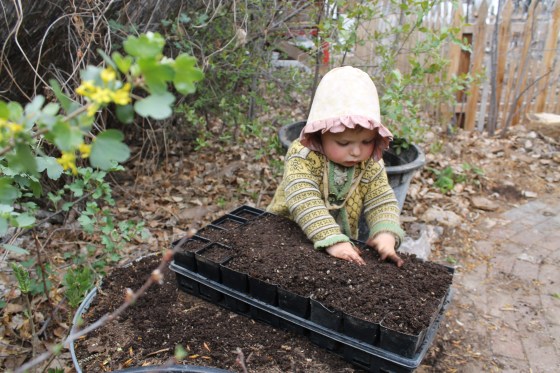
 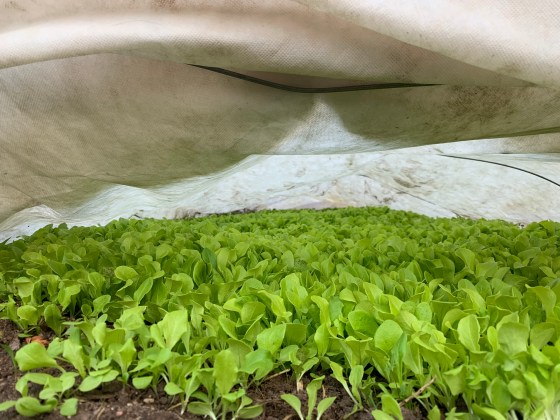 ***Note- I always water with a watering can or sprinkler with a very fine spray. Seeds are fragile and can be blasted out of place by a hose or heavy flow from a can.*** Just like this little gardener!
 Temperature–
 I plant peas in the snow and it works every time! Many people are planting carrot now, which is fine, but it is still chilly out there and they do take a while! You can do a few things heat up the soil faster like row cover, plastic covers, or mulch, and indoors heating mats work really well for peppers, eggplant and tomatoes, especially in January!… but the soil will warm up soon enough, wait for it!


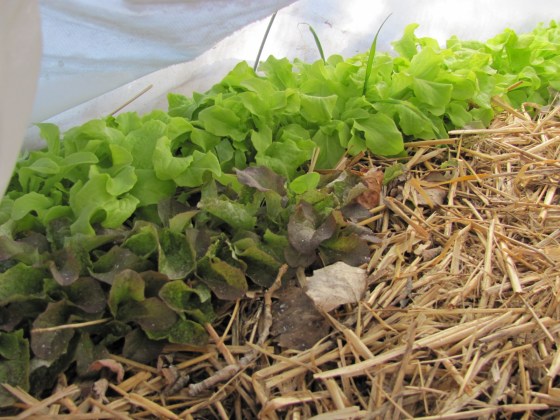
 Mulch-Mulching is wonderful and necessary to retain moisture, create soil biology and protect your plants, but if a seed bed is over mulched before the seedlings are 3 inches tall it can suppress plants from coming up through it. I usually apply wet straw mulch around my seedlings, after they are 3 inches tall. If you do mulch with straw over a seed bed, make sure it is light and lose so the seedlings can push up through it. Like I mentioned above- Outside I like to use row cover to retain moisture till I get good germination.
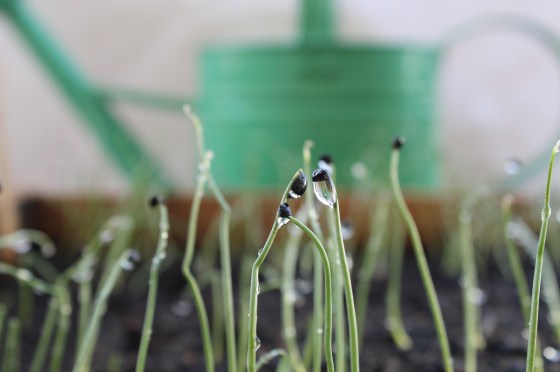 Other Factors–
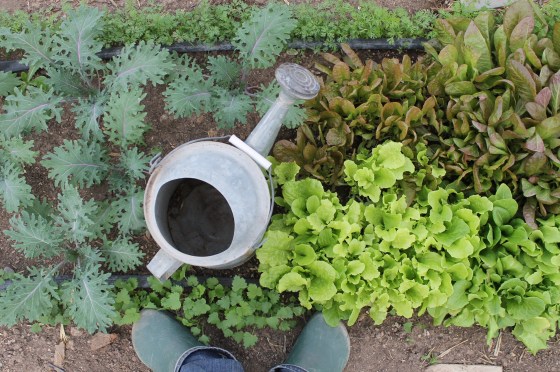


 May is lovely- but can be wild too. As we have seen this weekend in Santa Fe- a foot of snow!!
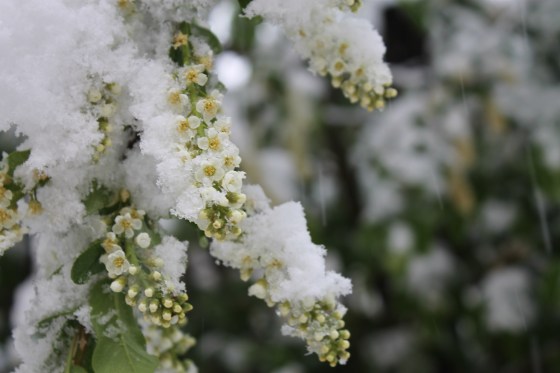
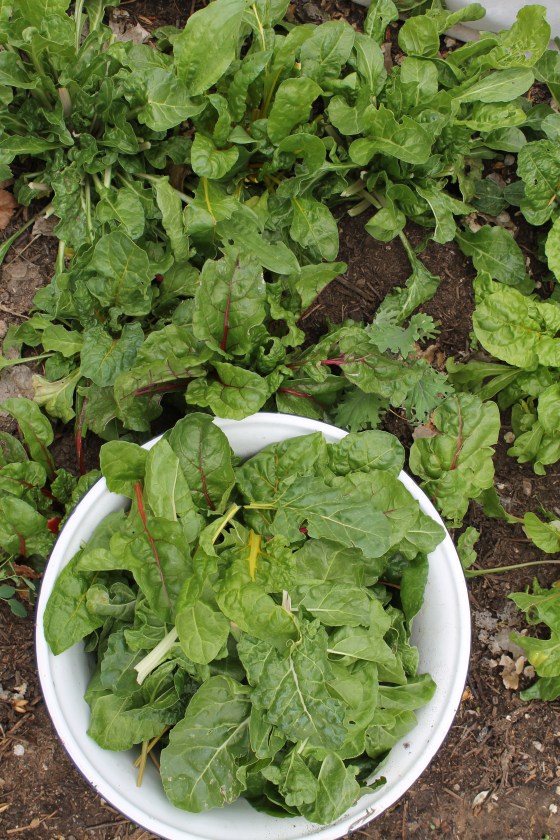
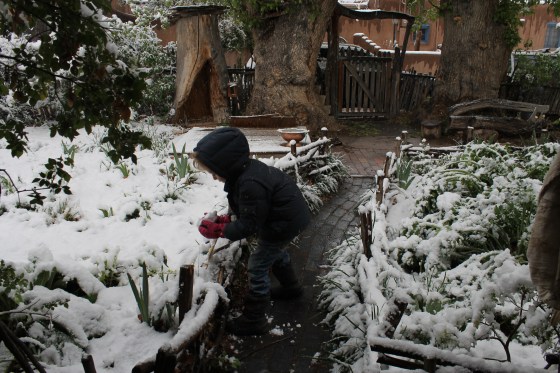 But the good news is no harm done over here. All the little cool season greens and seeds were tucked under row cover and only seemed to perk up from crisp air all the moisture gifted to them. If you are wondering how cold CAN your cold season crops get…well
 The hardiest of the winter vegetables are Kale, Collards, Peas and Spinach which can take Temps as low as low 20’s and in the high teens.

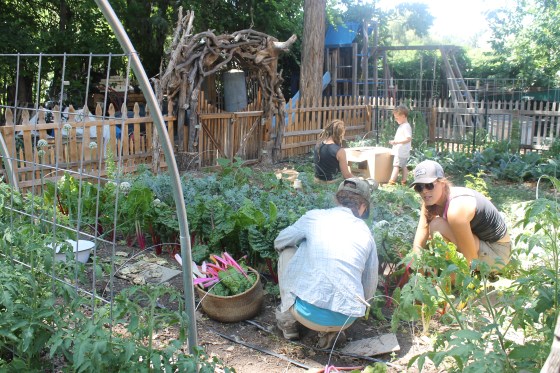
 My work has always been grow food, feed people, teach them so…. and so though it may be simple work I am getting the message that it is still important, relevent and imperative in these crazy times. People will always need to eat and resistance creates hunger!! So I am here to feed and nourish the notion to do so…
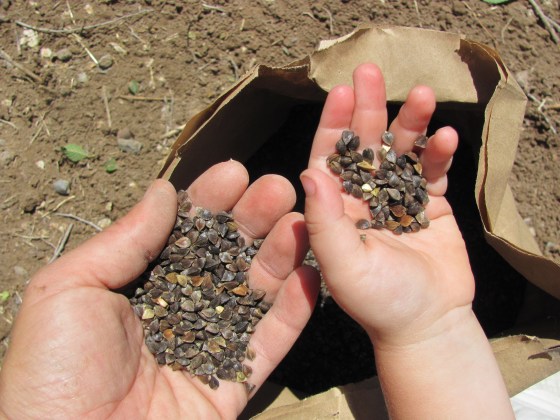


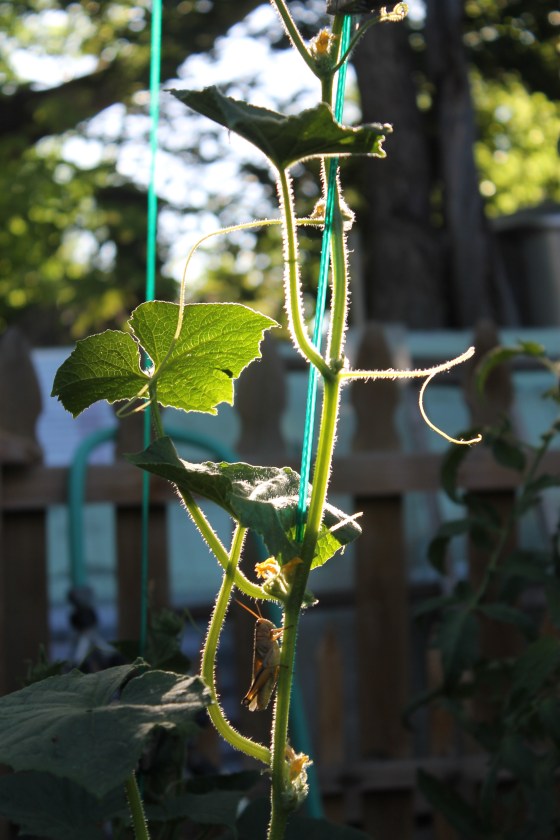
 So there is my clever garden invention for the day and with the evening backlight on my little cucs, I couldn’t help but share!
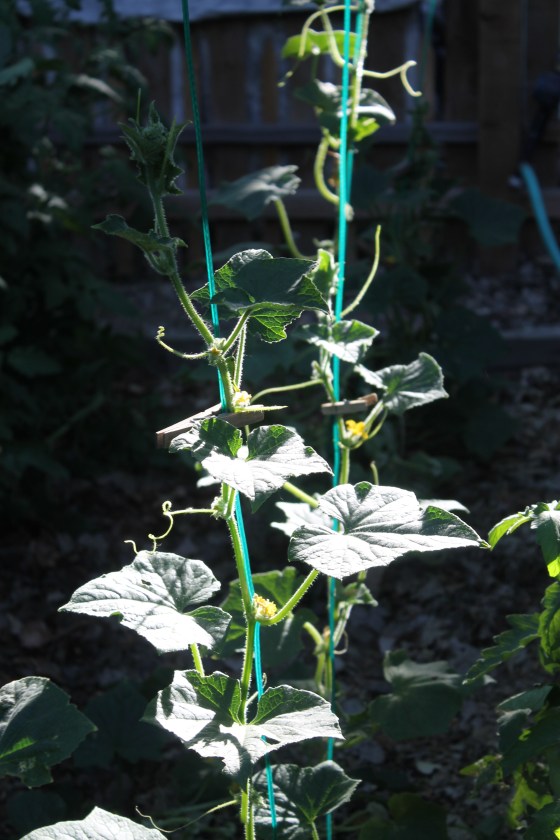


 Here is a
  Here is another on with
 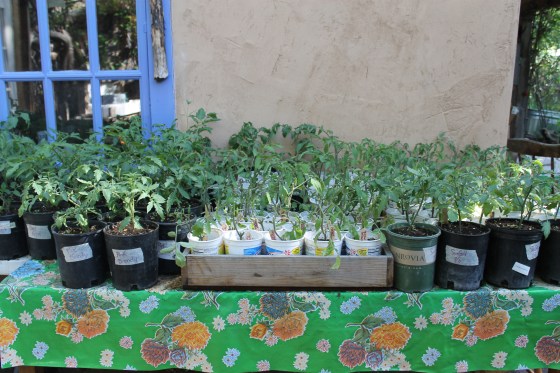 And lastly one about