 Happy Earth Day- which is every day for me, but it always good to remember where you came from, your mother earth!
Today I got a handful of texts and calls asking me the exact same question…
Me….”Hello, growing home hotline”
Friends….”Help! I planted my seeds over a week ago and nothing seems to be happening, is something wrong?”
My first thought was, ‘a watched pot never boils’… are we in our gardens a little too much that are seeds are getting shy? I doubt it. Maybe something is in the stars…but after the new moon sap with rise again so things should start to sprout right out, but seeds need time, consistent moisture and appropriate temperatures to sprout.
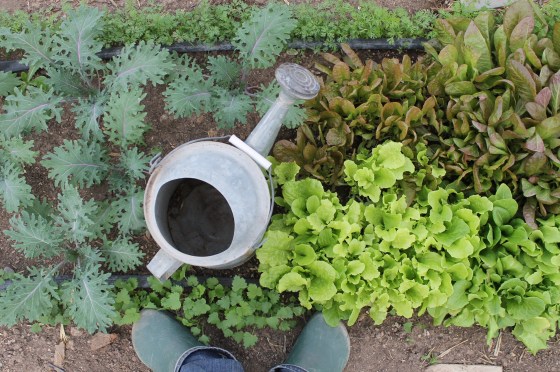
 Moisture– Don’t water by habit, water by feel. You don’t need to water every day but you do need to visit your seedlings everyday. Touch the soil, get up close. If the soil is moist to the touch (moist as a rung out sponge) you don’t need to water. Seeds are only in the first inch of soil so this is the area that needs to be moist. If when you touch the soil your fingers aren’t moistened, water. I water daily, but on a cloudy day if the soil isn’t drying out, I leave it. Outside I use row cover over my seeds, like a blanket. I sow the seeds, water and them put row cover over them, then water the row cover. I peek every day or so to check the moisture and water if need be. When I see sprouts, I remove the row cover and place mini hoops over the bed, then I put the row cover over the hoops so the seedlings don’t get squashed, but still are protected against wind, birds, cats, children, etc… I do fold the row cover back to water with a sprinkler until I have my irrigation up and running.
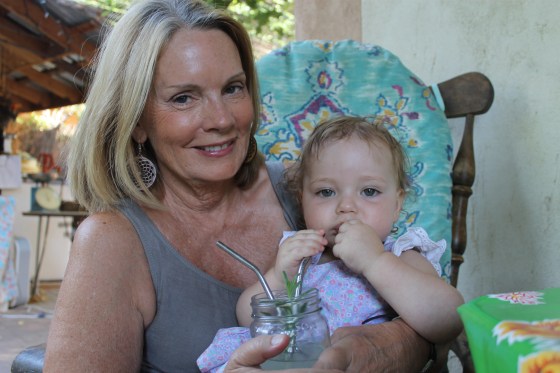
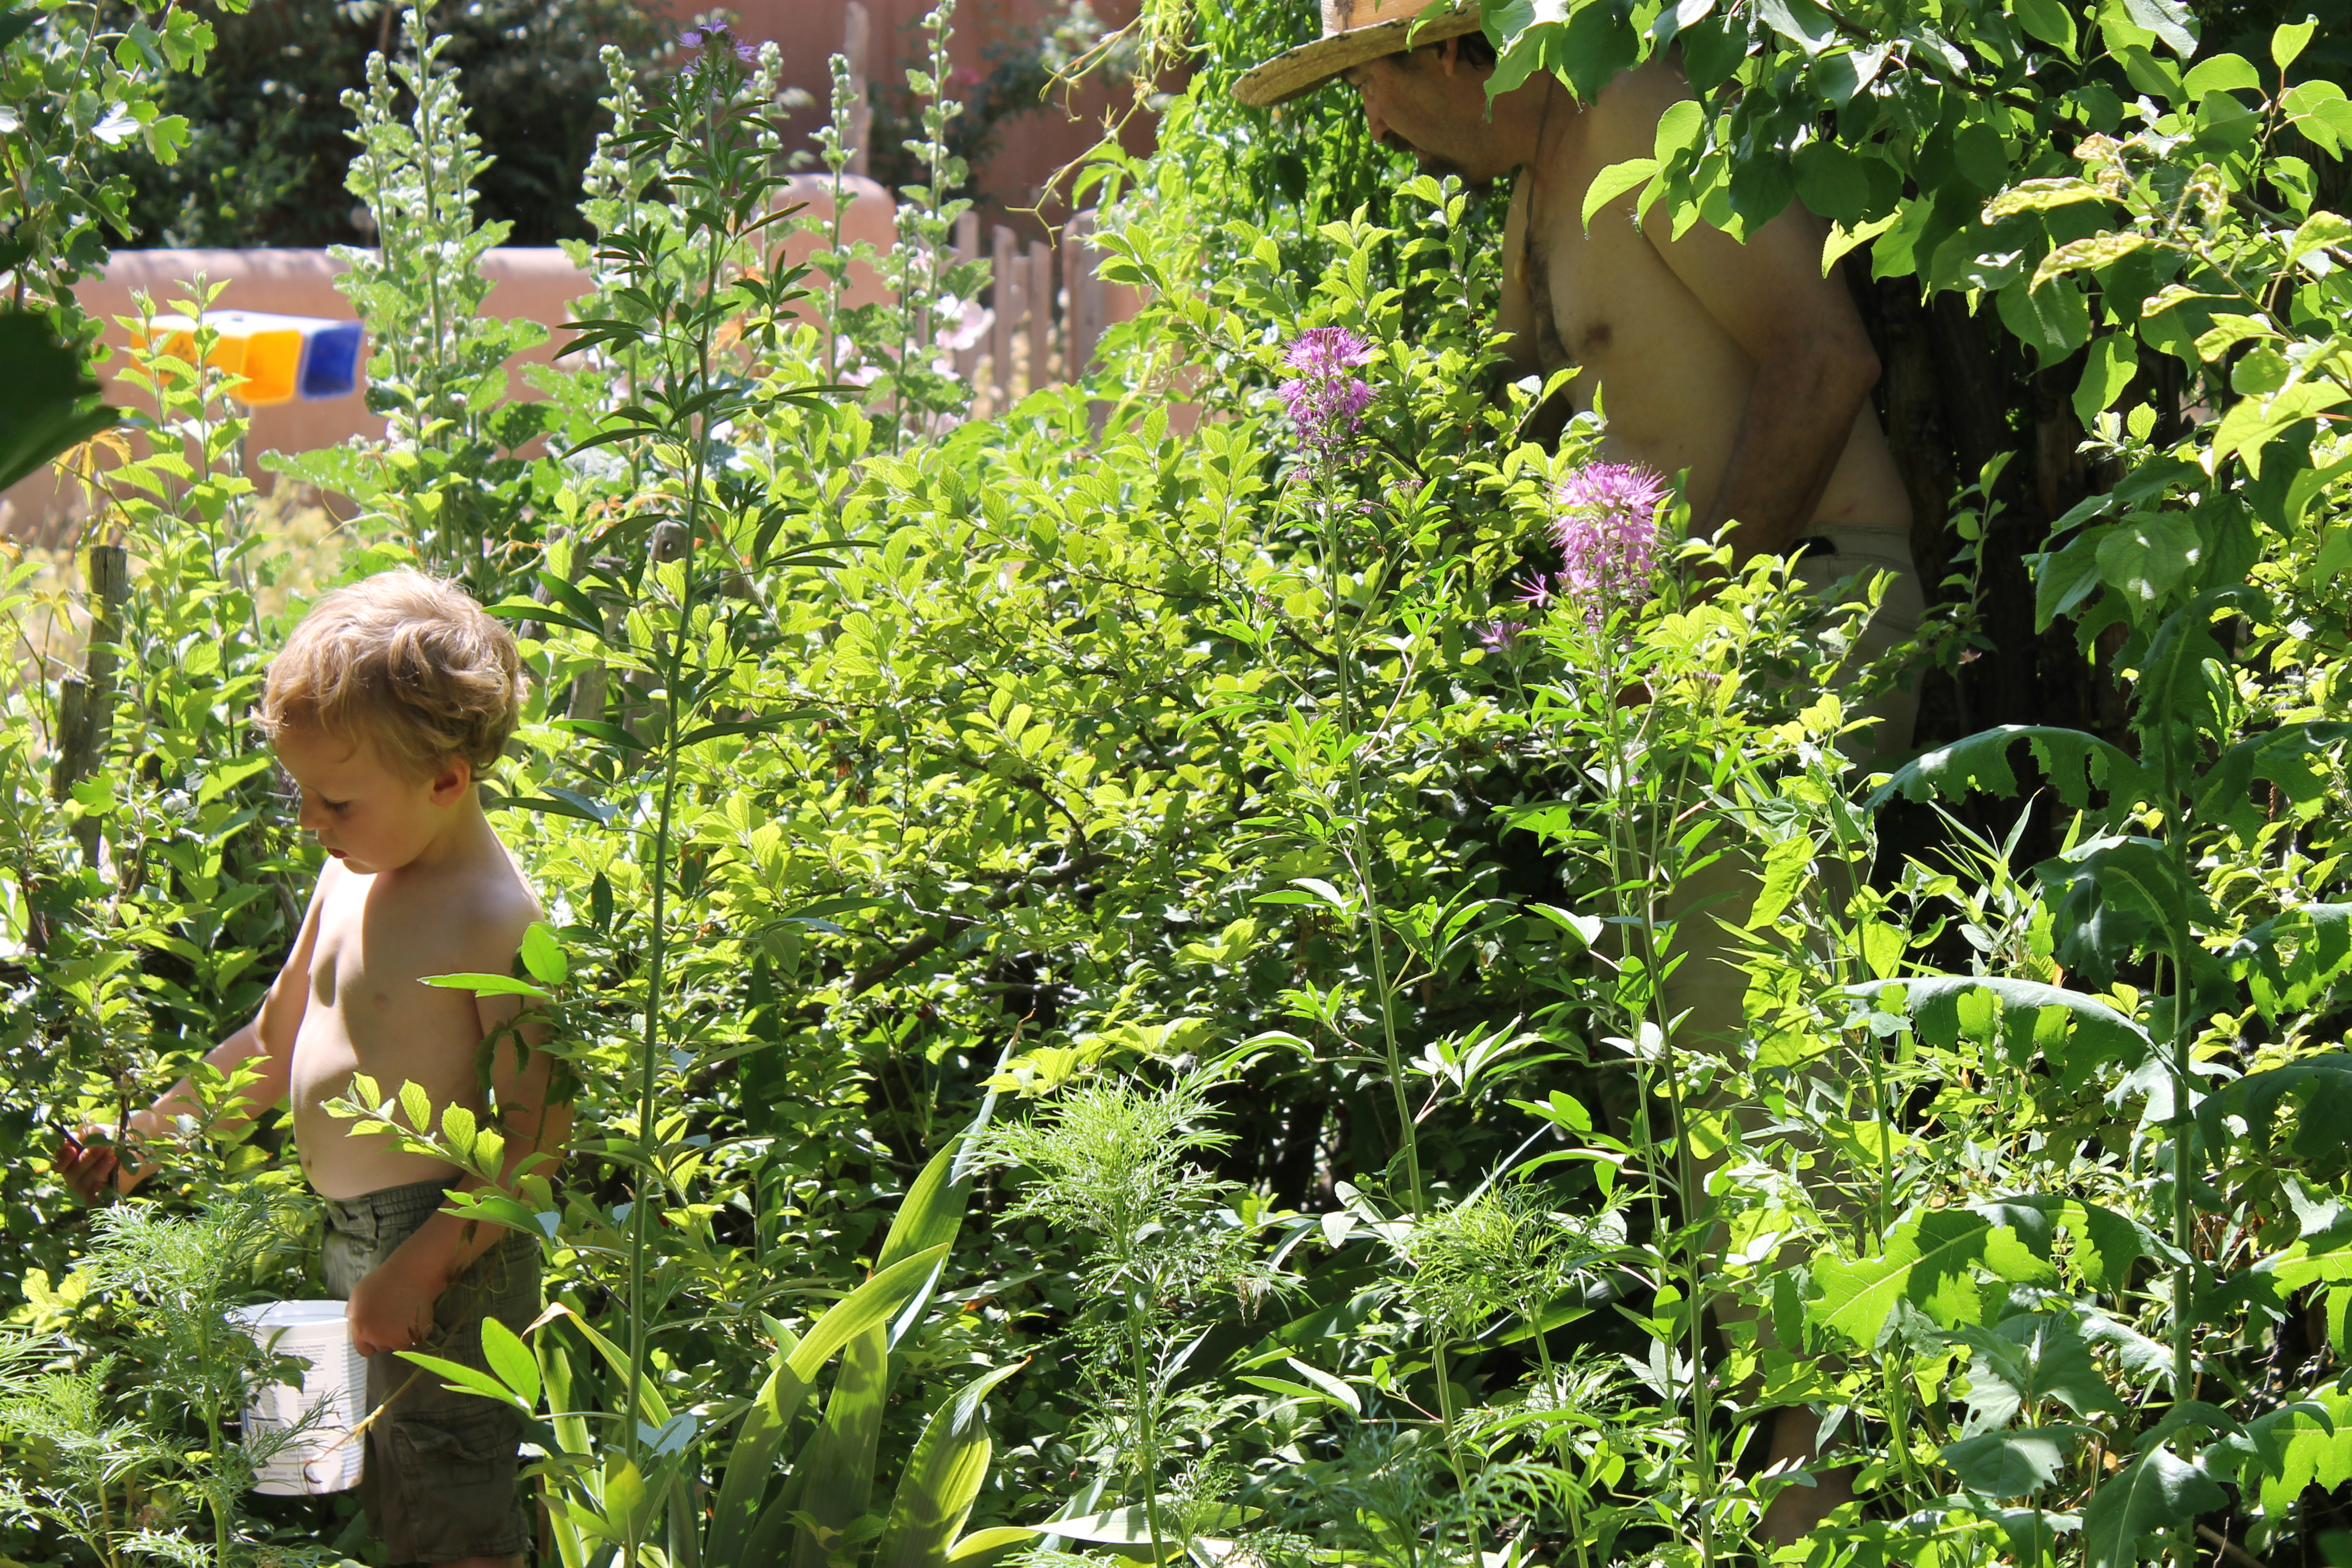
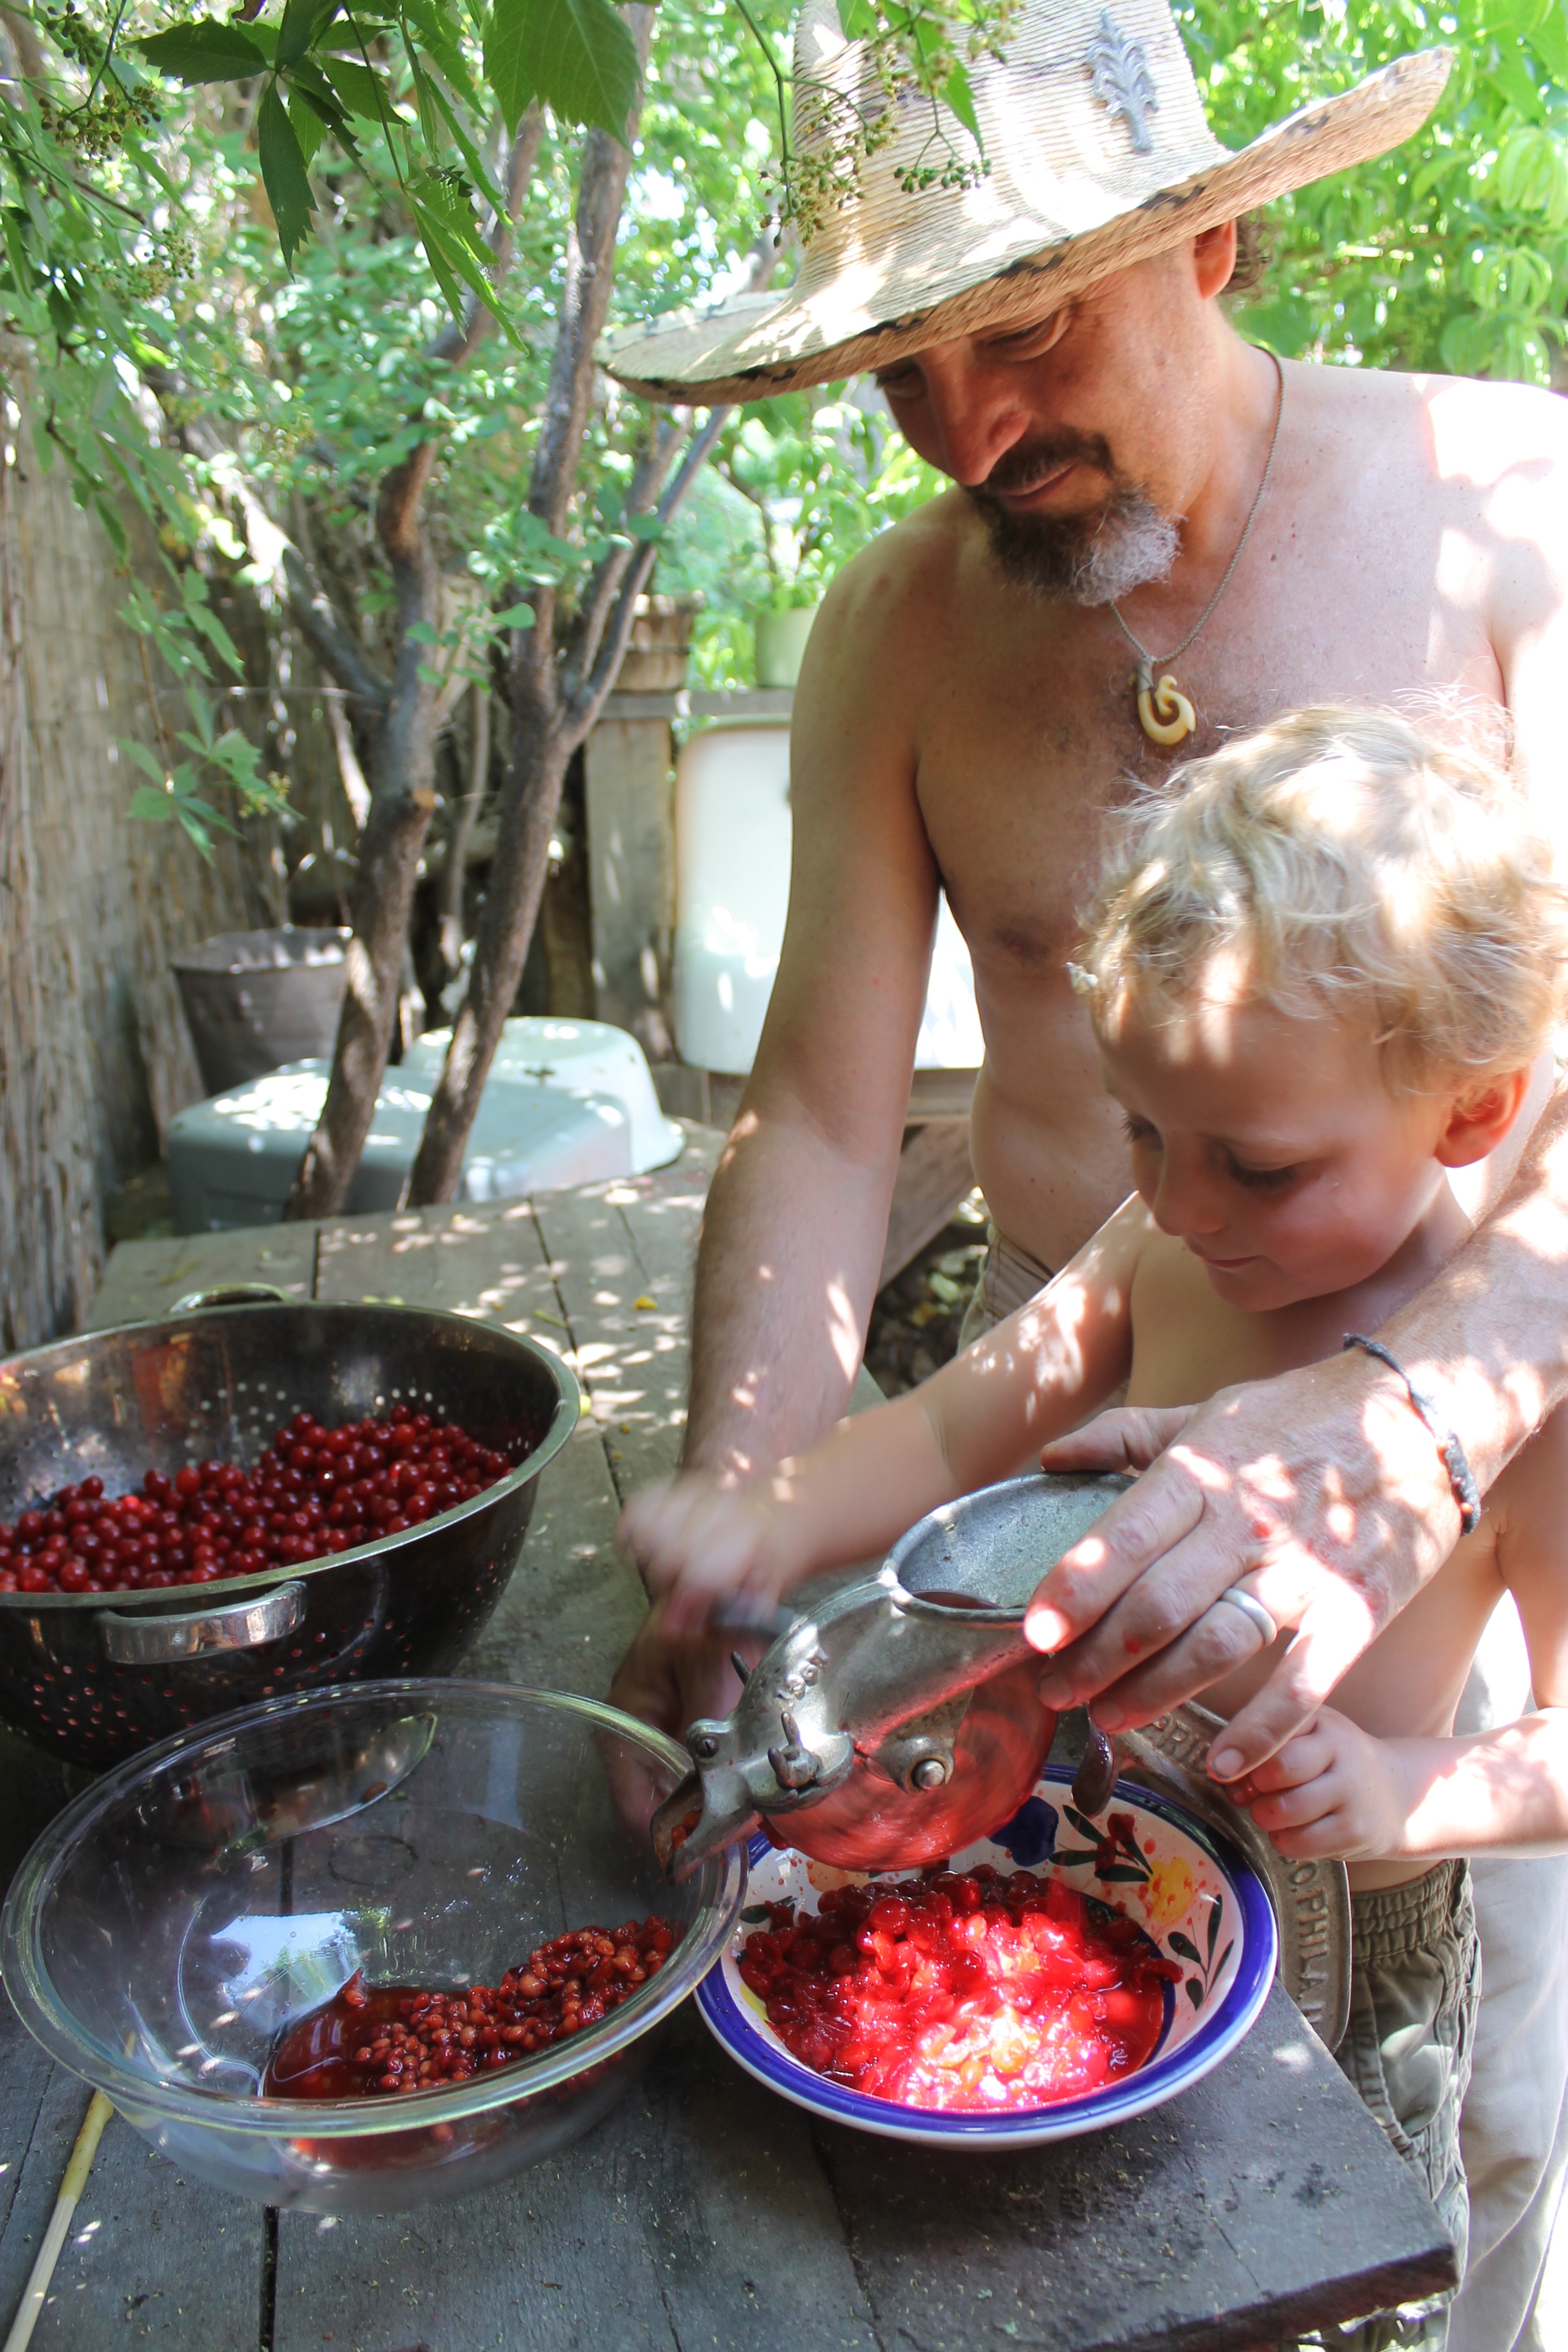
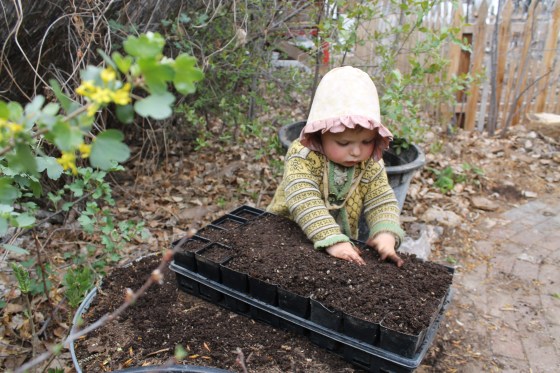
 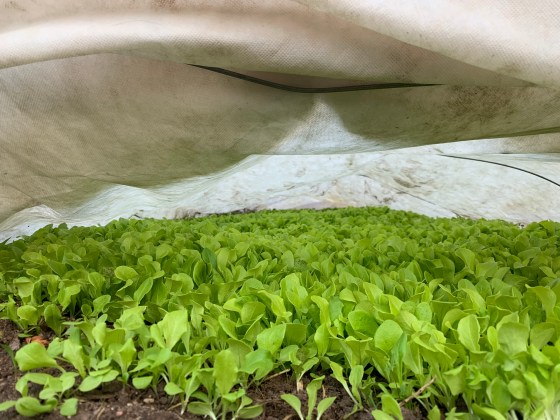 ***Note- I always water with a watering can or sprinkler with a very fine spray. Seeds are fragile and can be blasted out of place by a hose or heavy flow from a can.*** Just like this little gardener!
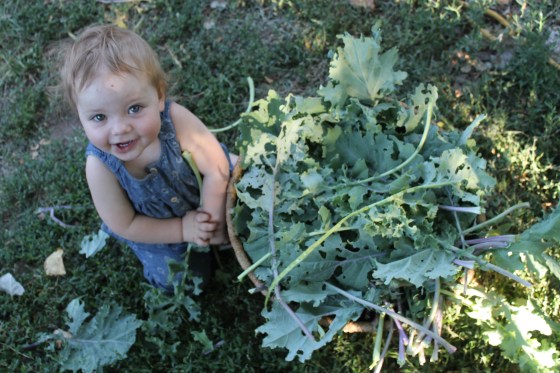
 Temperature–
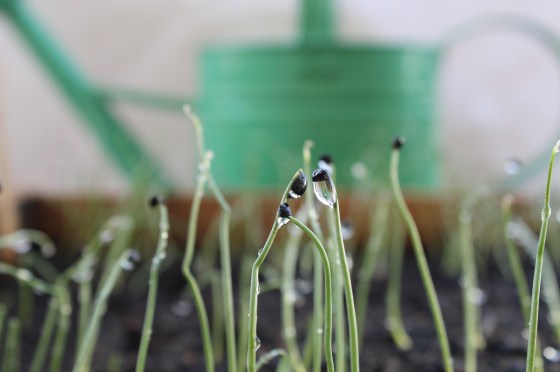
Soil temperature matters more to a seed that air temperature for germination. If you are starting seeds these days indoors, your seeds should be plenty warm to sprout. Most vegetable need 70-80 degree temps to germinate, but keep in mind this is the soil temperature which is different than air temperature. Optimal germination temperatures vary according to the crop, but indoors is plenty warm for all vegetables. Outside, the soil may still be too cold to activate germination, but right now you should only be sowing cool season crops like peas, lettuce, arugula, kale, chard, broccoli, cilantro, etc…. which all like cool temps to germinate…  I plant peas in the snow and it works every time! Many people are planting carrot now, which is fine, but it is still chilly out there and they do take a while! You can do a few things heat up the soil faster like row cover, plastic covers, or mulch, and indoors heating mats work really well for peppers, eggplant and tomatoes, especially in January!… but the soil will warm up soon enough, wait for it!

Time– Most vegetable seeds need at least 7-10 days to germinate. If it has been over 2 weeks, your seed may not be viable, but chances are if they are new they are just needing more moisture or warmth to go for it.

Seed Viability-If your seed is brand new it should have at least 90% germination rate because companies actually test for that. If you have had your seeds for a while, or if you are questioning the viability of your seed because it is old or been stored questionably (maybe got too hot or wet?) you can do a seed viability test. Basically take ten seeds, place them spaced an inch apart on a moist paper towel. Slide the towel into a zip lock bag, label it with the date and put it on your fridge… Keep a spray bottle handy because the towel needs to stay moist, but chances are if the zip lock is truly sealed the moisture level will be fine. Depending on the type of seeds you’re testing, they should begin to germinate anywhere from 2-14 days. (Seeds like peas and beans will sprout faster, while seeds like carrots or parsnips will take much longer).
Once the seeds being to sprout, give them a day or two, and then take note as to how many sprouted vs. how many did not sprout. This will give you a germination rate.

Out of 10 Tested Seeds
- 1 seed sprouts = 10% germination rate
- 5 seeds sprout = 50% germination rate
- 10 seeds sprout = 100% germination rate
Obviously, the higher the germination rate, the better. Anything over 50% is decent. Anything lower than 50% still might be usable, but you may need to sow more thickly.
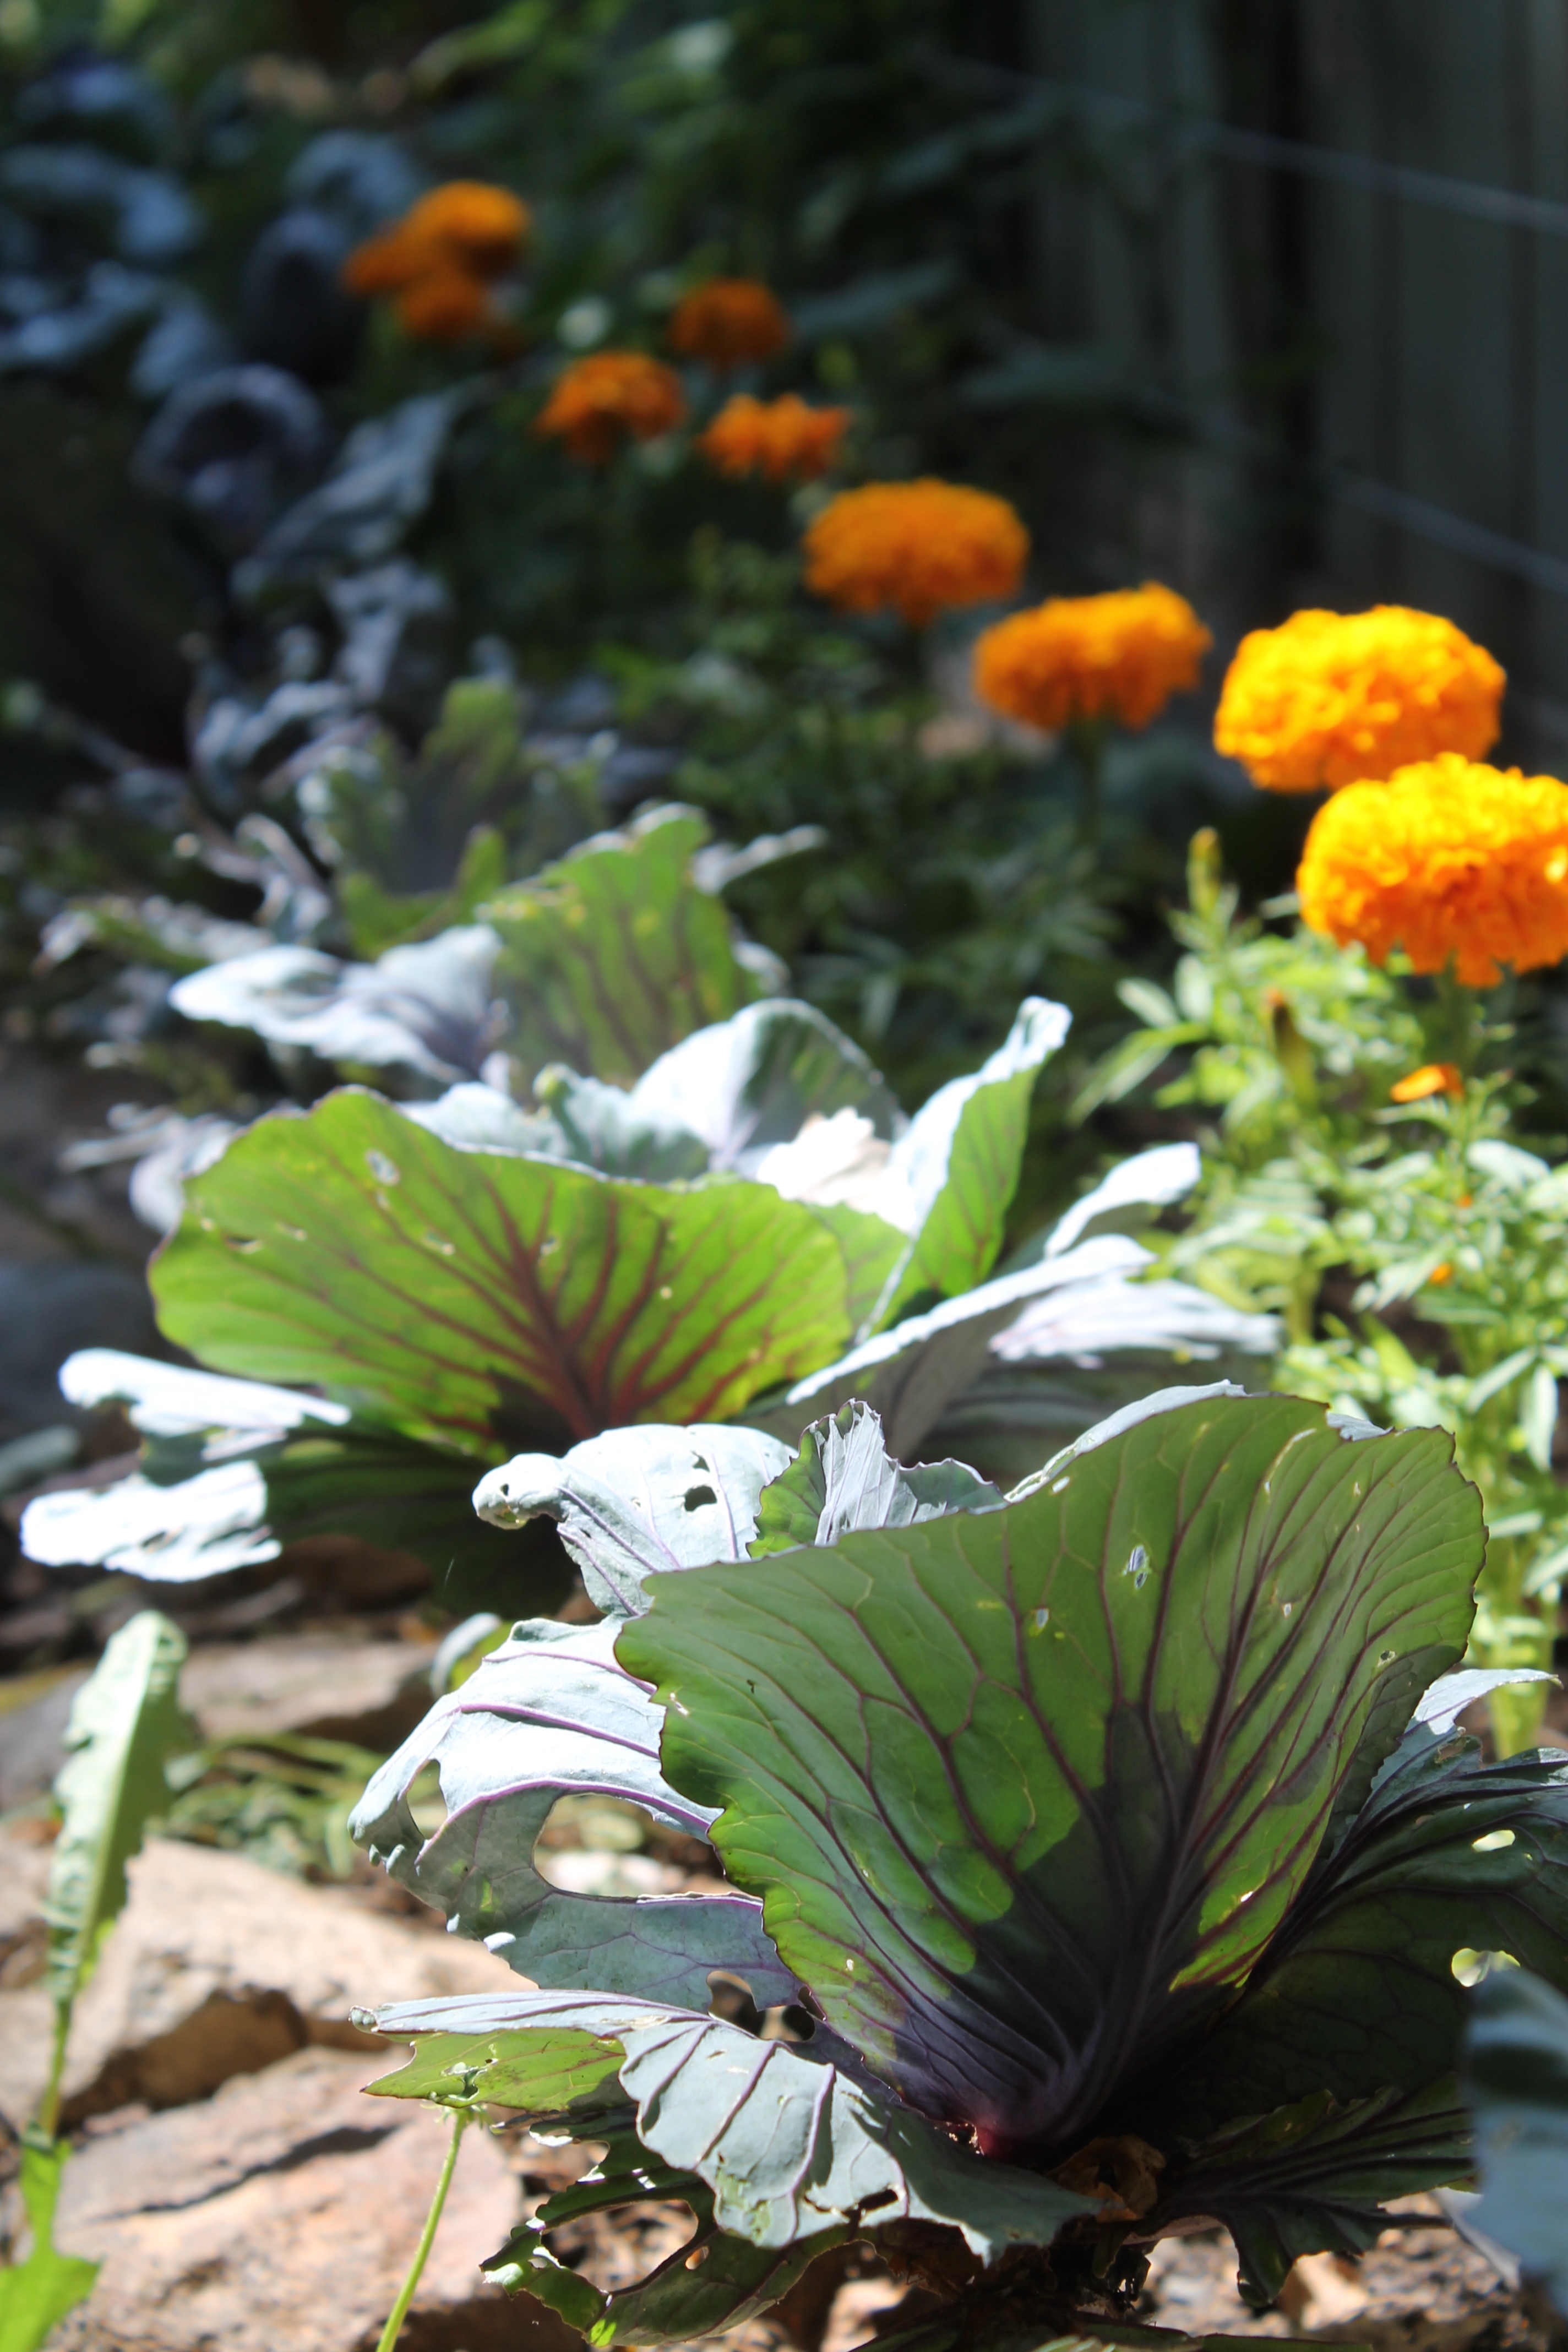
 Mulch-Mulching is wonderful and necessary to retain moisture, create soil biology and protect your plants, but if a seed bed is over mulched before the seedlings are 3 inches tall it can suppress plants from coming up through it. I usually apply wet straw mulch around my seedlings, after they are 3 inches tall. If you do mulch with straw over a seed bed, make sure it is light and lose so the seedlings can push up through it. Like I mentioned above- Outside I like to use row cover to retain moisture till I get good germination.
 Other Factors–
Soil Medium– Is there enough drainage in your soil mix? Some seeds get too much water and the soil isn’t draining properly. If you just scratch one up you may find they are actually rotting under the soil… it has happened to me!
Depth– Did you plant your seeds too deep? What about too shallow? Most things need soil contact to germinate ( expect many tiny flower seeds which actually need light to germinate). My rule of thumb is plant a seed twice as deep as it is wide… some say three times it’s size, but if you are buying seeds every pack will have very specific instructions to follow.
Pests– Did the mice, birds, cats come eat or dig up your seeds in the night? It’s happened to me!
Compaction– If your soil is too hard or compacted seeds may be struggling to germinate, and even if they do germinate they may not be able to wiggle those tiny roots down into the soil. Seeds need fluffy soil to take root.
Pre-soak– Many seeds like to be pre-soaked, especially really ones with really hard seed coats like Nasturtiums and Peas. Could help go things moving, give it a try.
Go here to read more on Seed Starting Indoors
Everything I know I learned by doing… and by reading my favorite seedy book. Which is where I got those cool charts pictured above.
I hope that helps, have faith , we reap what we sow!
“We are planting seeds of change, the fruit of which we might never see. We have to be patient.”
― Becoming

 In fact we have so much Kale we give it away to our friends and family, share it with our chickens, bunny and even worms…But what I really like to do is throw it in the food processor with a little water and then put it in ice cube trays.
 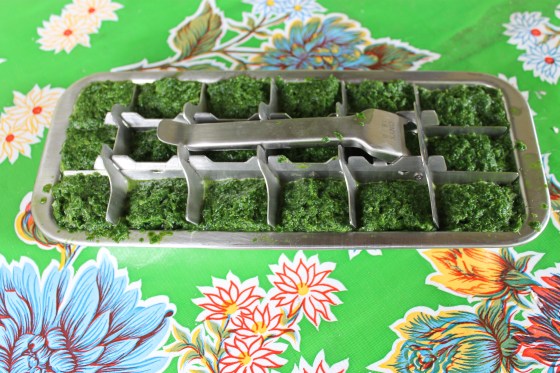 This provides us with perfect little Kale Cubes for counting into smoothies whenever we wish.
 I don’t think my kids know you can actually make a smoothie without Kale… so don’t tell them!
 They drink it right up!
 This summer we harvest Swiss Chard every day…or at least we should! I looked and looked for recipes that were tasty and used A LOT of Swiss Chard.. this one adapted from
 Get as much Swiss Chard as you have—up to 5 lbs or so
 Chop stems and leaves separately
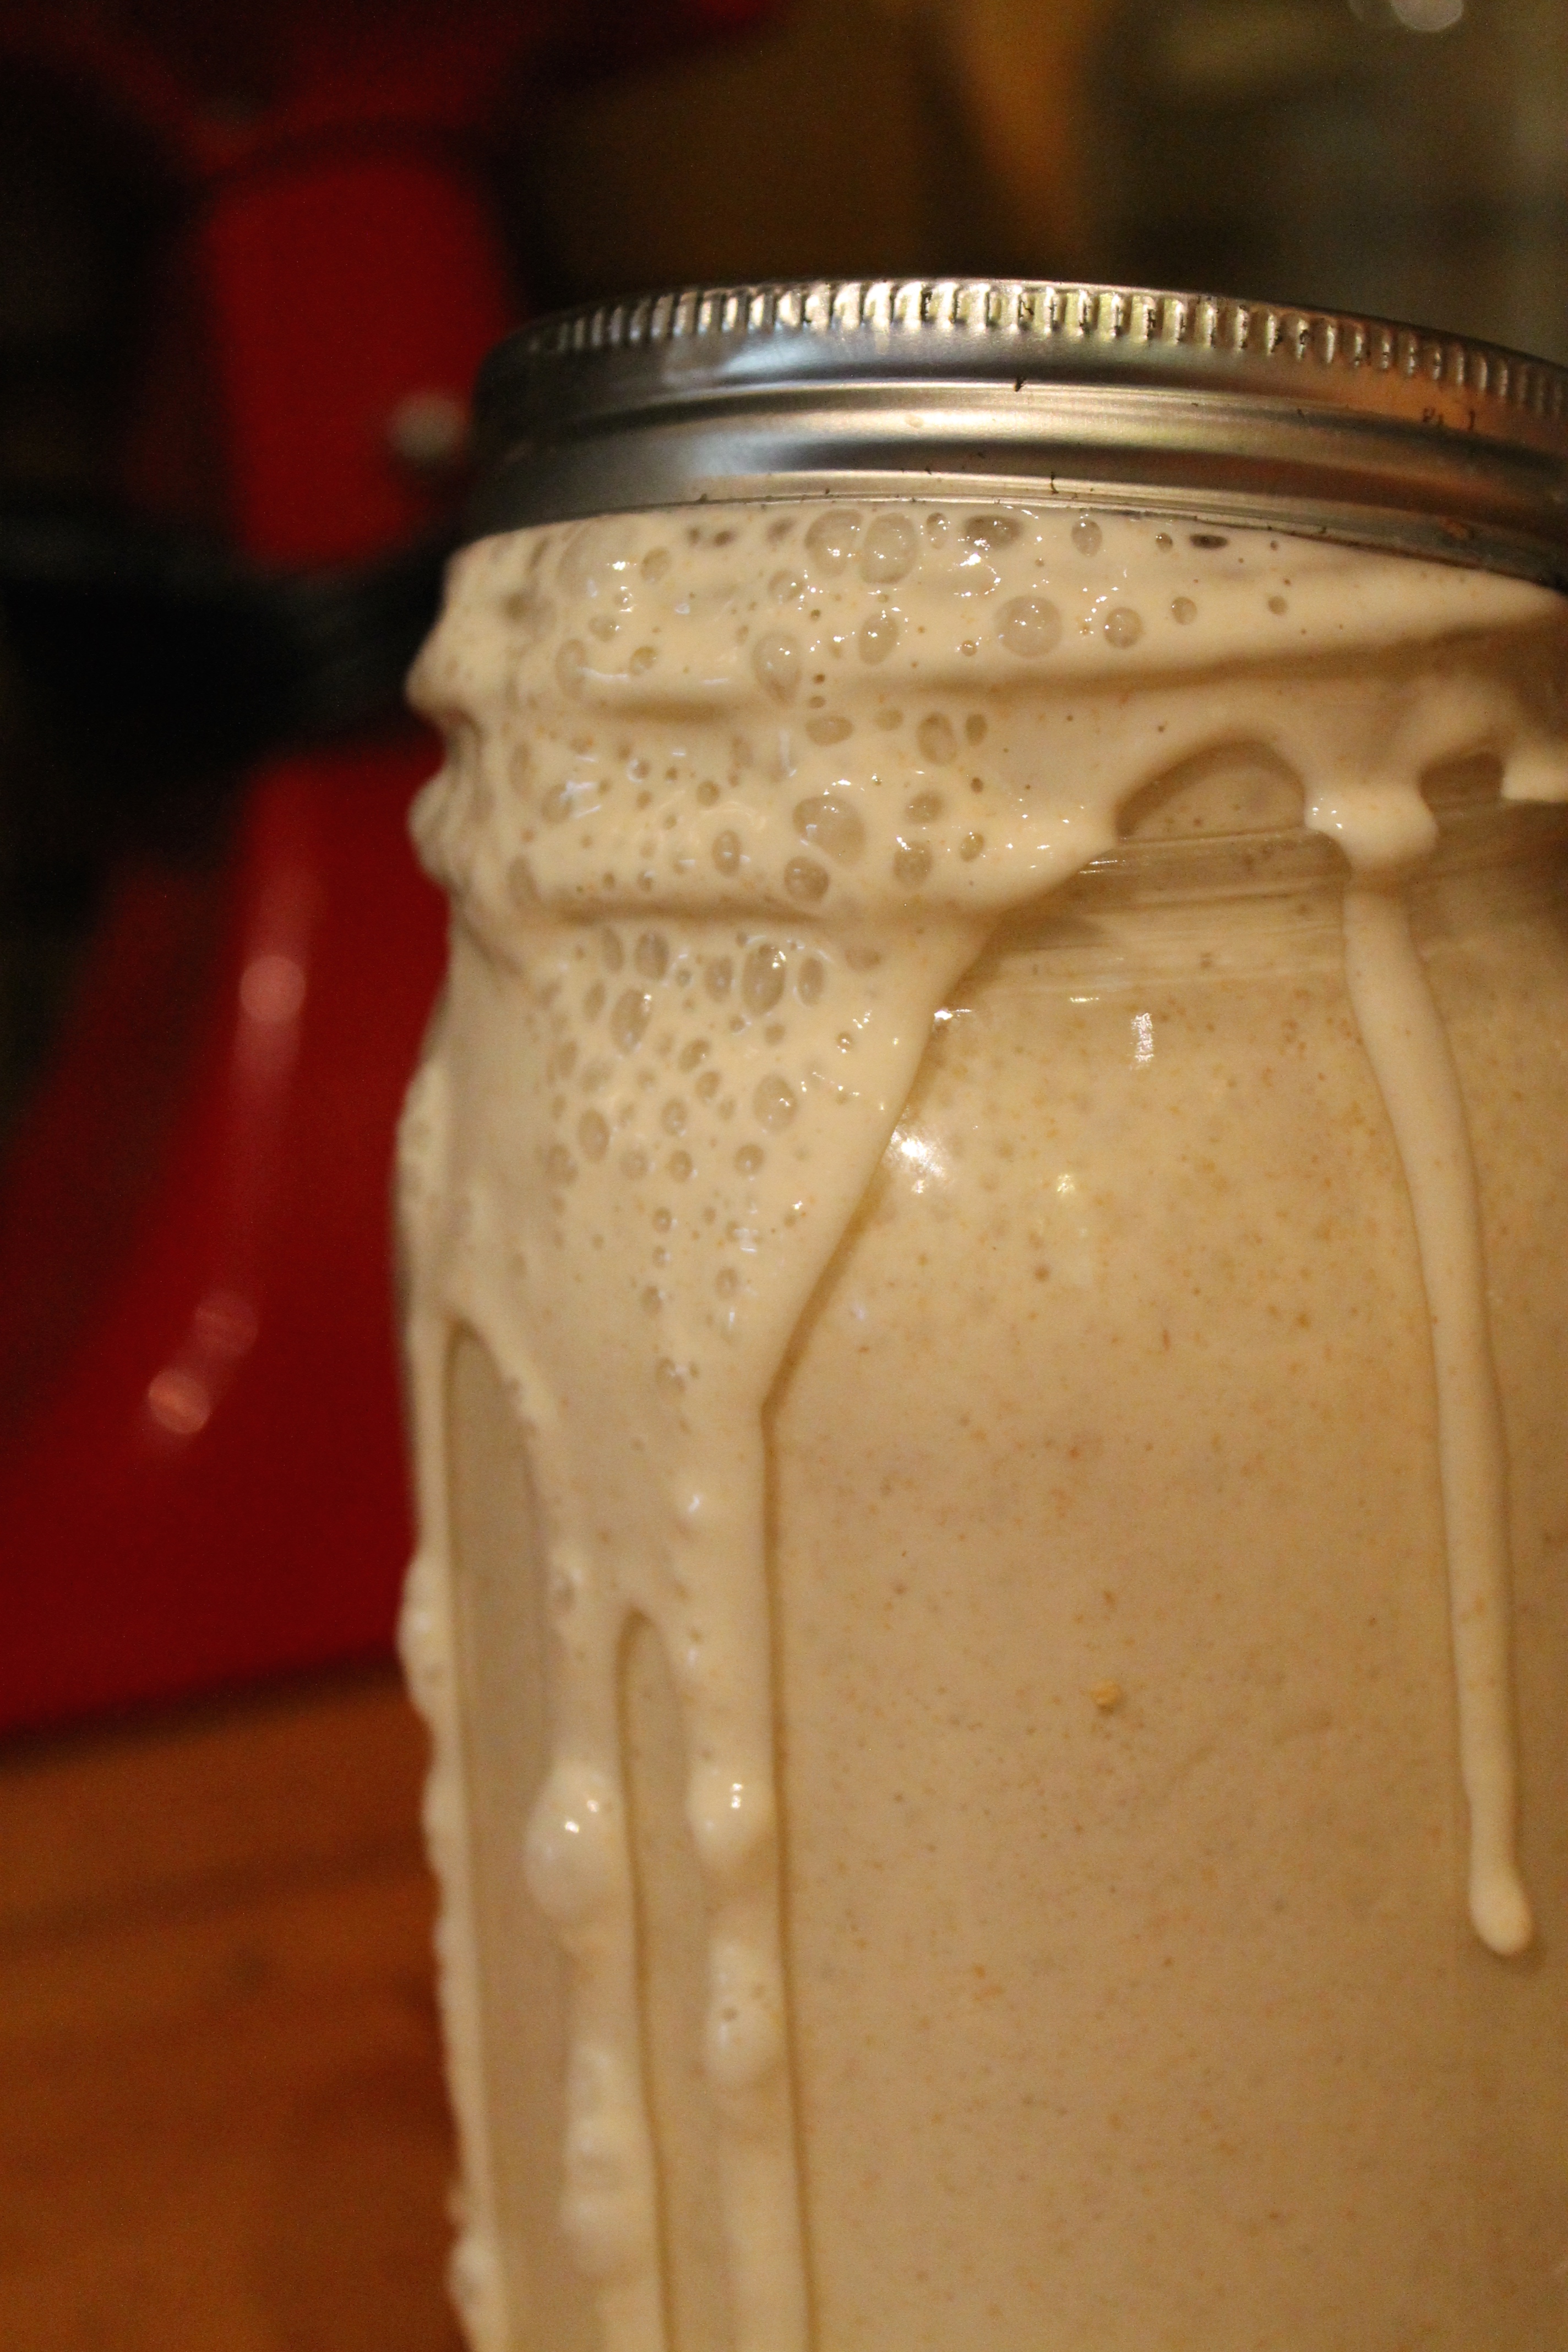
 Grandma Tutu’s Rosemary Lemonade
 Rosemary Lemonade