‘Work is Love Made Visable’

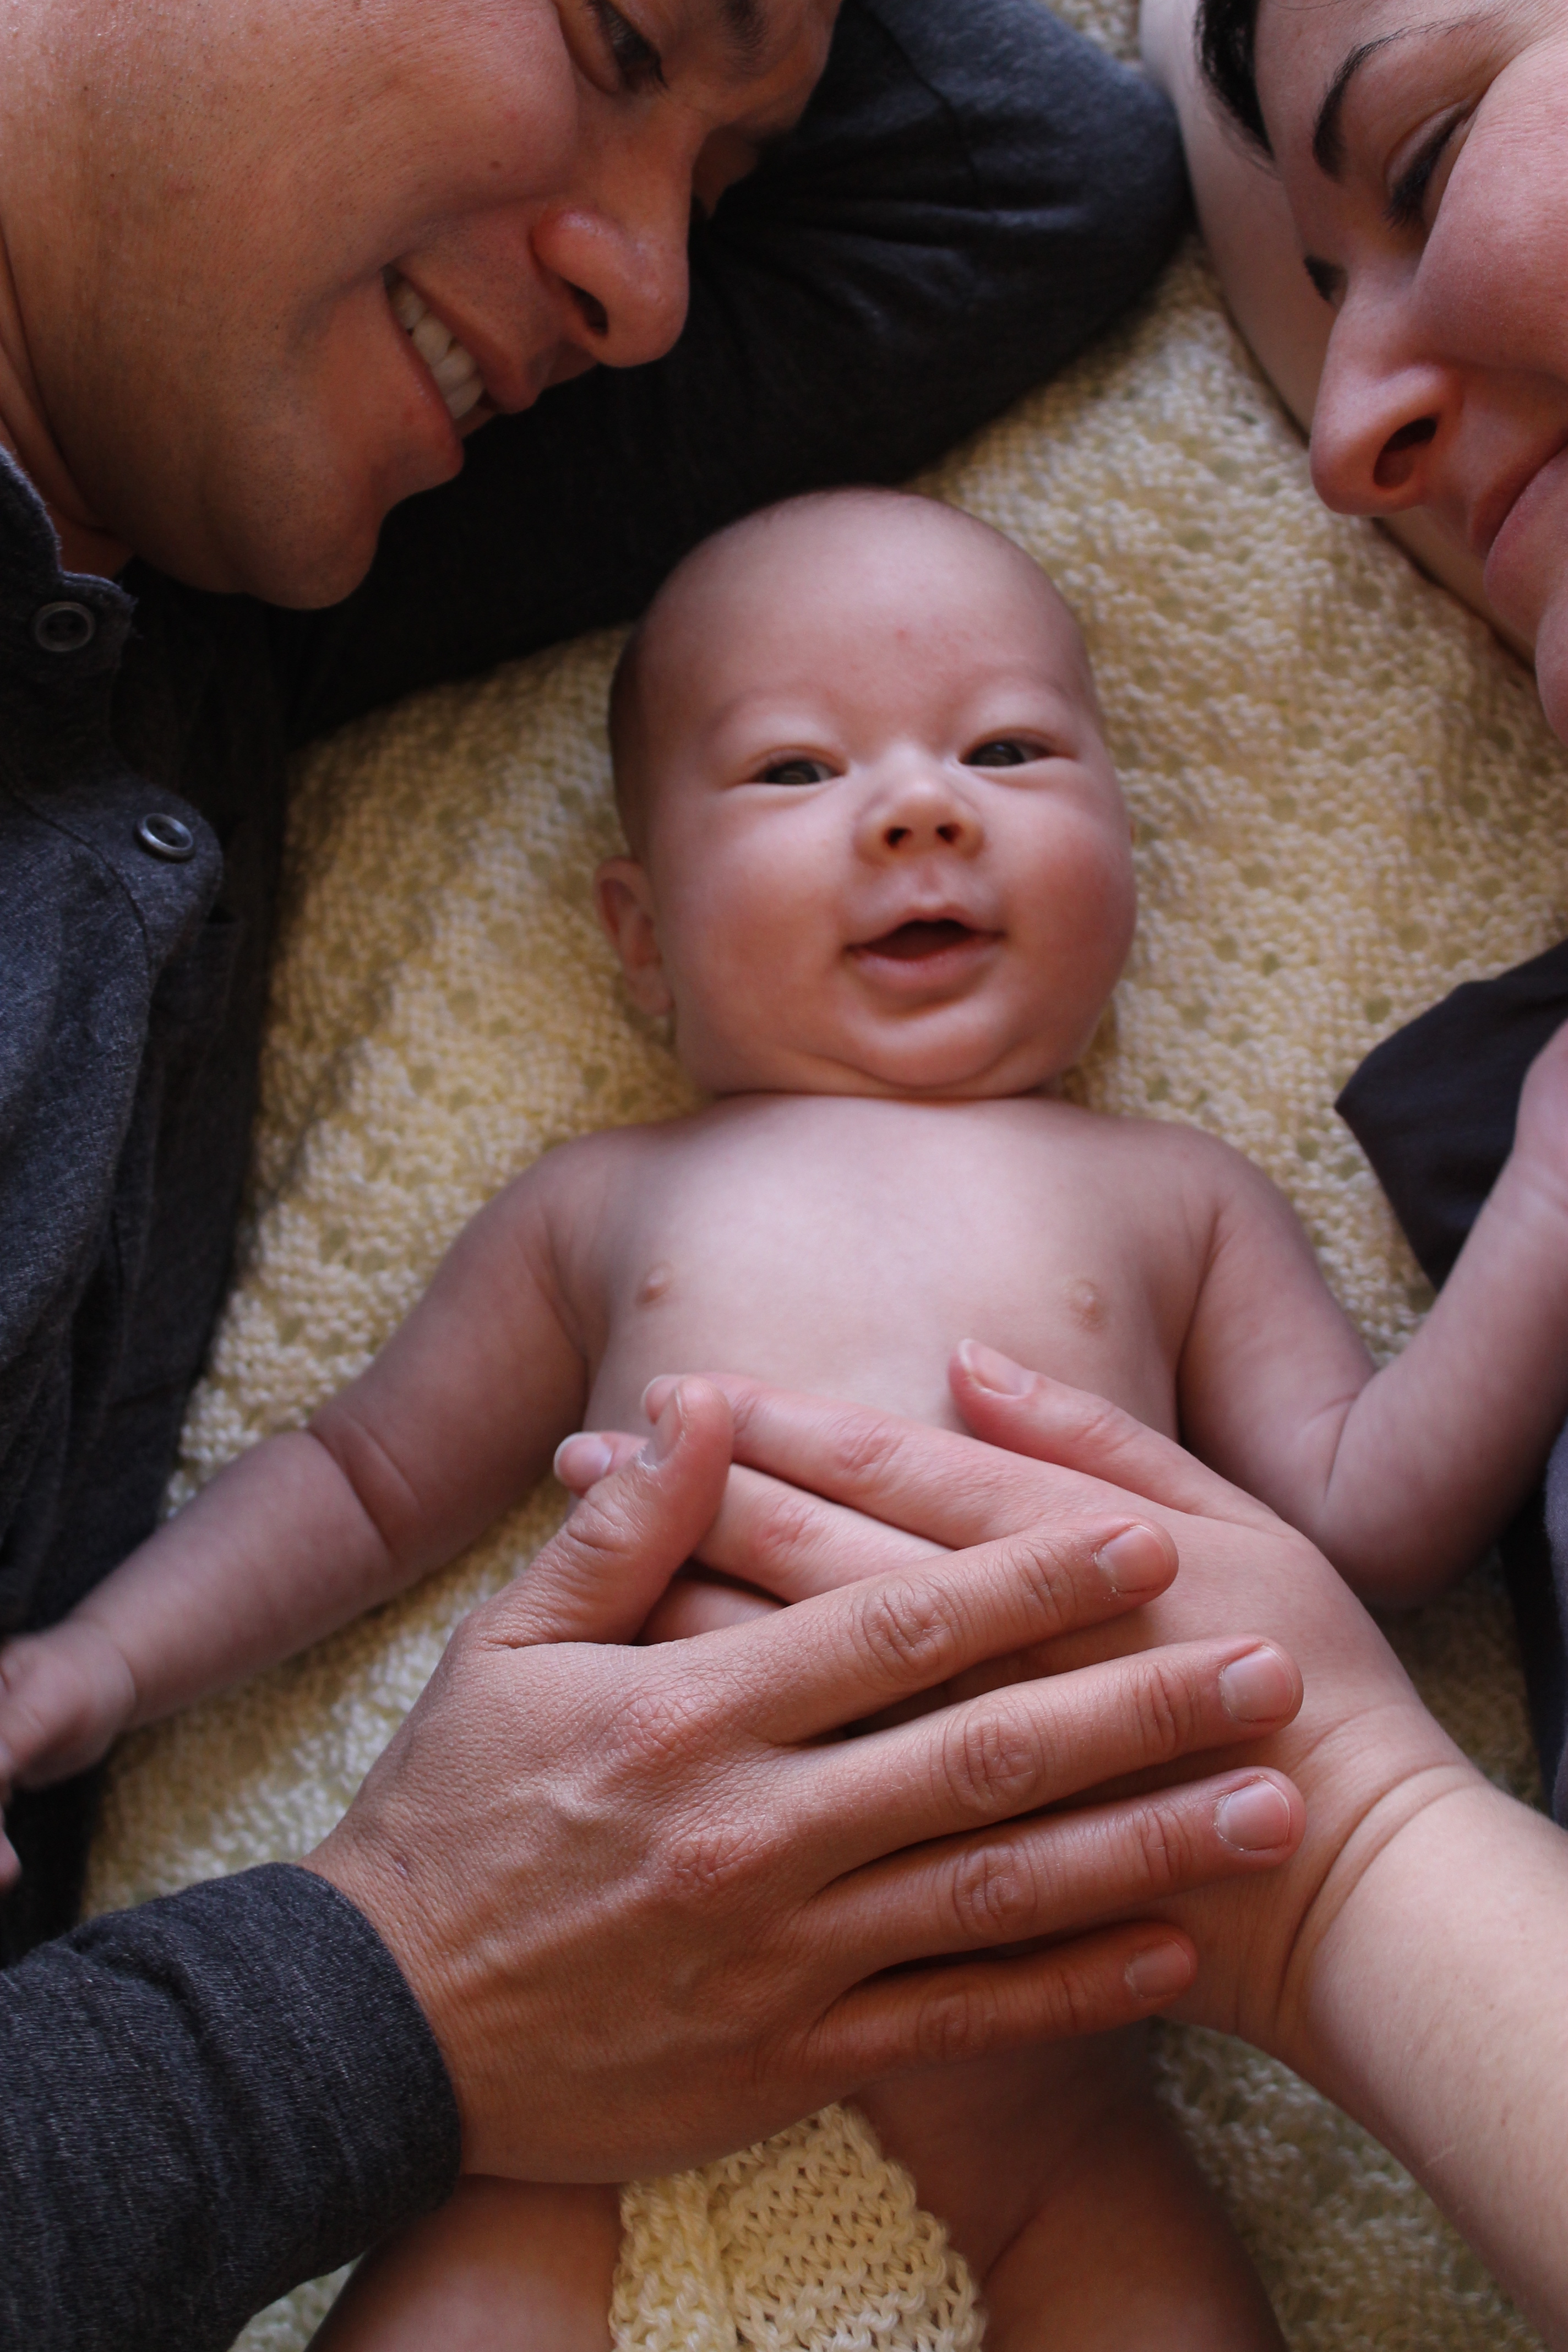
“Work is love made visible” these words of Kahlil Gibran were carved by hand onto a wooden sign that hung on the main lodge of my beloved Vermont summer camp, Farm & Wilderness.  This was a place where teens from all walks of East coast life would come together for 2 months to work the land, swim in the waters and learn to create community together.  As my dad reminded me yesterday, not only have those words been carved into my soul & life purpose, but also the community spirit.  In the years since summer camp I have found myself surrounded with similar earth loving angels actively loving the world & each other through their hands

.IMG_0312 They came smiling and laughing, eager to spend the day in the sunshine with me and my tomatoes.

IMG_0324

Not only did they work, but they sang, told stories and charmed the baby & us all while doing so.IMG_0327

There were parents, neighbors, old friends and new, this incredible little hard-working crew just breezed in with great blessings and warmed our little home until it sang right along.  In return dad cooked the burgers & freshly picked ‘Lovely Day Farm’ (on our street!!) Asparagus on the grill and we feed them well.  When I sent out the invite I mentioned that I would feed them all but ‘if any one wanted to ‘WOW’ us with desert or beverages they were welcome’ and WOW us they did! Handmade Mojitos and Fresh Pear Pie and Raspberry Tart and homemade yogurt on top!! OH MY!!!

IMG_0330

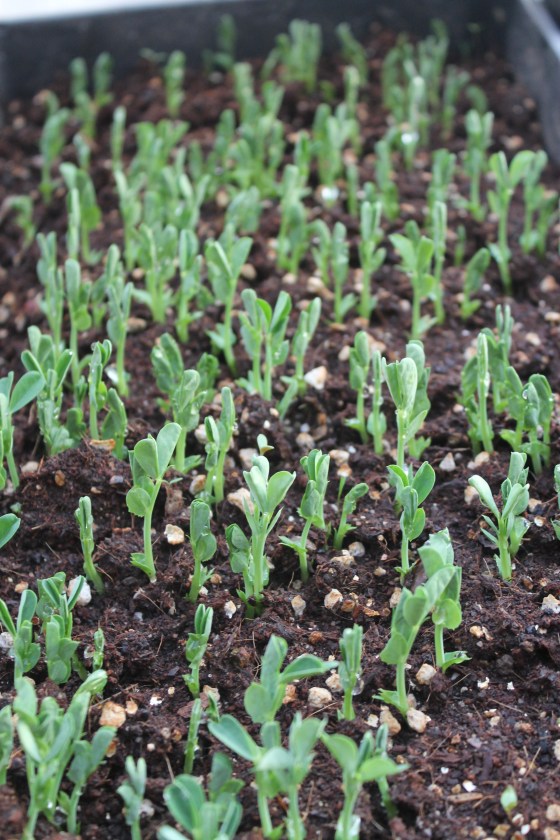
And now the greenhouse is at maximum capacity with 250 tomatoes, all in brand new little pots, the only question now is, where will I put everything else?  Plant sale anyone?

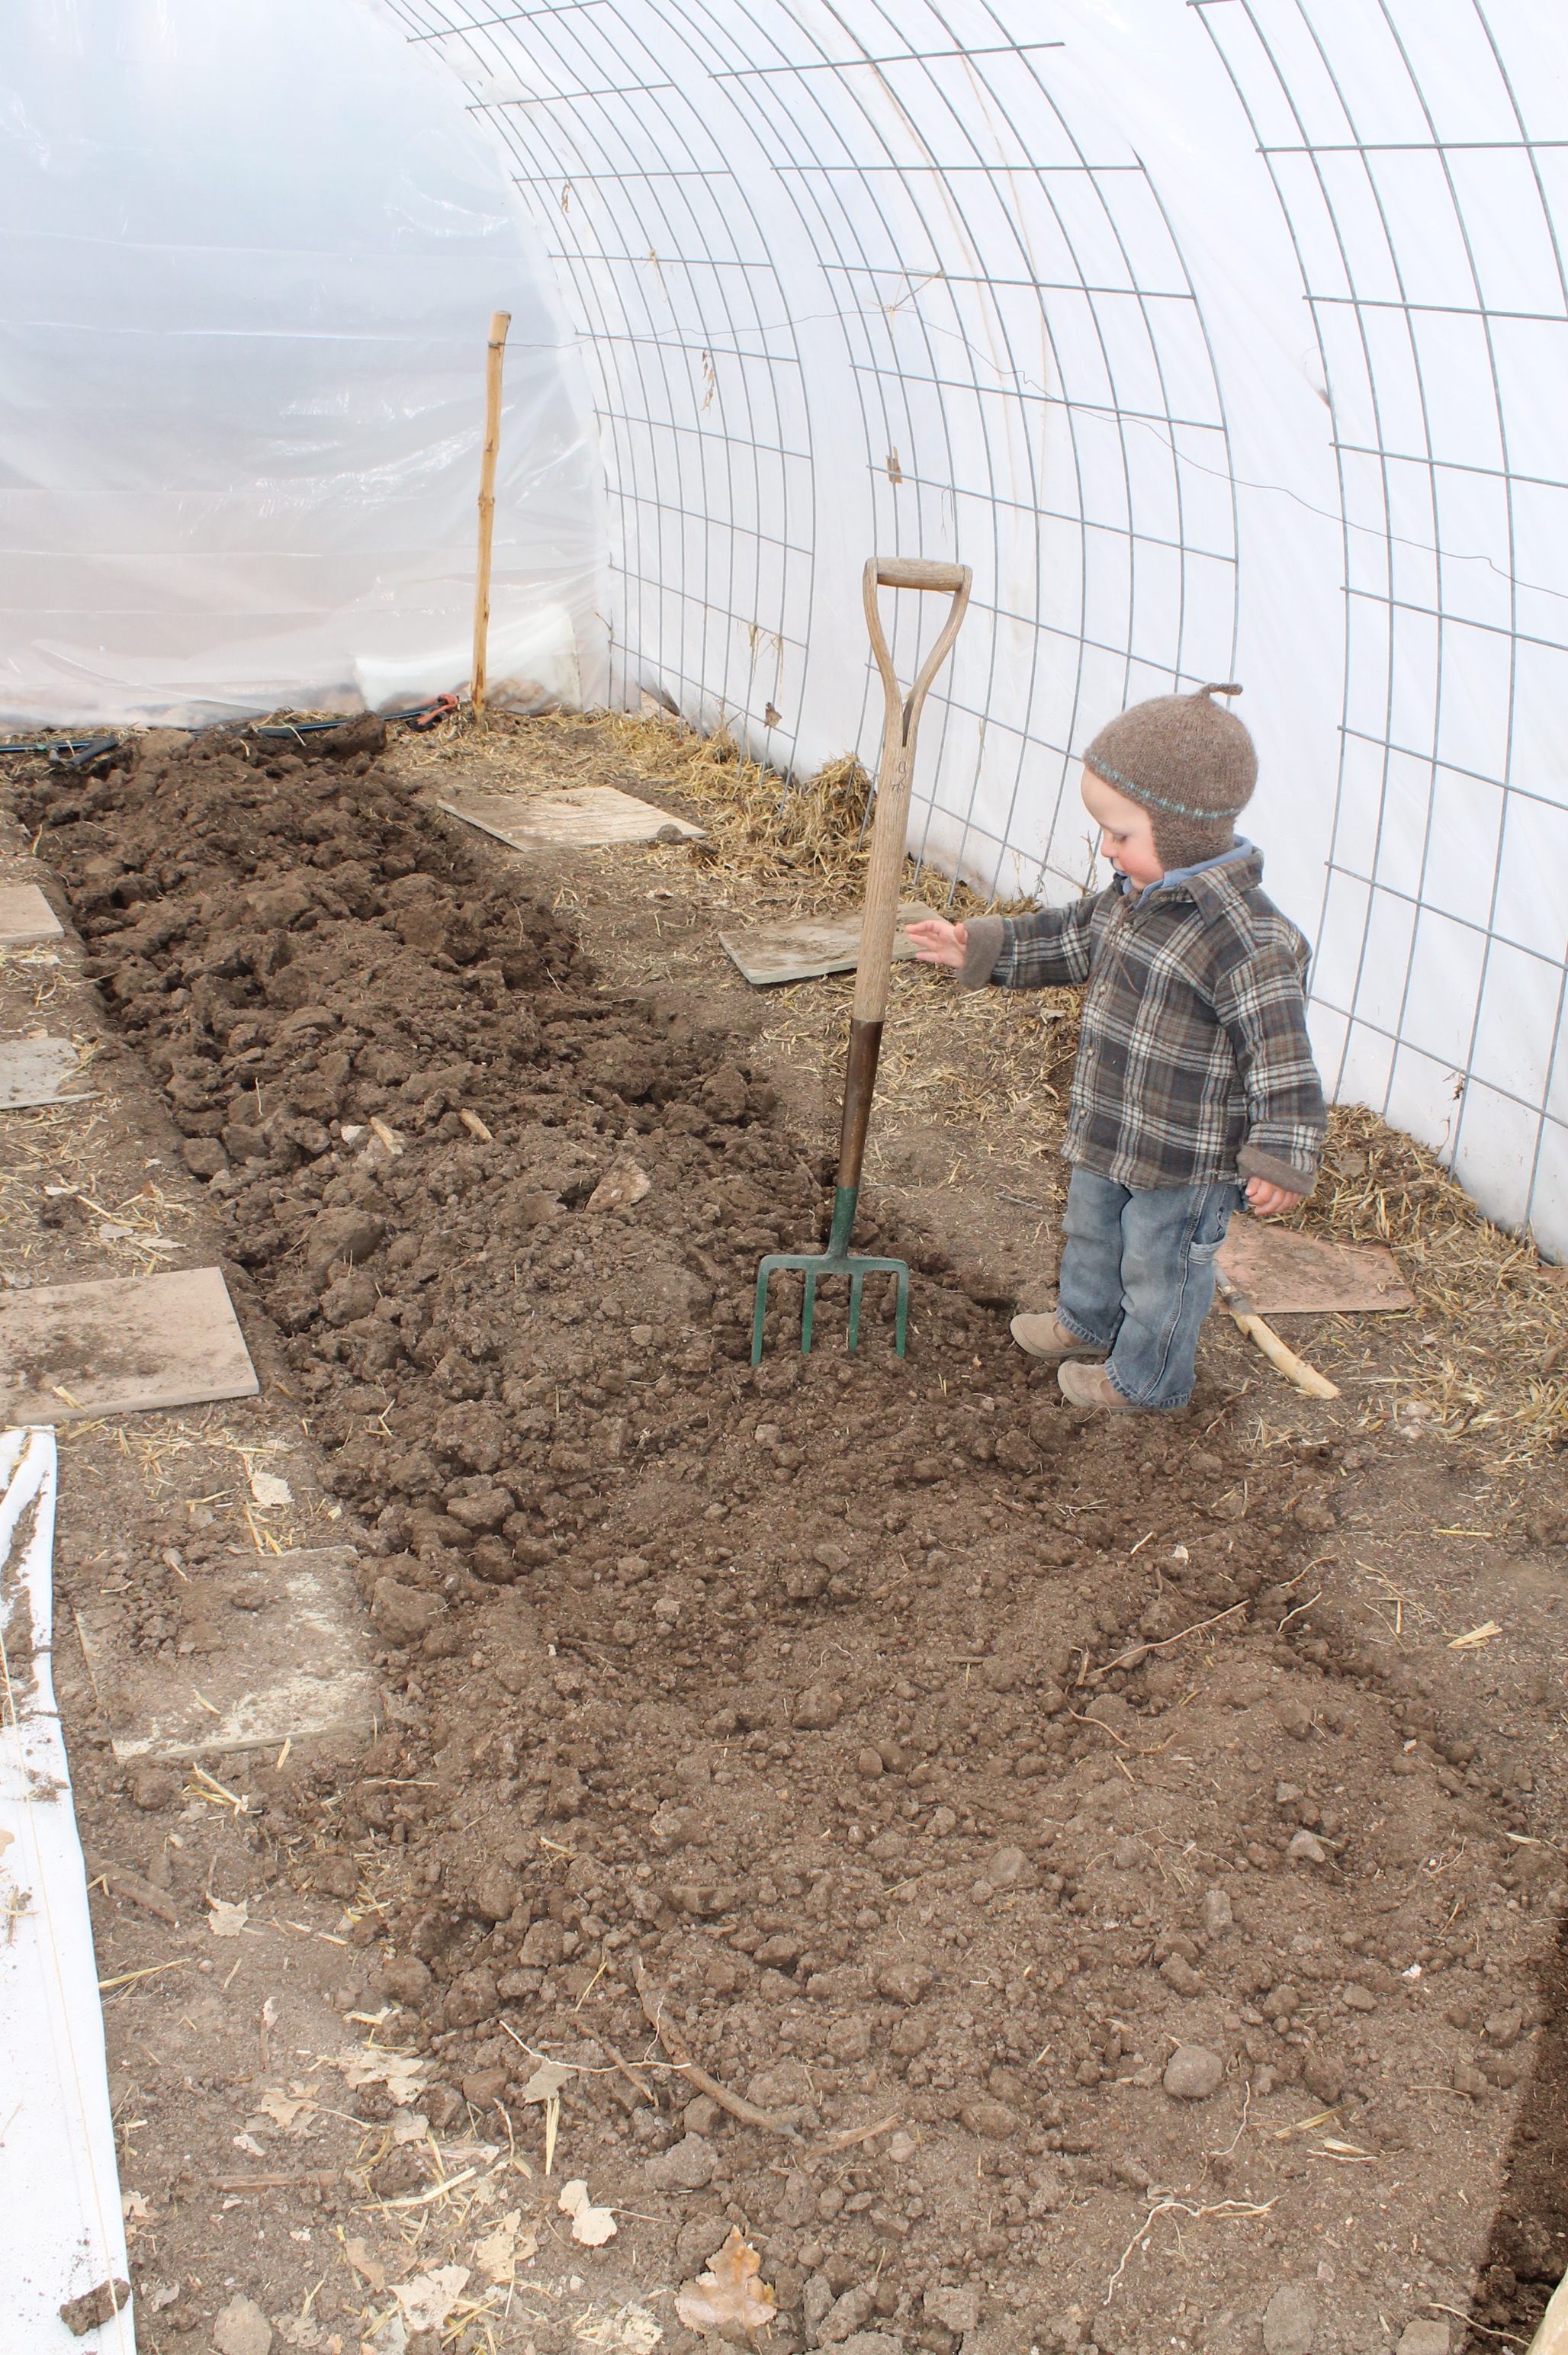
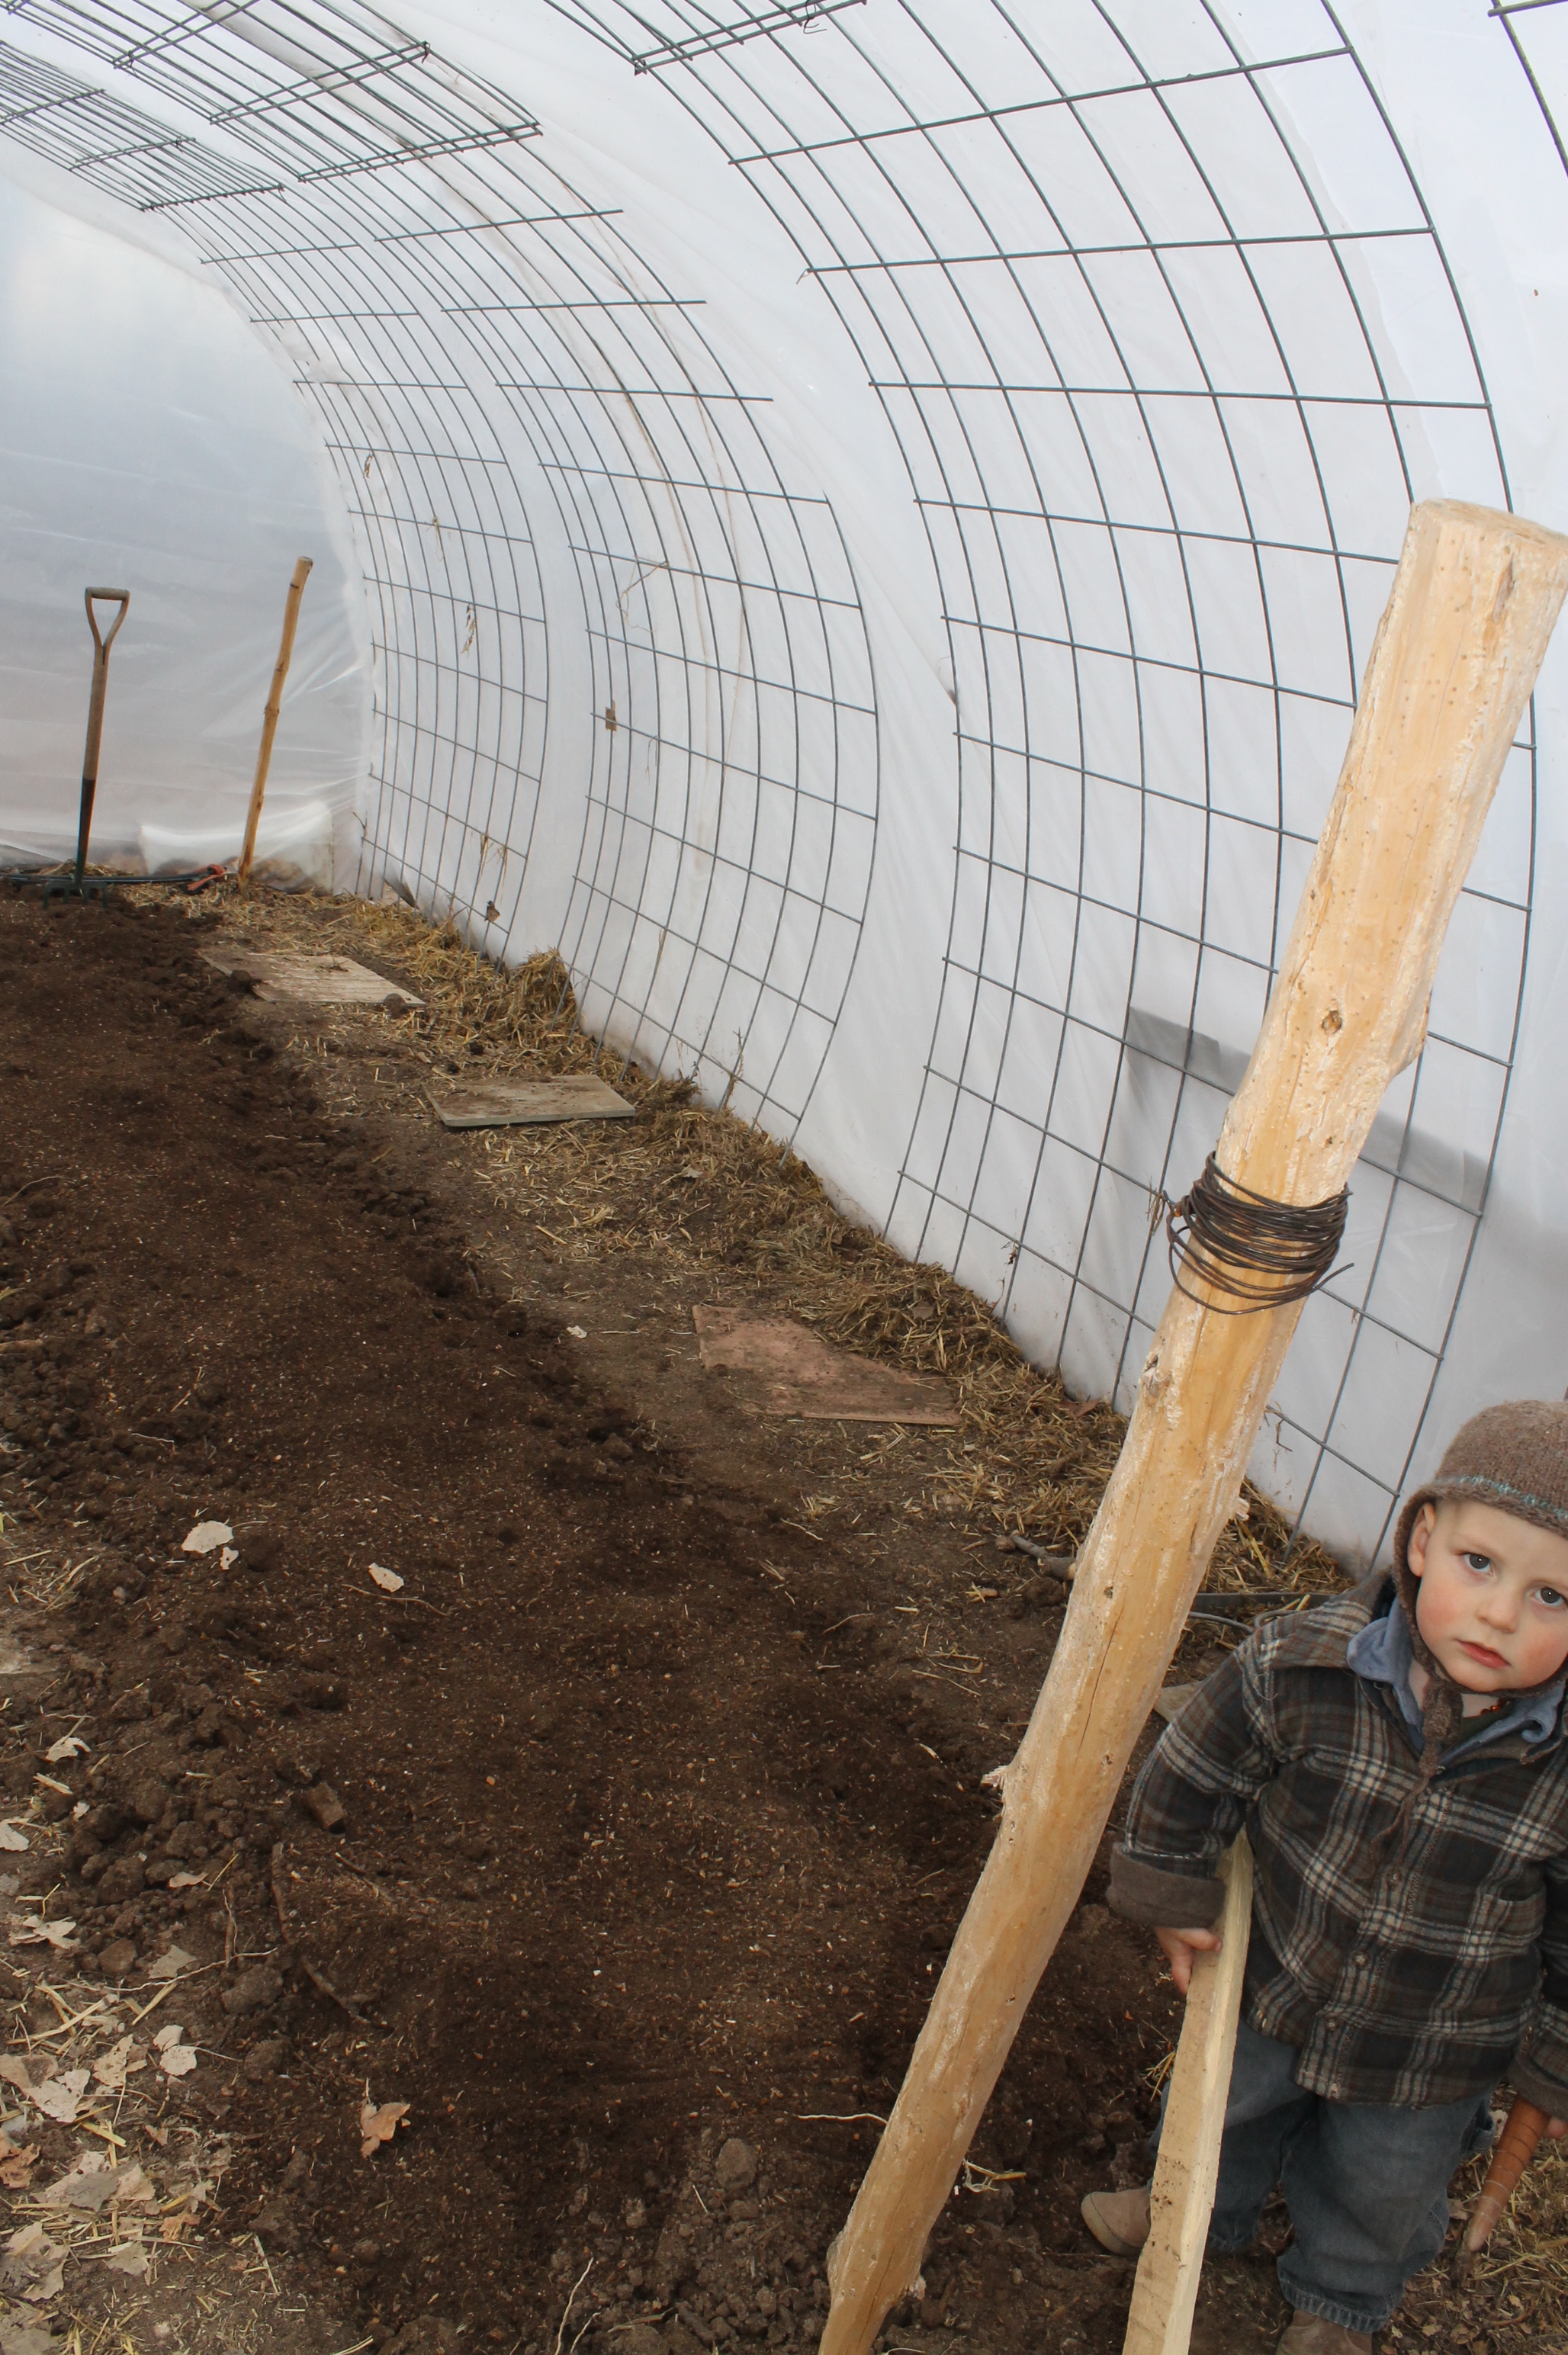
I almost felt guilty having them do all that work for me on a beautiful Sunday afternoon, but then I remembered all the seeds I have sown, beds I have dug, weeds I have pulled out of other people’s gardens and like them, I sang too… so happy to have dirt to put my hands in and a hard task to put my strong body to real use.  As we were working Jaengy jumped in helping with sorting the pots after shying from the crowd for the first hour.

IMG_0316

I commented how he is happiest when he has a job to do.  Casey responded, “I think we all are!”  and I thought, ‘Well you are my kind of people!’  So Thank You garden angels with your kind and helpful hands, you have shown me that there should be no guilt in asking for help and that for many of us there is no greater gift than working together to complete the task at hand, to share the load and to enjoy being of use together.

To Be of Use

The people I love the best
jump into work head first
without dallying in the shallows
and swim off with sure strokes almost out of sight.
They seem to become natives of that element,
the black sleek heads of seals
bouncing like half-submerged balls.

I love people who harness themselves, an ox to a heavy cart,
who pull like water buffalo, with massive patience,
who strain in the mud and the muck to move things forward,
who do what has to be done, again and again.

I want to be with people who submerge
in the task, who go into the fields to harvest
and work in a row and pass the bags along,
who are not parlor generals and field deserters
but move in a common rhythm
when the food must come in or the fire be put out.

The work of the world is common as mud.
Botched, it smears the hands, crumbles to dust.
But the thing worth doing well done
has a shape that satisfies, clean and evident.
Greek amphoras for wine or oil,
Hopi vases that held corn, are put in museums
but you know they were made to be used.
The pitcher cries for water to carry
and a person for work that is real.

Marge Piercy

Bellies, Birth and Babies

Spring is in the air and so many babies are just opening brand new eyes to their first spring or are soon to be on their way here.  Such an exciting time for so many of my mama friends, and I have had the privilege of photographing many of them in these past months.  I am still an amateur, but have really taken some photographic leaps lately with a purchase of a new camera, my first new-born shoot and so many beautiful mamas around me willing and excited to have me take their picture.  I just have to share with you their beauty and glory.

Becca pregnant with Paloma January 2013 Image

Jenna & her hubby pregnant with someone we will meet any day now!Image

Shannon pregnant with her due date in just a week or two

Image

Russel, Nicole & Sequoia who arrived in JanuaryImage

Brenna, Ida & Emmet and inside is Eden, who came last summerImage

It is such an honor to have these women share themselves with me, allowing their glory to be seen in such a sacred and open time of their lives.  Each one of these women has taught me; the way they cradle there belly’s or smile so deep from within, they have reveled their full beings to me and in doing so they have each shown me how to be a mother.  And even though I now am a mother myself and will be for the rest of my life, I am always learning to stand deeper in my own fullness and glory.  There is nothing quite as inspiring as being welcomed to behold each and every woman, baby & family that braves this courageous task of togetherness, on that sacred birthing day and every day from then on, holding each other on this journey of life.

Happy Early Mother’s Day!

Spring Morning

It is that time of year where the sun streams in from the East just as we rise, illuminating everything just so, that I must grab the camera before I put the kettle on and make breakfast.

Image

The prunings from the Apricot and Peach are pushing blooms in our window sill

Image

Everyone is sprouting up beautifully in the greenhouse.

IMG_0251

Jaengy and I are spending a good portion of each morning now playing in the dirt and water & seeds.  Feeling so lucky to have such a playroom for us both.IMG_0265

Struck so deeply by the light of morning, the calm, the beauty… I seek the words but only find pictures to share this glory….But then of course I turn to this and I simply must share.

Morning Poem

Every morning

the world

is created.

Under the orange

Sticks of the sun

the heaped

ashes of the night

turn into leaves again

and fasten themselves to the high branches-

and the ponds appear

like black cloth

on which are painted islands

of summer lilies.

If it is your nature

to be happy

you will swim away along the soft trails

for hours, your imagination

alighting

everywhere.

And if your spirit

carries within it

the thorn

that is heavier than lead-

if it’s all you can do

to keep on trudging-

there is still

somewhere deep within you

a beast shouting that the earth is exactly what it wanted-

each pond with its blazing lilies

is a prayer heard and answered

lavishly, every morning,

whether or not

you have ever dared to be happy,

whether or not

you have ever dared to pray.

-Mary Oliver

The Step by Step of Bed Prep

Ready to getting digging, to break a sweat and work out those winter kinks.  Well I know I am, and bed prep is a great way to get spring started.  Once you read this you may think– ‘Well that it a lot of WORK, do I really need to do all that!!’

IMG_7273

The answer is of course no, you can do whatever you and your garden deem fit…There is no-till, there is lasagna gardening, there is digging in cover crop, there are raised beds, and of course rototillers & tractors could to the hard tilling work for you… oh I could go on, but if you do have in-ground beds, and want to get digging….. it goes like this….

IMG_8784

First I raked off all the straw that was placed there to mulch the tomatoes that grew here last year.  I removed the tomatoes and left the straw covering the beds all winter– though this is in the hoop house I like to keep my beds covered– Reduces erosion, keeps the soil warmer so it can be worked earlier and keeps in the moisture.

*Before prepping a bed, checking the moisture level is really important– If it is too hard you will be digging rocks, if too wet you will be slopping in the mud, lifting HEAVY wet soil, working you back twice as hard and of course compacting the soil where ever you walk….So always check the moisture level before you start. It should feel cool to the touch, leaving dampness on your skin, but not water…It should crumble in your hand into chunks rather than into dust….If your moisture level is too high, dry it out of course, if too low water it well and plan on digging a couple of days later, even the worst looking soil can be transformed with a little water.

Image

Once the moisture level is just right and the is bed clear, you can get digging.  I began with my Spade to edge the beds, that is cut a line along the bed edge to make sure my bed is nice and straight by just sticking the spade in as far as it will go all the way down each side of the bed.  This gives you a nice border to work within.  Then I use my beloved digging fork, starting at one end and working backwards down the bed, flipping up the soil ad I go.  That way I dig where I step, not vis versa, so the bed is nice a fluffy when I am done.

Image

Next, I add my compost.  This was harvested from my backyard pile that had been resting since last summer.  I was delighted that I got 3 wheel burrows of compost from what looked like a pretty small pile.  It may not be enough for my whole garden, but it was good to note that with our food scraps, leaves and garden waste we can produce about 3 wheel burrows worth of compost per season.  I took my spade and sprinkled it on the bed, about 3/4 inch thick.  I used 1/2 the wheel burrow for a bed measuring 3X20 ft.Image

Once it was spread I went back with my spade in the same way I passed with my fork and dug and flipped and smacked, incorporating the compost and continuing to break up the chucks.  A big part of what I did that day was in fact break up chunks, but I have to say it felt good!!  I worked up quite a sweat in that hoop house, sure beats the gym!!!IMG_9576Now with smaller chucks I went back over, yes again, with a rake.  This is the zen part. There is still a little smacking of clumps but mostly just smoothing it all out.IMG_9577

The finer you go, the tilth better for your seeds.  And the more even you go the more consistently moistened when watered.  Now this stage seems to be the most appealing for toddlers to step right in the make their mark… So I baby trapped the bed by putting in a few stakes and wrapping with twine about a foot or two high.  This seems to work well for a person of 22 months– though past 2 years they can just hurdle it with ease– I guess I will cross that bridge when we come to it.IMG_9579  There is drip tape already in the hoop house so I just re-laid it.  It won’t be turned on for another month, but having it out gives me nice straight lines to plant along and a sure thing my babies will get the water they need as the season progresses.  Now we Plant!!IMG_9581These are cool season crops started in the greenhouse, ready to have more space!!  I divide them ever so carefully and placed them individually in the ground.IMG_9585

As I transplant I make sure to make holes deep enough for all the roots to rest in without being scrunched, I also make a little moat around each plant to ensure water pools around each and doesn’t run off.  IMG_9587Now we water & wait– though with the warmth in the hoop house it shouldn’t be long now!!

IMG_9513I had to go away for week before posting this– so here is what it looks like a week later!!  We should be eating in no time!!IMG_9517

Seedy Times

I know you all are dusting of those seed packets, or maybe eagerly awaiting a packet just order from those bountiful seed catalogs.  It is such an exciting time of promise and potential…But seeds are big business these days and besides serious issues with GMO’s at the forefront on the news, seed business’ have other dirty secrets.  I thought I would share this article from the NY Times about choosing your seed wisely, it may be one of the most important choices you make in the long run.  There is also a Community Seed Swap coming up in Santa Fe on March 20th hosted by HomeGrown in case you want to get out of the consumer cycle altogether and swap seeds and knowledge instead.Image

Happy Leaf Day

Over cast skies full of promise, moon in Water Sign of Scorpio…all signs point to leaves today.  ImageIt is really starting to feel a bit warmer out there and we will spend the day prepping Hoop House Beds, watering our little sprouts that are coming up in there and of course Planting Leaves.ImageWe do many sowings in the greenhouse early & transplant things like Kale and Collards outside a bit later….But today we will also start direct sowing Lettuce, Spinach, Mache, Cilantro, Chard & Arugula outdoors.  ImageI will lay some row cover over them to keep them moist, warm and protected from the birds…and in about a month they will be fine just left in the great wide open.  We are now harvesting Spinach from baby plants I transplanted outside under row cover this fall.  They are now starting to really take off along with the Lettuce, Kale, Onions and Garlic that share it’s bed.  How does your garden grow…

PS if nothing yet, not to worry, we are just getting started here we have lots of time to sow. Happy Leaf day from my Garden to yours

Tea Time

When my son was born everyday seemed to become one LONG day, with constant night waking, not much social time and my old life rhythms, well gone.  Part of grounding myself into motherhood was creating new rhythms for our family, as suggested by my Waldorfian friends, which truly helped me orient myself to my new life.  Enter tea time– a wonderful way to breakup the afternoons, to rest, or awaken, deepening on who and how you are.  IMG_9282

I grow lots of herbs in the garden for tea like Mint, Lemon Balm, Catnip, Calendula, I even have some Lemon Grass & Lemon Verbena in the greenhouse and of course forage lots more like Nettles, Raspberry leaf, Clover &  Cota…but what about cakes for all that tea?  Here are some recipes, found & passed on by friends, for delicious and nutritious tea cakes, as requested by my tea guests of late.  Happy Tea Time to all.

Applesauce Cake

Santiago Cake

French Apple Cake

Almond Wafers(Altered this one quite a bit by substituting 1/2 the Wheat Flour for Almond Meal, works great!)

Homemade Potting Soil

IMG_8863

I make potting mix every year for my greenhouse seedlings.  I also make mixes for my mom’s raised garden beds, (at home I grow in the ground and do things a bit differently for that).  I have written about making potting soil many times here & here, but every year I refine it, learn more, change things, or get my hands on something new.

IMG_8859

I gather my materials from my yard and pre- sift everything so I have it ready to make mixes when I want to.  I sift it because little plants need readily available nutrients and fine tilth so their roots have an easy time growing.  Any big chunks sifted out can go back into the landscape under big trees and around perennials.

IMG_8864

Materials

Sifted Compost from your own pile (or another source if not is available)

Sifted Soil from your garden

Sifted Sand from your arroyo

Moistened Coco Peat ( this is the only thing I buy and I get it locally at Agua Fria Nursery)

I get all this stuff in advance and store it in bins so everything is ready to go when I need to mix.

IMG_8862

Once I have everything gathered I get my

wheel burrow,

a 5 gallon bucket,

a shovel and

a hoe.

IMG_8870

Here is my the recipe I use, adapted from my Alma Matar, CASFS.

It is a parts recipe, but if you use a 5 gallon bucket as your measuring cup and follow this recipe you will get a full wheel burrow, which will be enough soil for 10 flats of 2 inch pots or 6 homemade wooden 2x1ft seedling trays.

Mix into wheel burrow

1 Bucket-Shifted Compost

1Bucket- Shifted Garden soil

1 Bucket Coco Peat

This is the base recipe from here you can add all sorts of fancy things if you have them:

Ground up egg shells

Perilite

Moonshine

Grape seeds

Oh there is so many thing you can add to soil mixes and that is really determined by how much money you have, what you are trying to grow.  I keep things pretty simple around here, but have fun with what you decide to add to you soil, (or ask me for more advice!)

Mix everything well with a hoe and sprinkle occasionally with water.

IMG_8801

The moisture level is key, not only does it cut down yucky dust, but you want a nice moist mix in your flat before you seed.

If it is too dry it will actually repel water and you tiny seeds will float away in the run off.

IMG_0083

Give it a squeeze and release

IMG_0084

If it stays in a loose ball and breaks apart when you bounce it in your palm you have got it.  Now store it in a bin with a lid to keep that perfect moisture, or put it directly into you flats and sow away!

And that is that.  Once you have your flats made & potting mix made, now all you have to do is decide what to grow.  Go here if you are ready for the next step!

IMG_1075 (1)

Mid-day Meditation on Beauty

IMG_8768

“To love. To be loved. To never forget your own insignificance. To never get used to the unspeakable violence and the vulgar disparity of life around you. To seek joy in the saddest places. To pursue beauty to its lair. To never simplify what is complicated or complicate what is simple. To respect strength, never power. Above all, to watch. To try and understand. To never look away. And never, never to forget.”
Arundhati Roy, The Cost of Living

IMG_8911

“I don’t think of all the misery, but of the beauty that still remains.”
Anne Frank, The Diary of a Young Girl

IMG_8885

“The power of finding beauty in the humblest things makes home happy and life lovely.”
Louisa May Alcott

IMG_8546

“Our task must be to free ourselves… by widening our circle of compassion to embrace all living creatures and the whole of nature and it’s beauty.”
Albert Einstein

IMG_6593

“Beauty of whatever kind, in its supreme development, invariably excites the sensitive soul to tears.”
Edgar Allan Poe

IMG_4316

“If your daily life seems poor, do not blame it; blame yourself, tell yourself that you are not poet enough to call forth its riches; for to the creator there is no poverty and no poor indifferent place.”
Rainer Maria Rilke, Letters to a Young Poet

IMG_3610

“Taking pictures is savoring life intensely, every hundredth of a second.”
Marc Riboud

IMG_3915

“The ideals which have always shone before me and filled me with joy are goodness, beauty, and truth.”
Albert Einstein

IMG_8904

“It is time for parents to teach young people early on that in diversity there is beauty and there is strength.”
Maya Angelou

IMG_8916

“The appearance of things changes according to the emotions; and thus we see magic and beauty in them, while the magic and beauty are really in ourselves.”
Kahlil Gibran

IMG_4583

“the voice of beauty speaks softly; it creeps only into the most fully awakened souls”
Friedrich Nietzsche

All quotes courtesy of Good Reads.

Planting into pallets

Is there anything you can’t make out of an old pallet?  Yes, it does take more time and a bit more know-how to upcycle a pallet into a totally different and functional thing, but luckily I have an expert on my side.  Yep, Joel does it again.  This time he made me a new seed planting flat out of recycled pallet wood.

(Note: I do also do make these out new wood too, see here)

Image

=

IMG_8851

Cool Huh?  Want to try? Here is how he did it.

First, he tore the pallet apart with a flat bar to get the the lumber in order. Image

Then he used the cross pieces which were 3.5inches wide and 1/2 to 3/4 inches thick.  There was mix of oak (harder, longer lasting, heavier) & pine (softer, easier to work with lighter)


Then he cut off the split tips with the nails in them- to have clean, split free ends and not to bother with pulling out the nails.Image

Then he cut 2 pieces at 1ft long and 6pieces at 2ft long

He nailed 2 of the 2footers & 2 of 1footers into a rectangular box.  The 2 footer edges over lapped the edges of the 1 footers.  Unfortunately he moved so fast I didn’t get to photograph every step… but I hope you follow.

Image

Then he nailed the remaining 4 2footers to the bottom of the box using 4d galvanized nails. These are rust resistant and small enough that they will keep the wood from splitting, but large enough to hold your box together when it is full of heavy, wet soil.  Because the wood was irregular enough he just pushed the bottom slats together and nailed…but it is important to note during this step to leave a little space between the slats for water to drain out, but not soil.  I usually stick a quarter between the slats which has always proven to be just right.

Image

And there you have it.  Here is one I made from Redwood and screws in 2010 (in front) and the new Pallet one (in back).  Image

Similar—-but there are few subtle differences.

*The new one is a bit wider than the other.  As far as size go, I pretty much try to maximize my table space.  If you table is a 3×6 (which many tables are) you can fit 9 2×1 flats on it.  That should be more than enough (much more in fact) for all your seedling needs.  Remembering, when you start seeds in wooden planting flats you will need to divide them or thin them before they reach the garden, so leave space in you table(s) for transplants.  This is basically bio-intensive gardening, but more on that later…here is the next step if you are eager.

*The other difference is that my new flat is mostly oak and the older one is Redwood.  Both have their pros and cons

Oak- Hard, Heavy, Durable,Rot Resistant, Brittle-(Available in Pallets)

Pine- Soft, Not Rot resistant, Light weight, Cheap or free-(Available in Pallets)

Redwood- Light weight, doesn’t spilt easily, VERY Rot Resistant-(Must buy)

Wooden Flats are a great thing to add to your garden shed if you find yourself starting seeds every year.  They are pretty simple to make, relatively cheap and last many years, not to mention they are NOT plastic.  They work beautifully to hold moisture and give ample space for those babies to grow.  Many farms use them, which is where I learned about them.  Here are a few I stumble across while ambling through a sleepy farm in Colorado last spring.

ImageImageImage

Yes, I take pictures of other people’s planting flats, I told you I was a farm tourist.

Good Luck and I hope you help rescue one more lonely pallet from the back of your hardware store and put it to good use.

When you are ready here is a link to how to make potting soil for the flats and one on how to plant into them properly.  Let the sowing begin!!