I know you all are dusting of those seed packets, or maybe eagerly awaiting a packet just order from those bountiful seed catalogs. It is such an exciting time of promise and potential…But seeds are big business these days and besides serious issues with GMO’s at the forefront on the news, seed business’ have other dirty secrets. I thought I would share this article from the NY Times about choosing your seed wisely, it may be one of the most important choices you make in the long run. There is also a Community Seed Swap coming up in Santa Fe on March 20th hosted by HomeGrown in case you want to get out of the consumer cycle altogether and swap seeds and knowledge instead.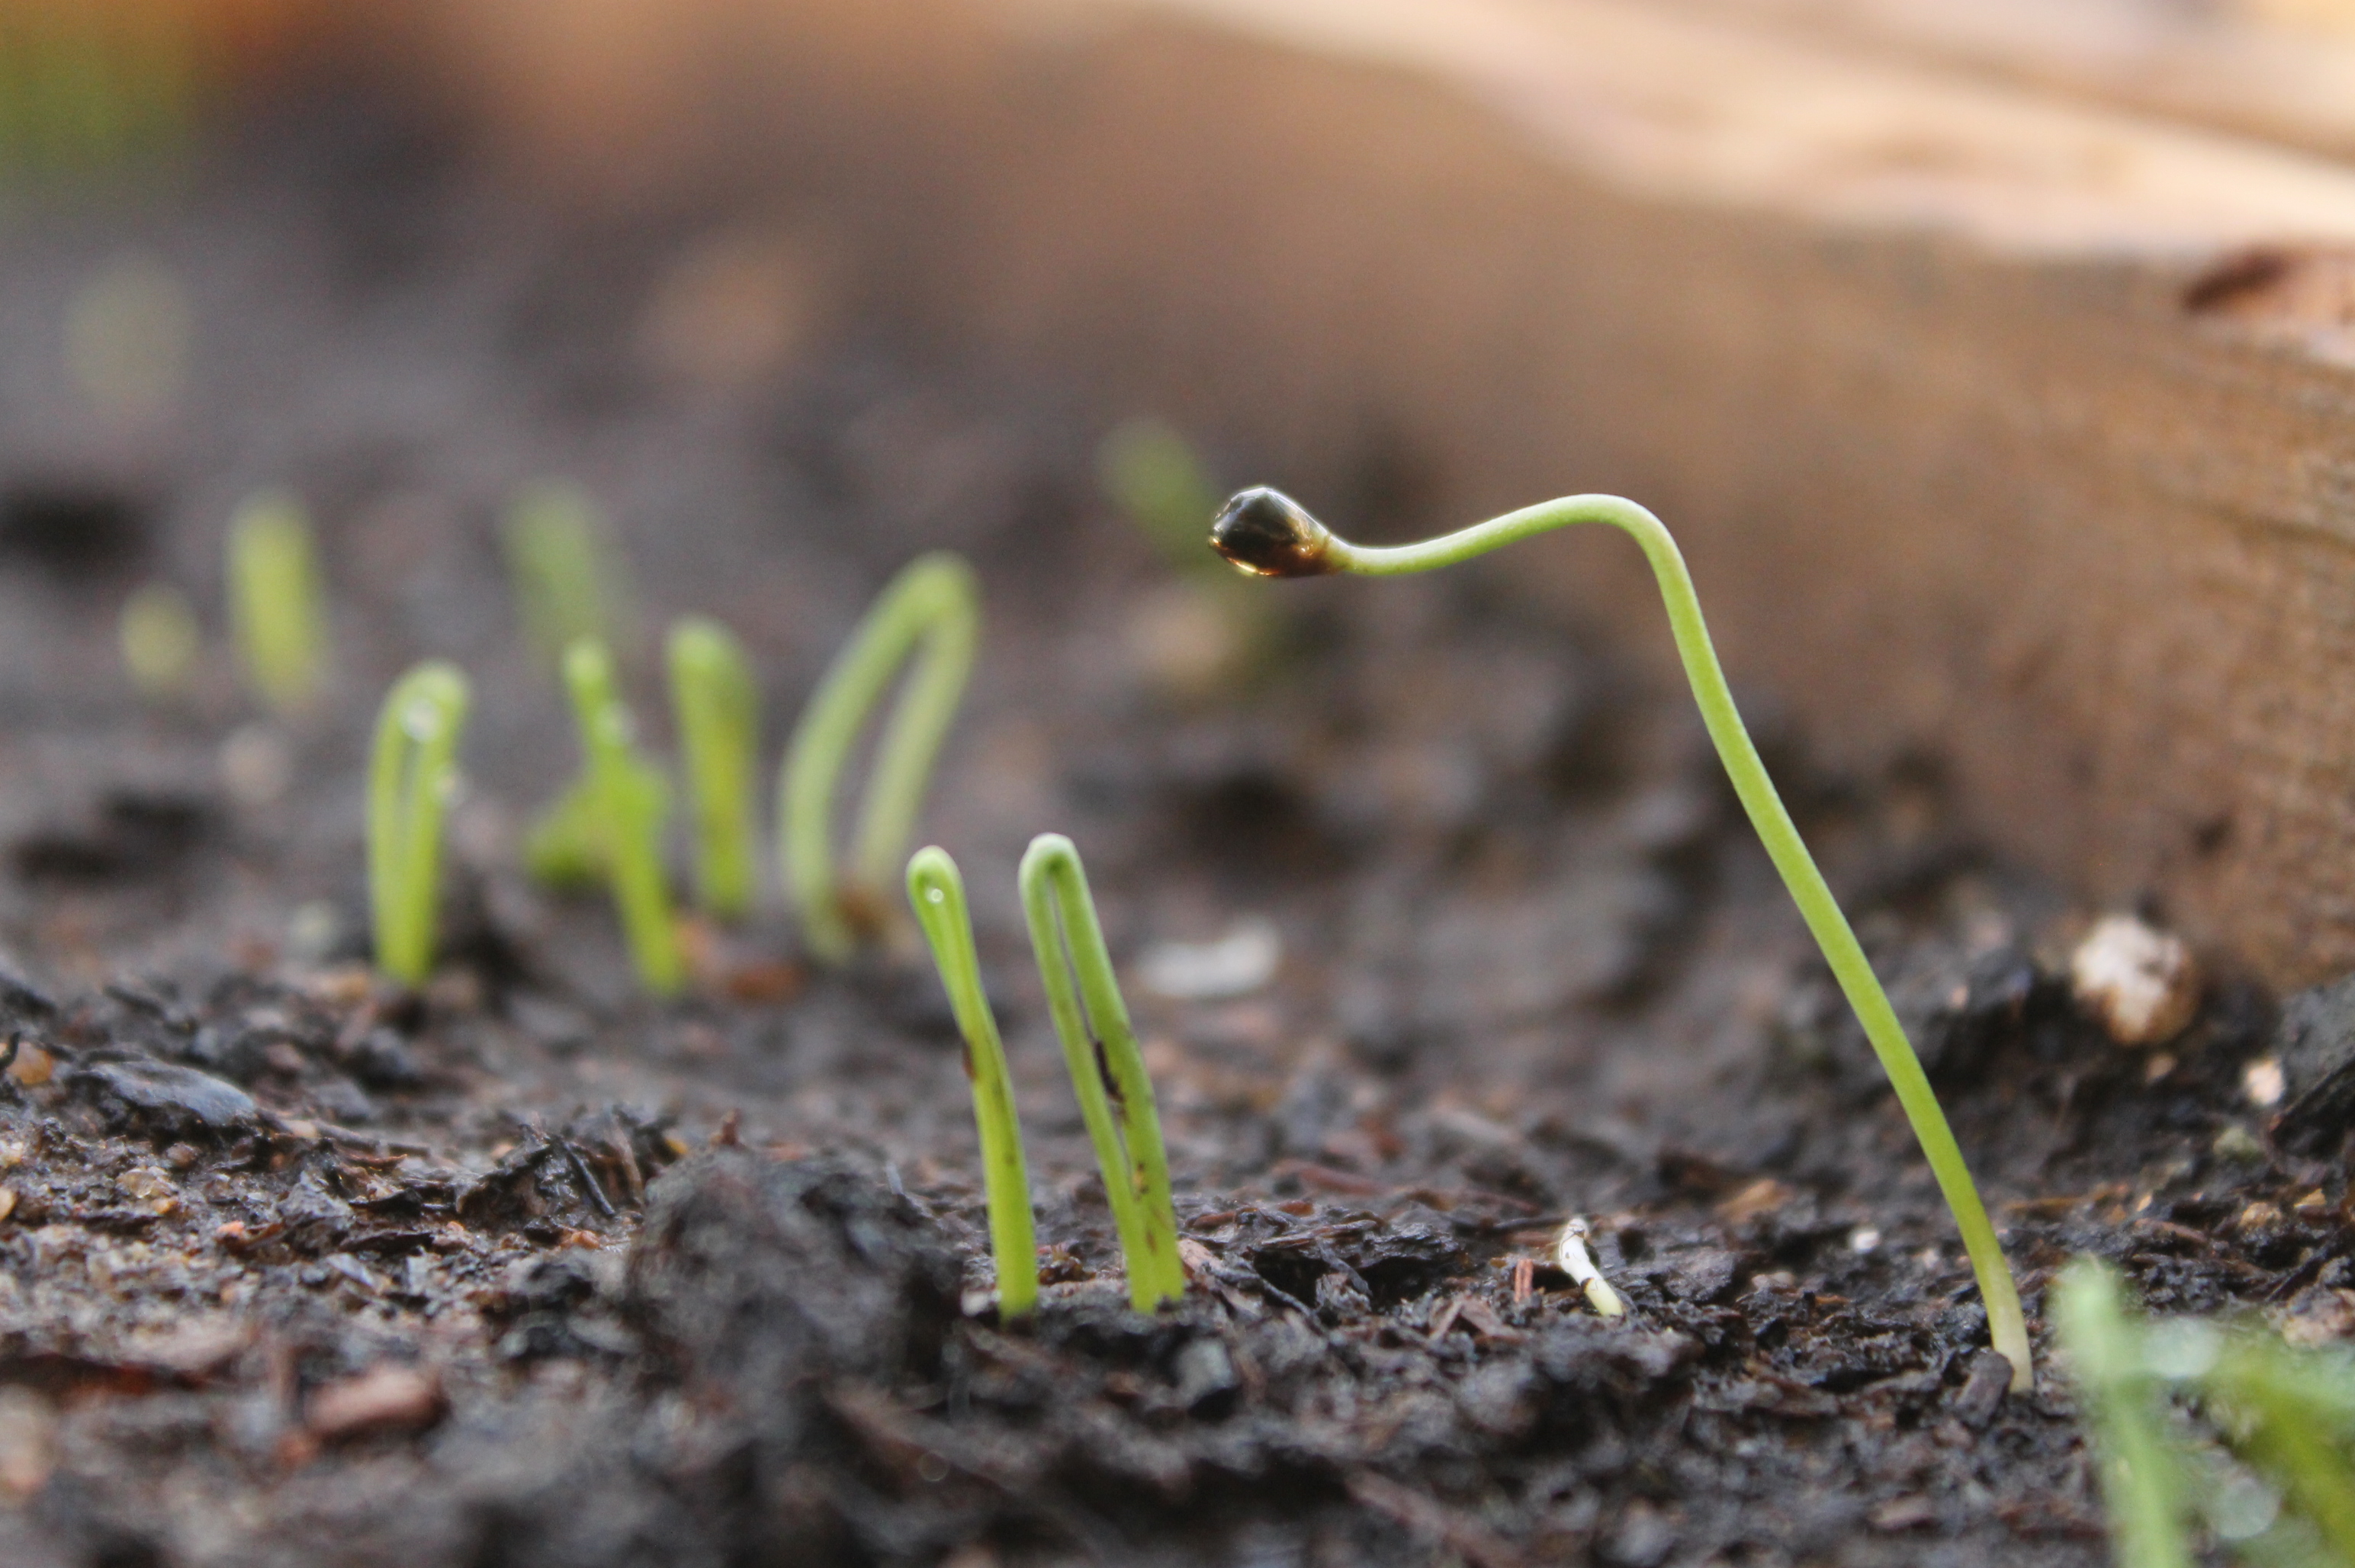
Category Archives: Cultivating
Happy Leaf Day
Over cast skies full of promise, moon in Water Sign of Scorpio…all signs point to leaves today.  It is really starting to feel a bit warmer out there and we will spend the day prepping Hoop House Beds, watering our little sprouts that are coming up in there and of course Planting Leaves.
 We do many sowings in the greenhouse early & transplant things like Kale and Collards outside a bit later….But today we will also start direct sowing Lettuce, Spinach, Mache, Cilantro, Chard & Arugula outdoors.
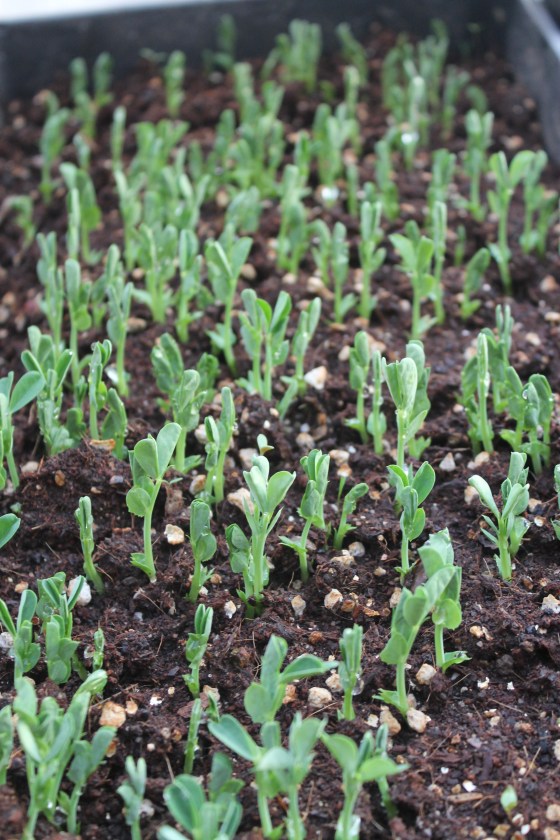
  I will lay some row cover over them to keep them moist, warm and protected from the birds…and in about a month they will be fine just left in the great wide open. We are now harvesting Spinach from baby plants I transplanted outside under row cover this fall. They are now starting to really take off along with the Lettuce, Kale, Onions and Garlic that share it’s bed. How does your garden grow…
PS if nothing yet, not to worry, we are just getting started here we have lots of time to sow. Happy Leaf day from my Garden to yours
Homemade Potting Soil

I make potting mix every year for my greenhouse seedlings. I also make mixes for my mom’s raised garden beds, (at home I grow in the ground and do things a bit differently for that). I have written about making potting soil many times here & here, but every year I refine it, learn more, change things, or get my hands on something new.

I gather my materials from my yard and pre- sift everything so I have it ready to make mixes when I want to. I sift it because little plants need readily available nutrients and fine tilth so their roots have an easy time growing. Any big chunks sifted out can go back into the landscape under big trees and around perennials.

Materials
Sifted Compost from your own pile (or another source if not is available)
Sifted Soil from your garden
Sifted Sand from your arroyo
Moistened Coco Peat ( this is the only thing I buy and I get it locally at Agua Fria Nursery)
I get all this stuff in advance and store it in bins so everything is ready to go when I need to mix.

Once I have everything gathered I get my
wheel burrow,
a 5 gallon bucket,
a shovel and
a hoe.

Here is my the recipe I use, adapted from my Alma Matar, CASFS.
It is a parts recipe, but if you use a 5 gallon bucket as your measuring cup and follow this recipe you will get a full wheel burrow, which will be enough soil for 10 flats of 2 inch pots or 6 homemade wooden 2x1ft seedling trays.
Mix into wheel burrow
1 Bucket-Shifted Compost
1Bucket- Shifted Garden soil
1 Bucket Coco Peat
This is the base recipe from here you can add all sorts of fancy things if you have them:
Ground up egg shells
Perilite
Grape seeds
Oh there is so many thing you can add to soil mixes and that is really determined by how much money you have, what you are trying to grow. I keep things pretty simple around here, but have fun with what you decide to add to you soil, (or ask me for more advice!)
Mix everything well with a hoe and sprinkle occasionally with water.

The moisture level is key, not only does it cut down yucky dust, but you want a nice moist mix in your flat before you seed.
If it is too dry it will actually repel water and you tiny seeds will float away in the run off.

Give it a squeeze and release

If it stays in a loose ball and breaks apart when you bounce it in your palm you have got it. Now store it in a bin with a lid to keep that perfect moisture, or put it directly into you flats and sow away!
And that is that. Once you have your flats made & potting mix made, now all you have to do is decide what to grow. Go here if you are ready for the next step!
Planting into pallets
Is there anything you can’t make out of an old pallet? Yes, it does take more time and a bit more know-how to upcycle a pallet into a totally different and functional thing, but luckily I have an expert on my side. Yep, Joel does it again. This time he made me a new seed planting flat out of recycled pallet wood.
(Note: I do also do make these out new wood too, see here)
=

Cool Huh? Want to try? Here is how he did it.
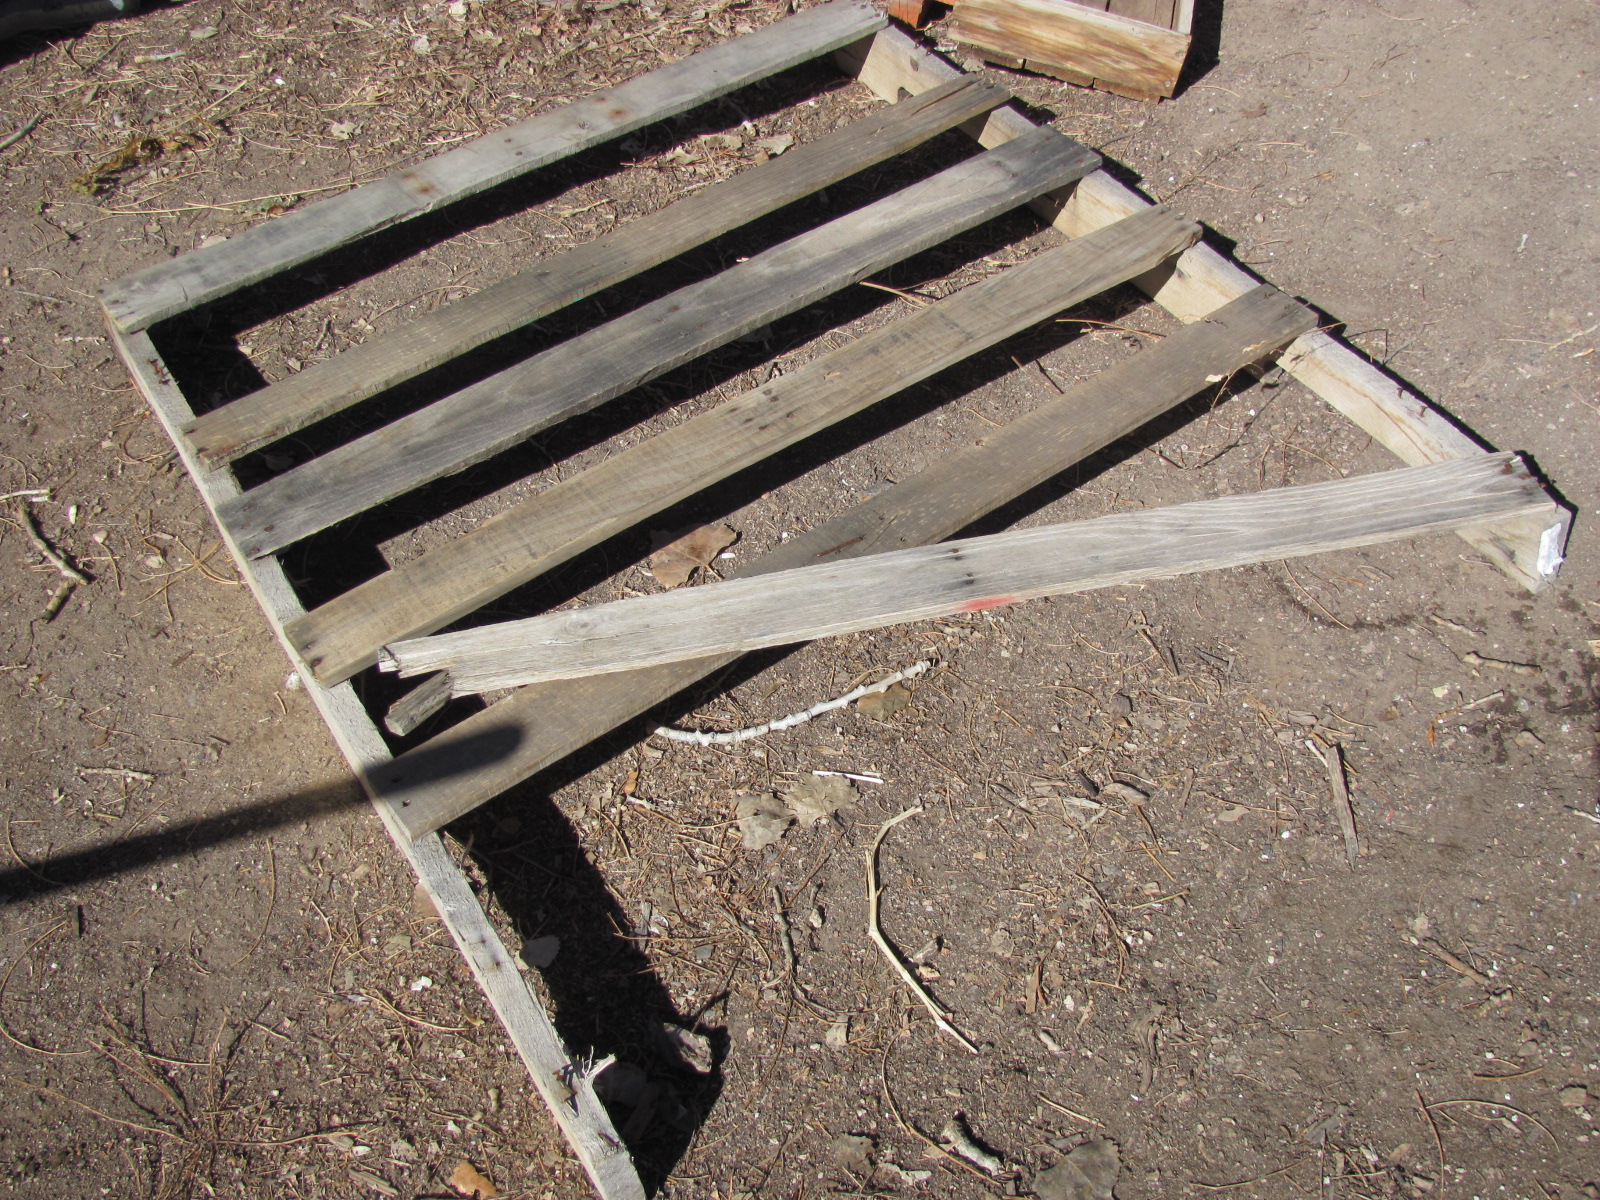
First, he tore the pallet apart with a flat bar to get the the lumber in order. 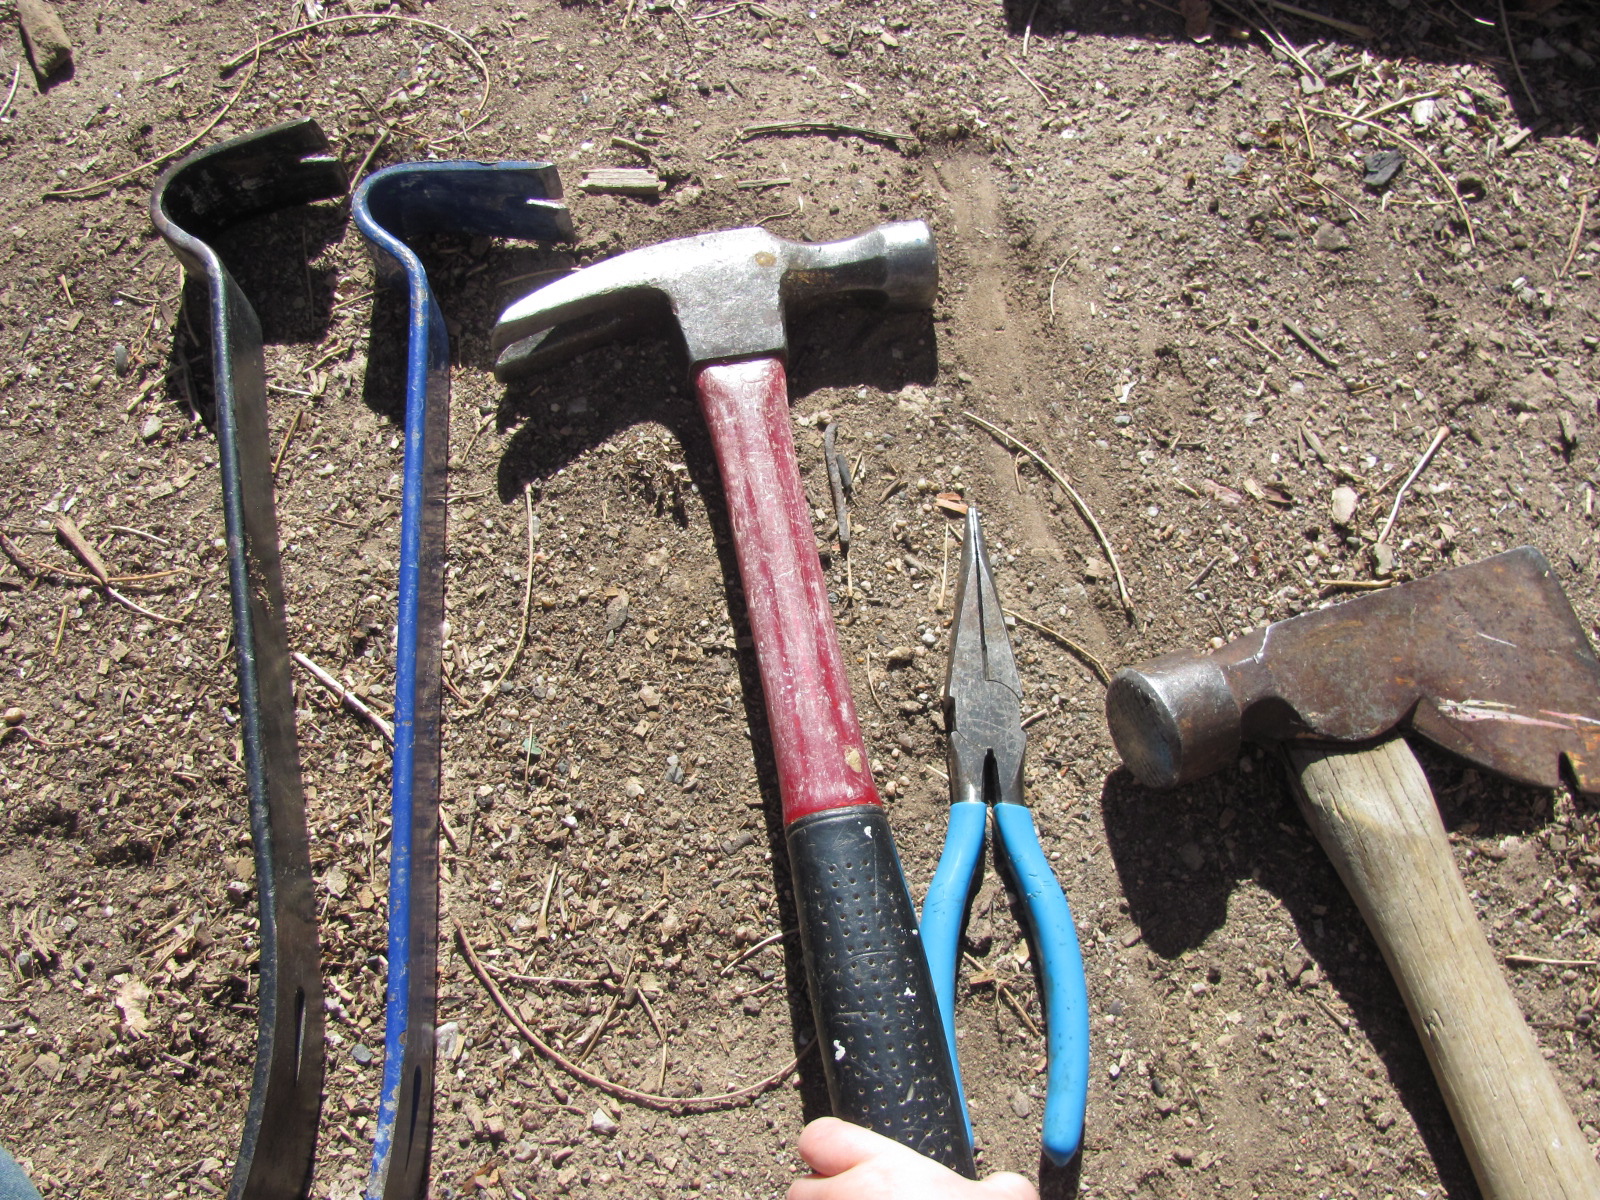
Then he used the cross pieces which were 3.5inches wide and 1/2 to 3/4 inches thick. There was mix of oak (harder, longer lasting, heavier) & pine (softer, easier to work with lighter)
Then he cut off the split tips with the nails in them- to have clean, split free ends and not to bother with pulling out the nails.
Then he cut 2 pieces at 1ft long and 6pieces at 2ft long
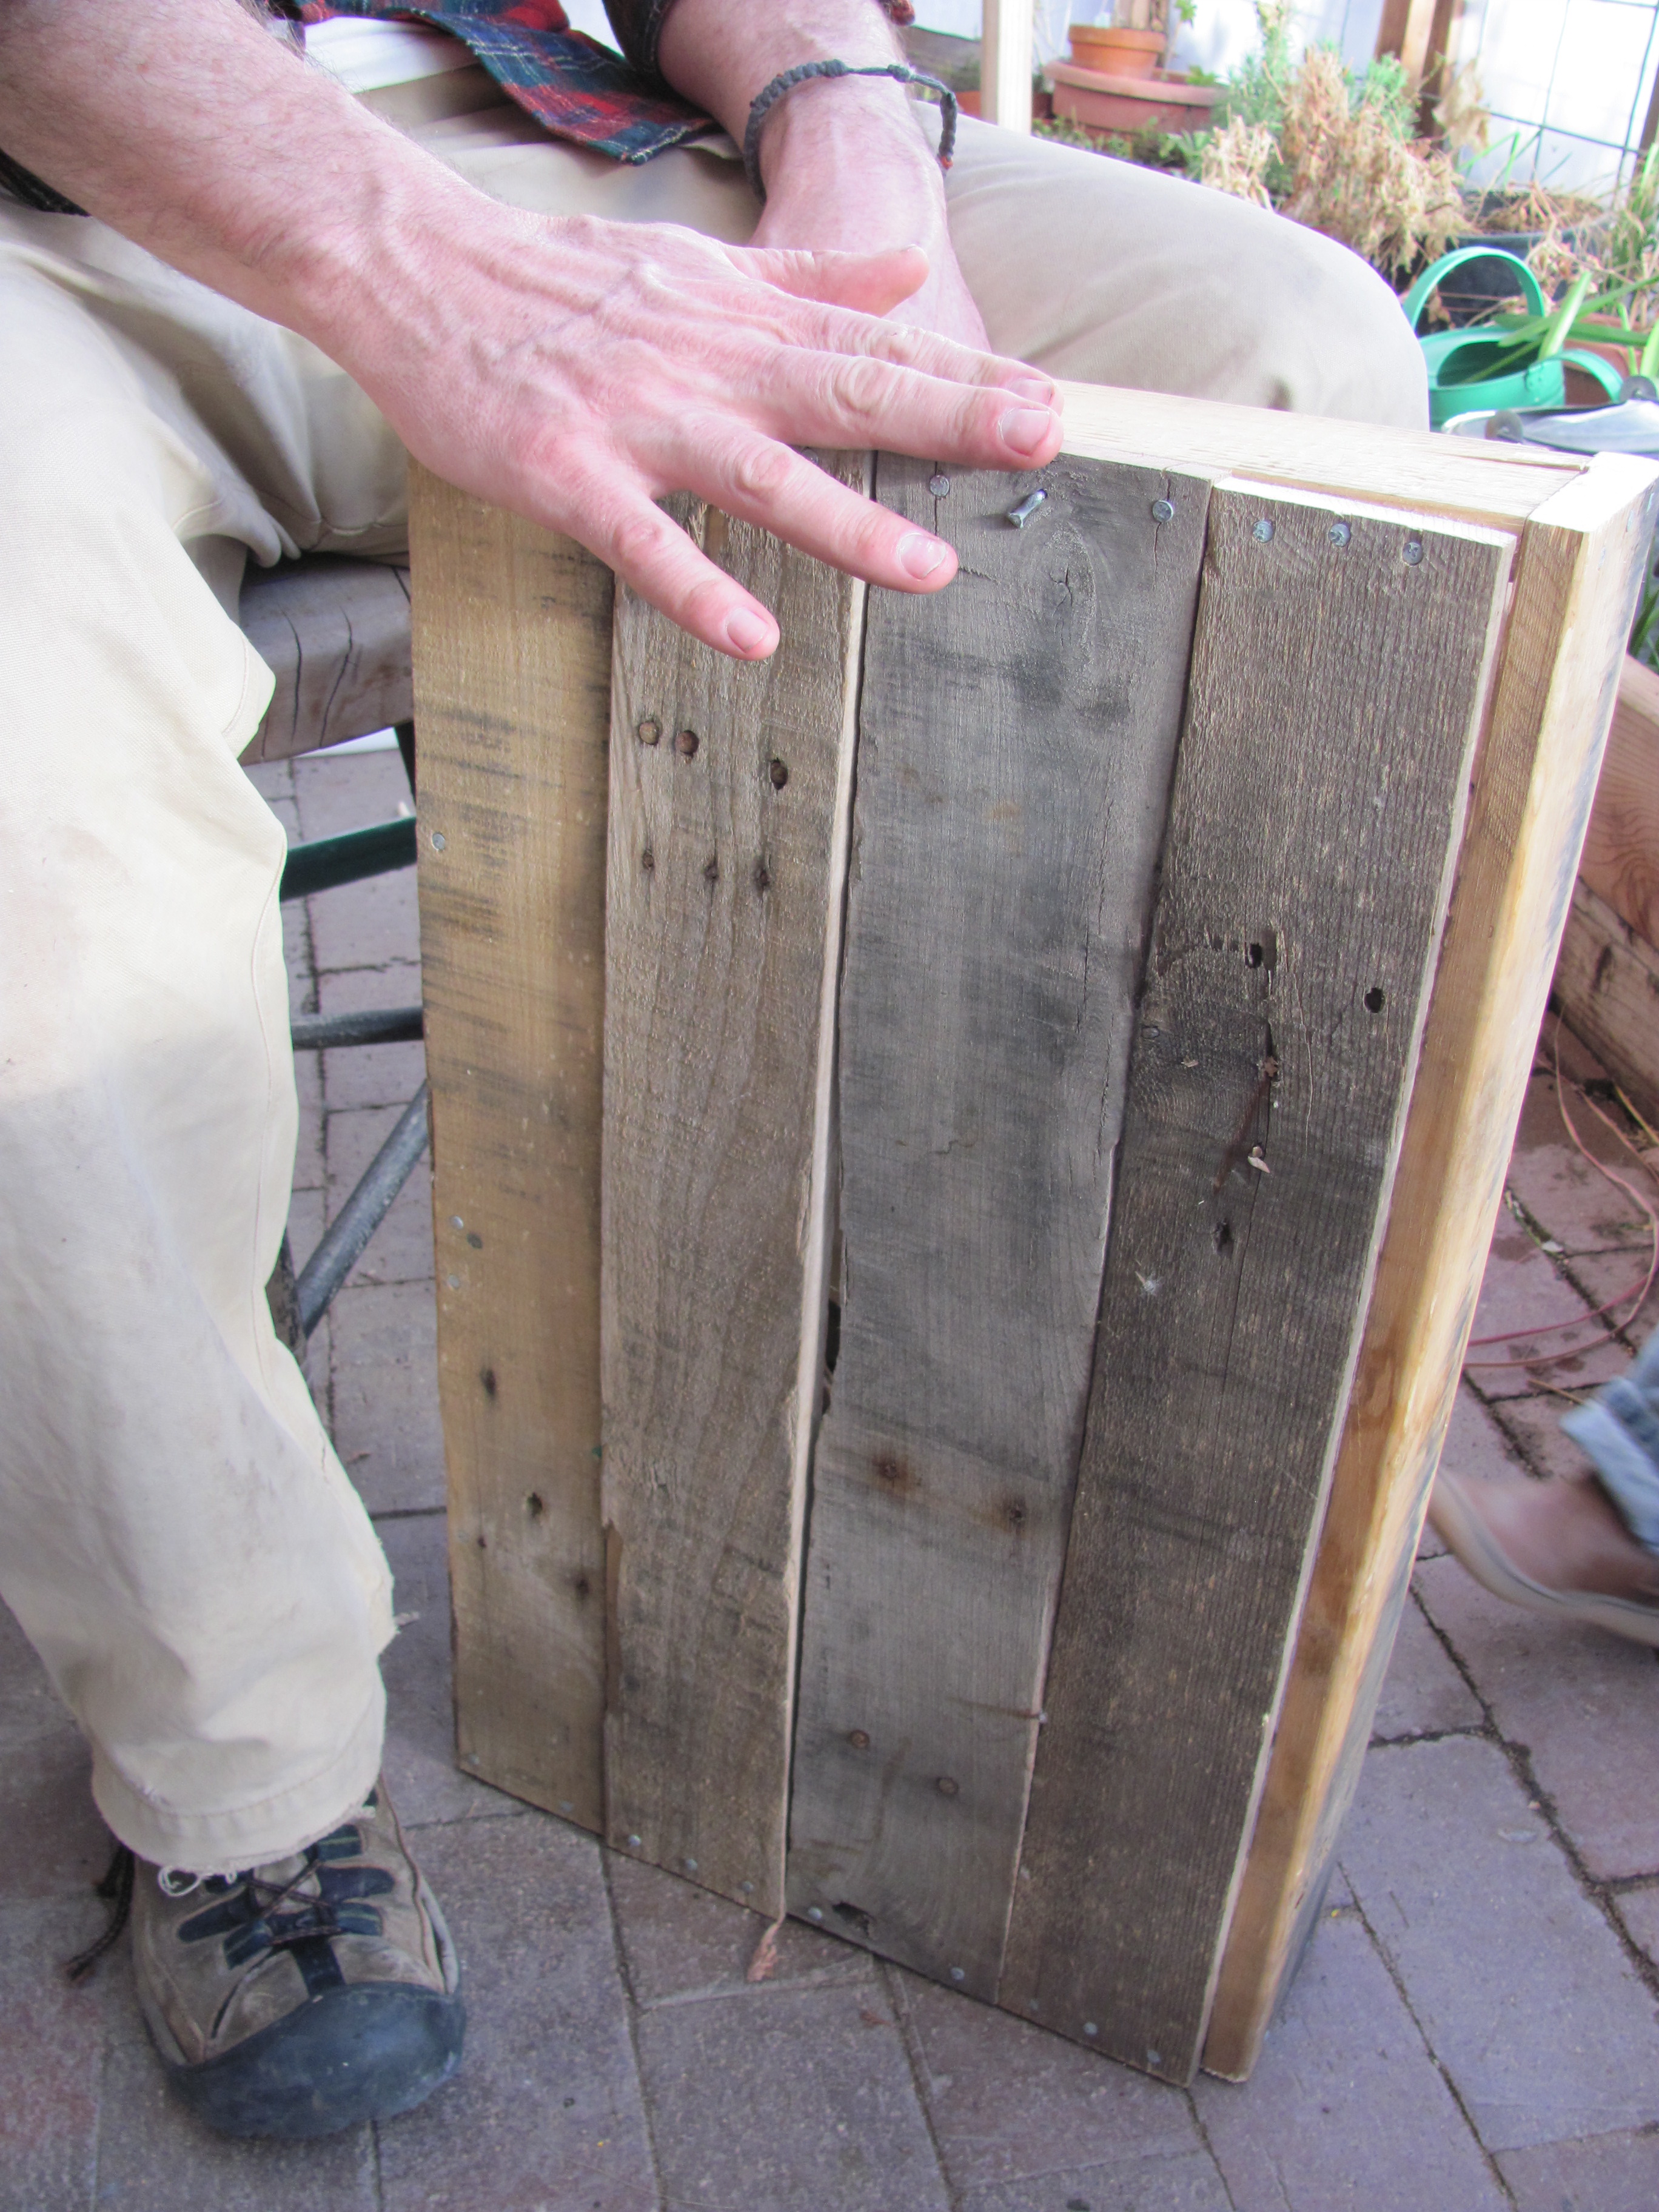
He nailed 2 of the 2footers & 2 of 1footers into a rectangular box. The 2 footer edges over lapped the edges of the 1 footers. Unfortunately he moved so fast I didn’t get to photograph every step… but I hope you follow.

Then he nailed the remaining 4 2footers to the bottom of the box using 4d galvanized nails. These are rust resistant and small enough that they will keep the wood from splitting, but large enough to hold your box together when it is full of heavy, wet soil. Because the wood was irregular enough he just pushed the bottom slats together and nailed…but it is important to note during this step to leave a little space between the slats for water to drain out, but not soil. I usually stick a quarter between the slats which has always proven to be just right.
And there you have it. Here is one I made from Redwood and screws in 2010 (in front) and the new Pallet one (in back). 
Similar—-but there are few subtle differences.
*The new one is a bit wider than the other. As far as size go, I pretty much try to maximize my table space. If you table is a 3×6 (which many tables are) you can fit 9 2×1 flats on it. That should be more than enough (much more in fact) for all your seedling needs. Remembering, when you start seeds in wooden planting flats you will need to divide them or thin them before they reach the garden, so leave space in you table(s) for transplants. This is basically bio-intensive gardening, but more on that later…here is the next step if you are eager.
*The other difference is that my new flat is mostly oak and the older one is Redwood. Both have their pros and cons
Oak- Hard, Heavy, Durable,Rot Resistant, Brittle-(Available in Pallets)
Pine- Soft, Not Rot resistant, Light weight, Cheap or free-(Available in Pallets)
Redwood- Light weight, doesn’t spilt easily, VERY Rot Resistant-(Must buy)
Wooden Flats are a great thing to add to your garden shed if you find yourself starting seeds every year. They are pretty simple to make, relatively cheap and last many years, not to mention they are NOT plastic. They work beautifully to hold moisture and give ample space for those babies to grow. Many farms use them, which is where I learned about them. Here are a few I stumble across while ambling through a sleepy farm in Colorado last spring.
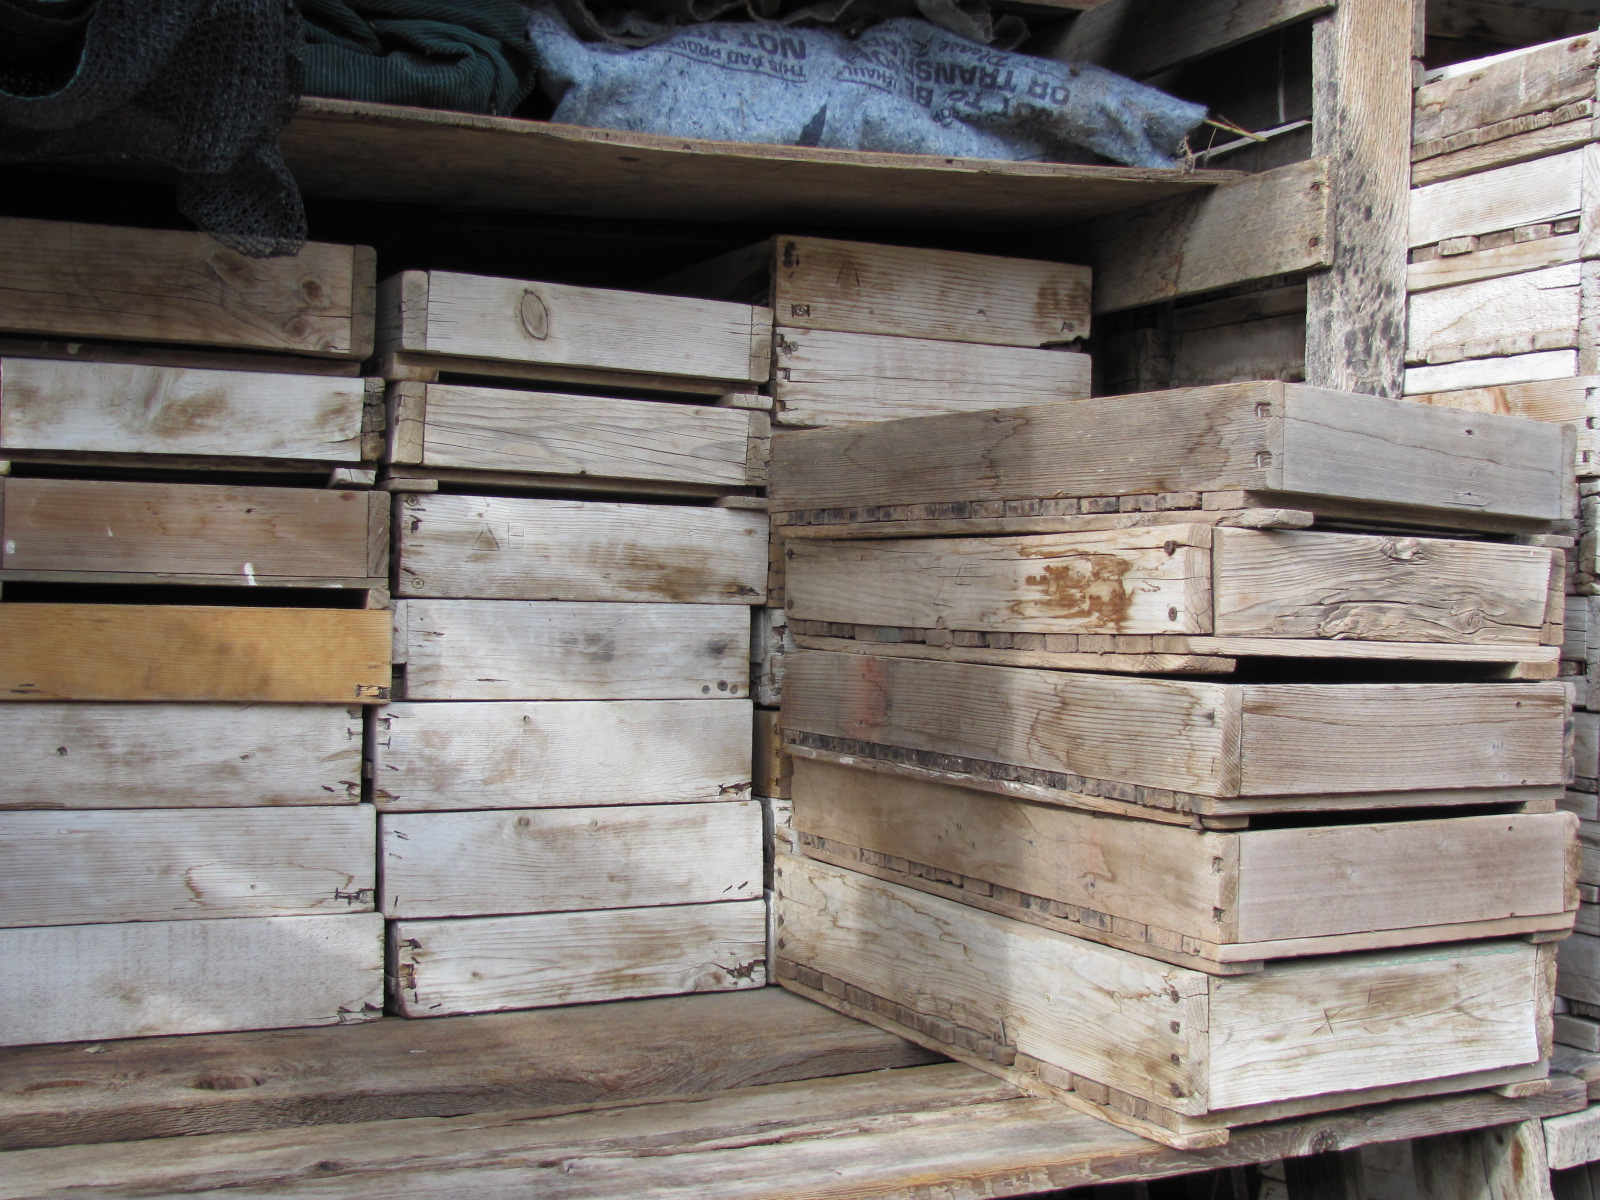

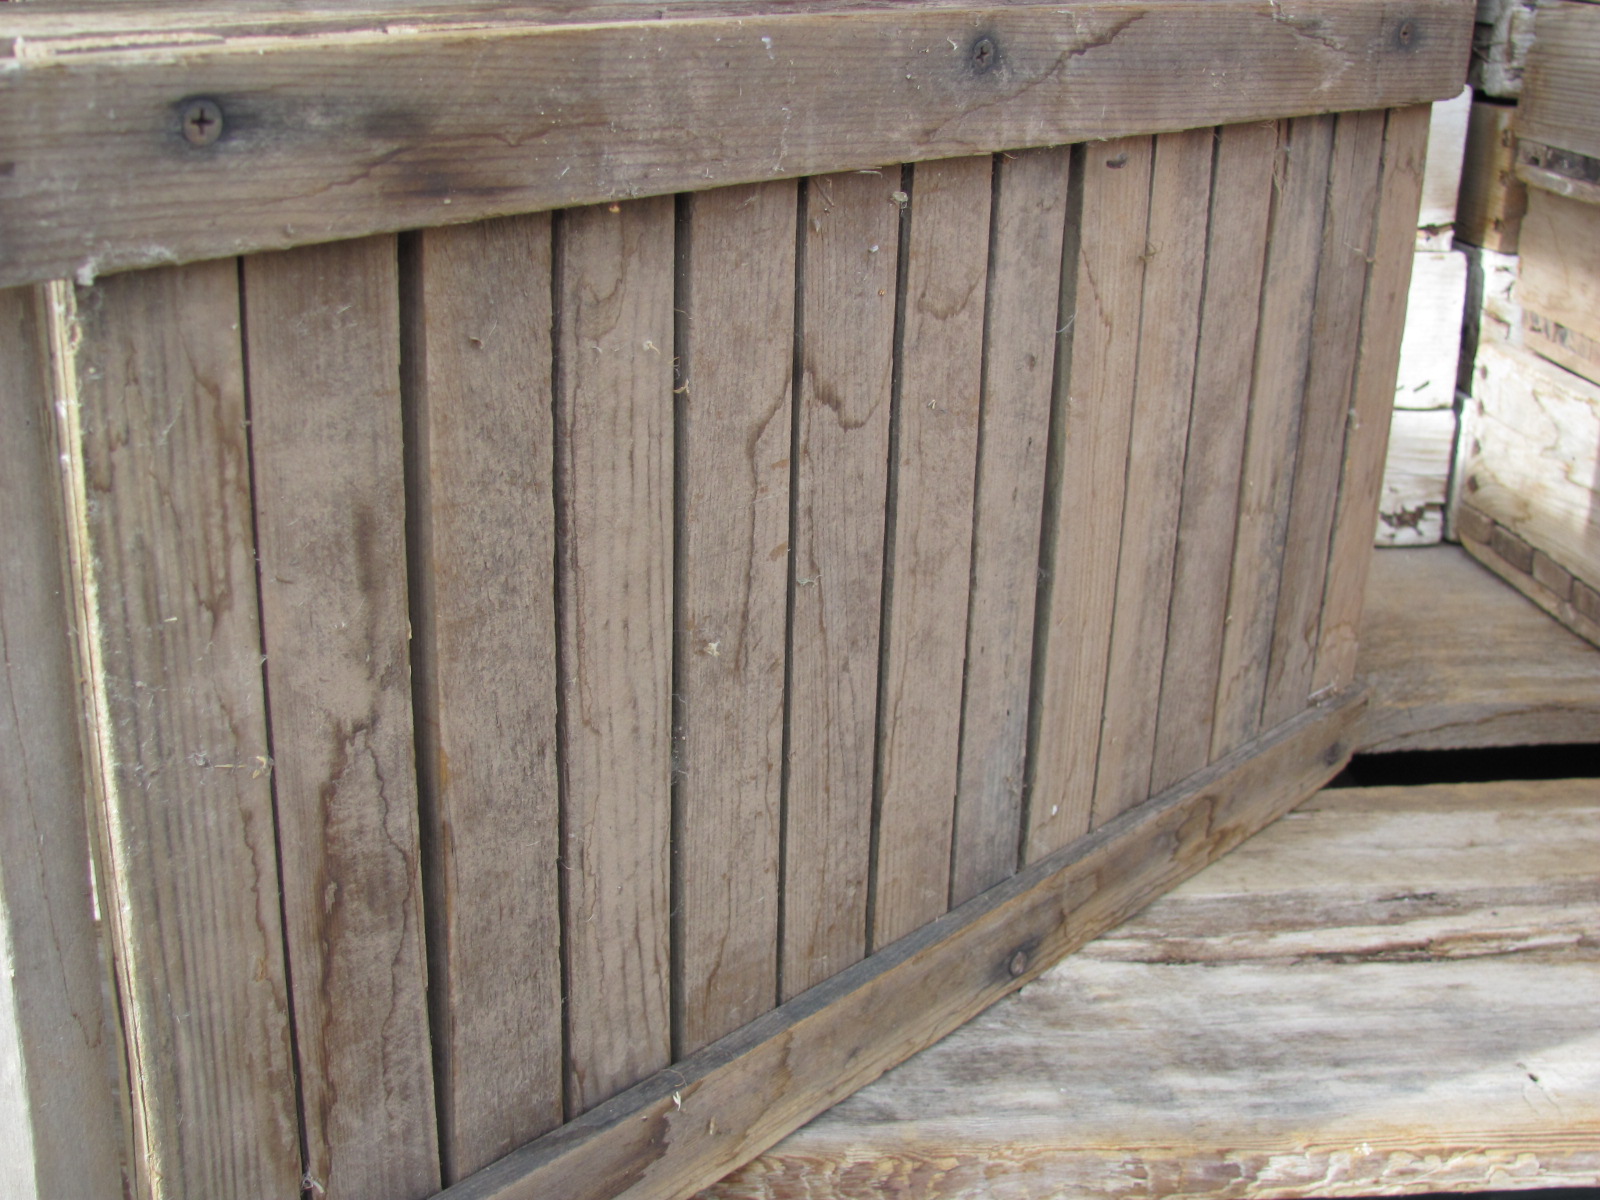
Yes, I take pictures of other people’s planting flats, I told you I was a farm tourist.
Good Luck and I hope you help rescue one more lonely pallet from the back of your hardware store and put it to good use.
When you are ready here is a link to how to make potting soil for the flats and one on how to plant into them properly. Let the sowing begin!!
Planning for Spring
It is still frigid outside, but folks remember this IS a GOOD THING. The longer that snow stays on the ground the better off we will all be come spring, and all the more thankful!! All this cold just gives us more time to sip tea & dream our abundant garden plots to life.
I have been at this gardening thing for long enough, that the planning is kind of second nature, but how to share it is always a challenging task. I teach gardening here and there and everyone asks every year– What do I plant when?  It is actually a harder question to answer than some might like because, well it depends…on the weather that year, on what your garden is like, on when you want to harvest, how much space you have…on pretty much everything… But I finally bit the bullet and just made a rough draft of a calendar for my students and friends to follow. I aligned my gardening experience here in the high desert and all that I have learned along the way with my favorite guidance from the stars to create an easy to use guide to chart the course of our gardens this year. So folks here it is–


 Thanks to snapfish and lots of photos taken over the years, I am pretty pleased with it I must say. It is mostly useful for folks gardening in zone 6 but if anybody wants one, I could have more made, just let me know– good price for you!!
Starting the new year right
Or at least we are attempting to….
Juicing Carrots, Beets and Ginger for a little mid winter zing. Oh and did you notice the magazine I used as coaster? Yep, these very hands made the cover of the Spring SFCC (Santa Fe Community College) Continuing Ed course catalog. I have been helping them start a garden there that will produce food for their student run cafe!! So cool!  Friday will be our first harvest ever, I am anticipating a couple of lbs of Spinach, some Parsley and maybe some Chard if we get lucky. I am not officially teaching in the garden this spring…but some of my cohorts are and their classes look great. Check out Botany for Gardeners by Scott Voorhies or Amanda Bramble’s intro to Permaculture.
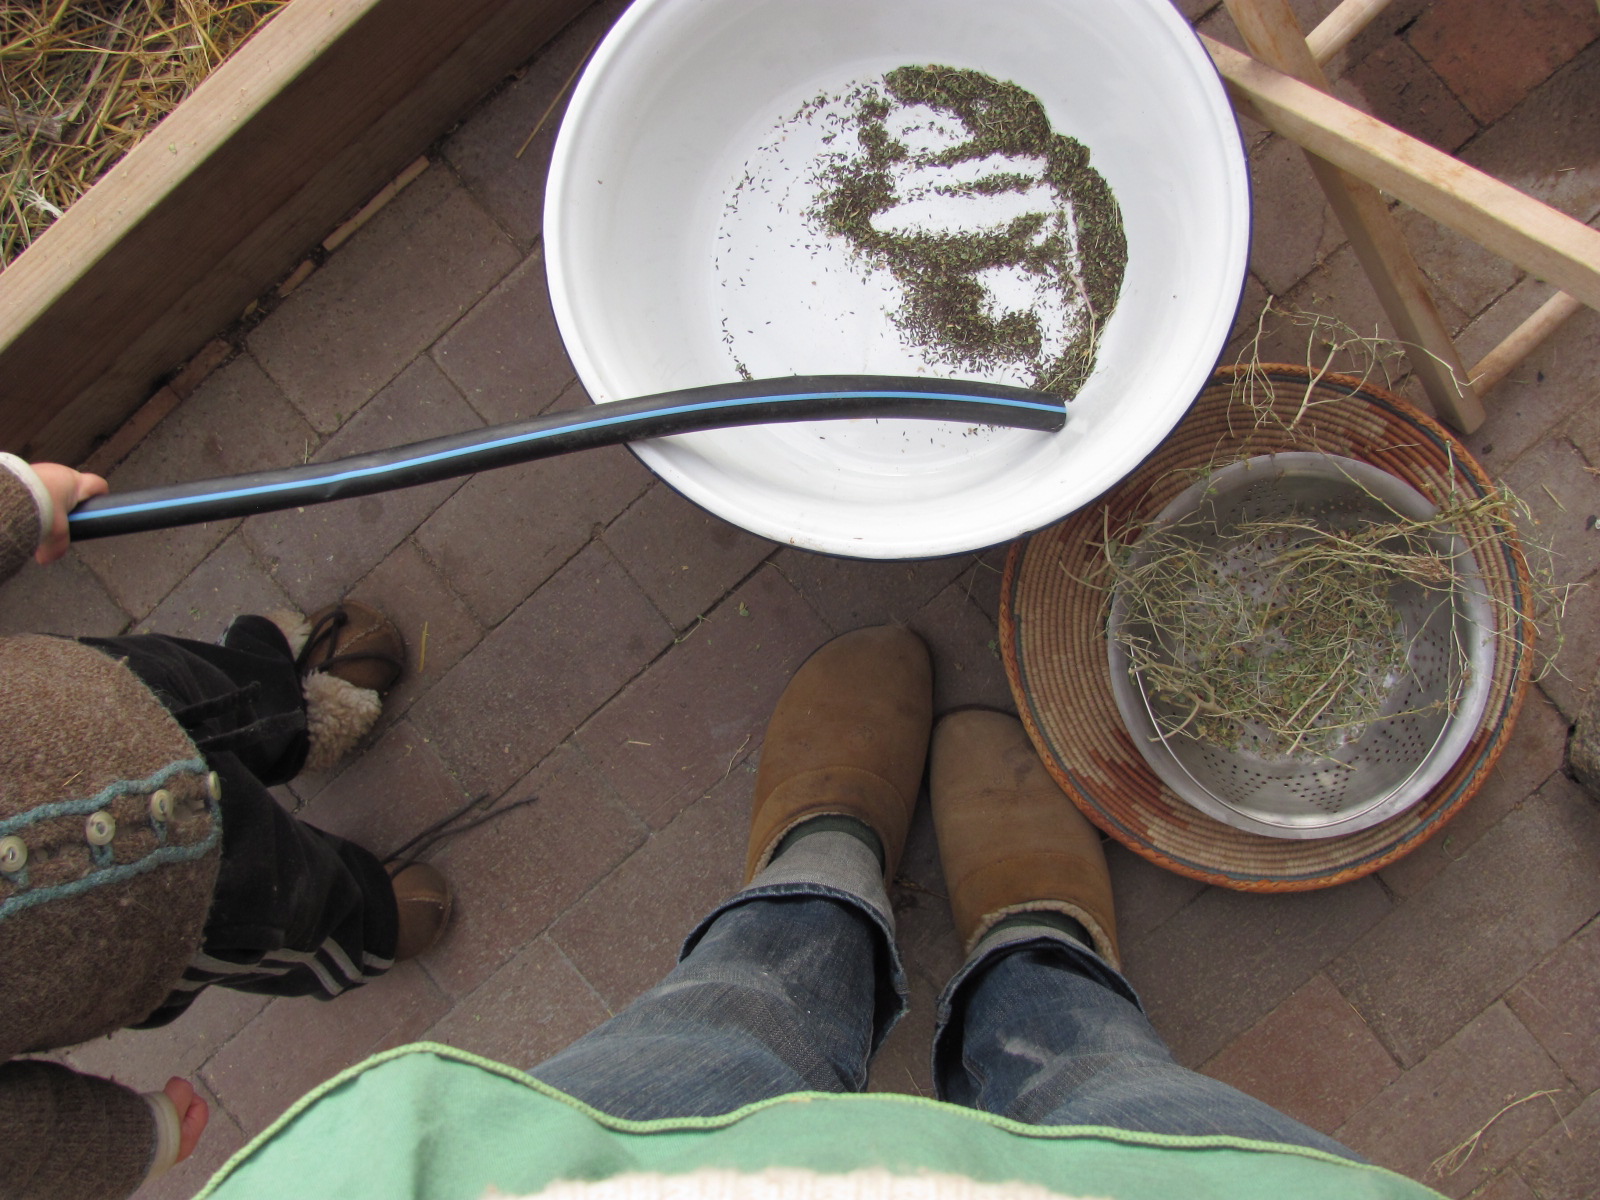
Jangy and I started on cleaning my bags and bags of seeds yesterday in the greenhouse..let’s just say seed cleaning with a 20 month old is…interesting. But we got a bunch lettuce seeds and they went right back into a flat sown on the first Leaf Day of the Year!! (the 7th) along with some spinach and sprouts– indoors of course.
We also got to work on trying to de-ice my little hooped lettuce beds. I am sure they are alright under there, snow is a pretty good insulator…..
But I simply can’t reach them to harvest. I put a few layers of plastic, one black, one clear. I am hoping with a few of these warmer days and some greenhouse action they will open for me. This what they looked like on Christmas…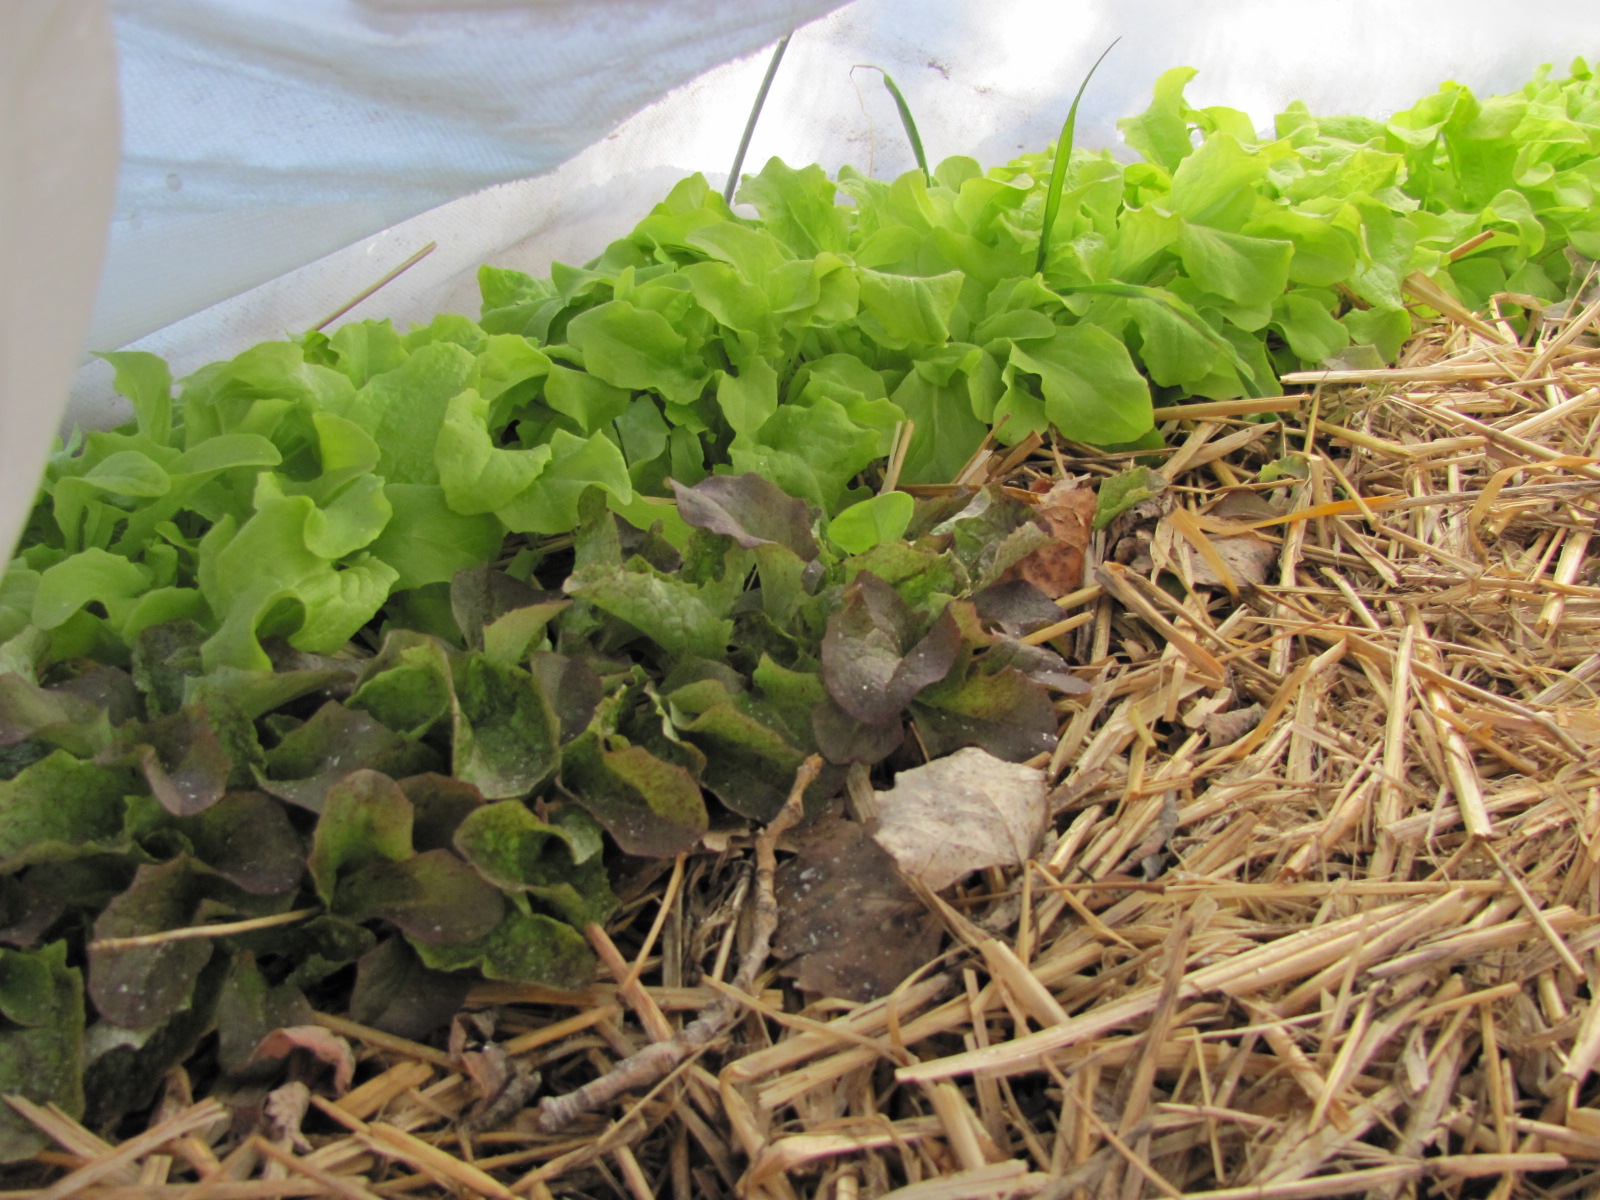
Hang on little guys, I will eat you up soon!!( or I could just wait and let them grow even more, but they look so good don’t they).
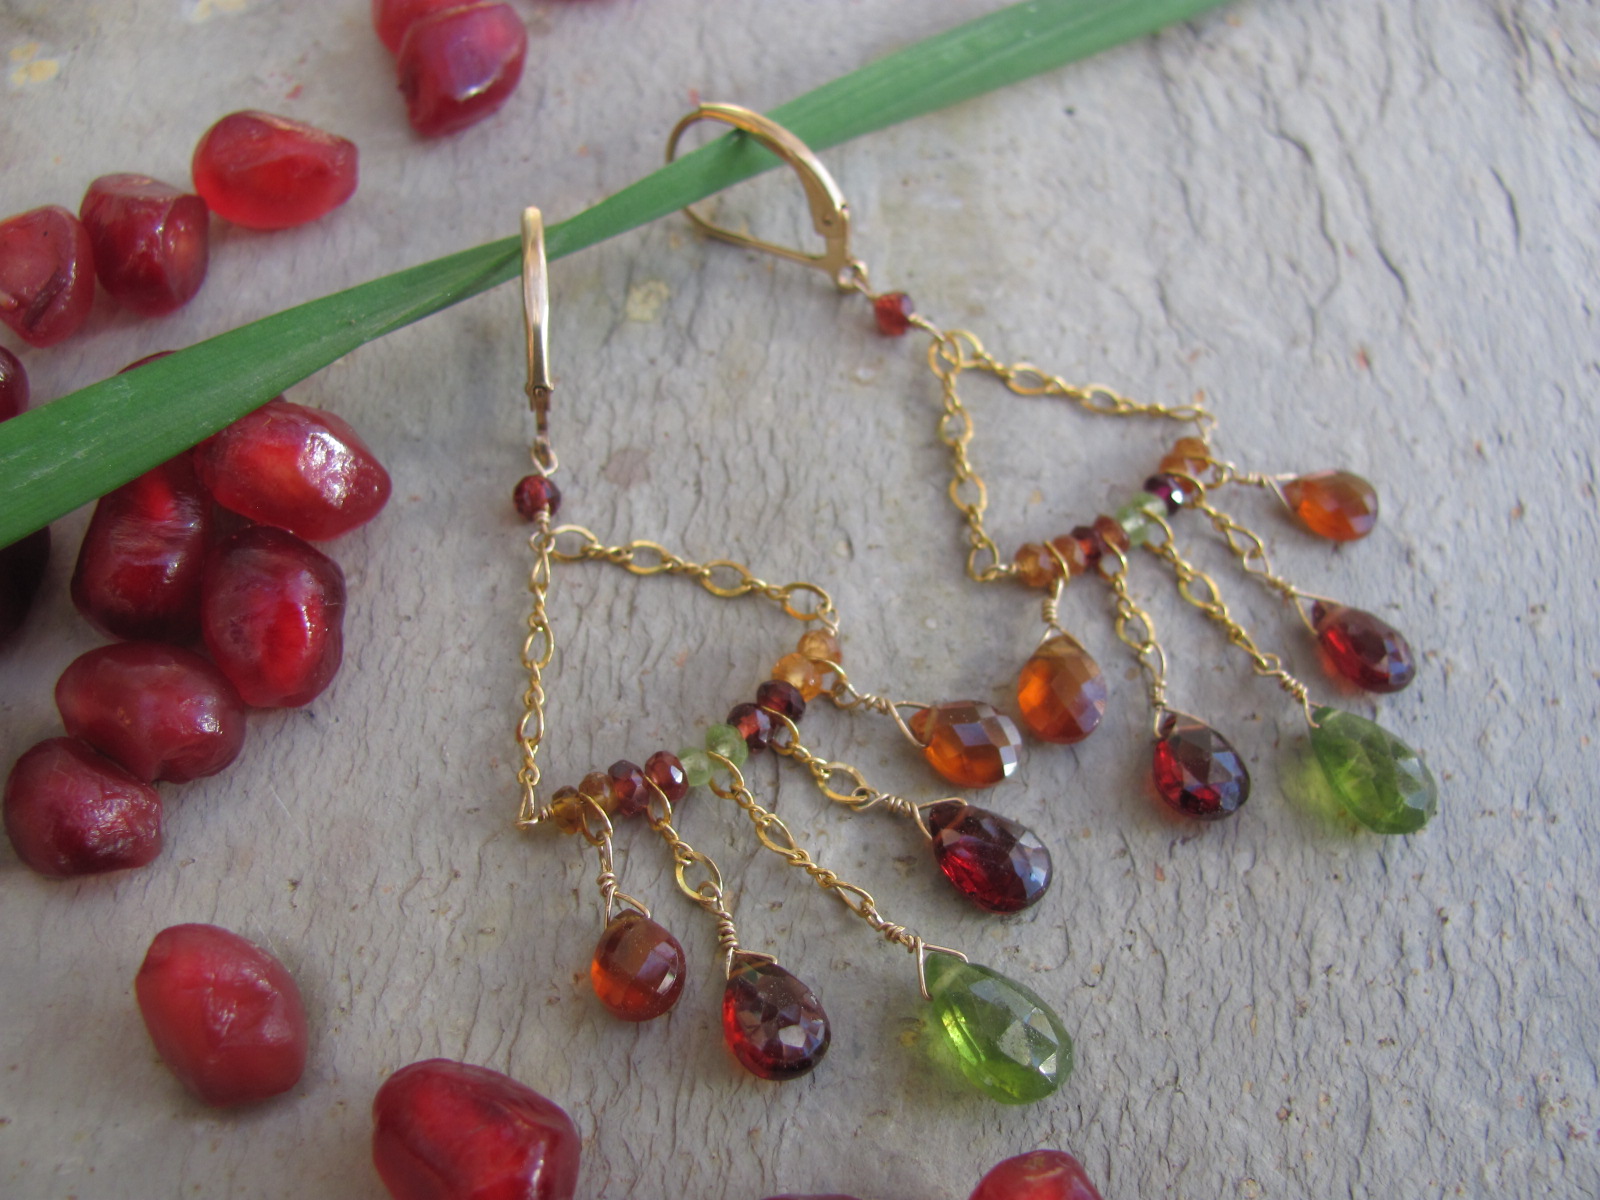
I am also trying to post a bunch of new jewelry on my Etsy page
Oh and attempting to ritualize an awesome yoga class into my life…..Here’s to a new start and good intentions! What are you sprouting up this year?
The Tomato Report
As the first frost looms around us, threatening to nip my tender garden with it’s frigid fingers any night now…..and I am having a hard time letting go. You may already know, my tomatoes are overly doted upon, but to me everything I have given them has been worth it. It all started way back in January you see, sowing those baby seeds, a bit early maybe, but I just couldn’t wait. I watering and pinching back flowers,

fertigating and tending to their care daily, and they grew and grew and grew

Until it was time to harden them off and send them out into the great wide world

Where a ceremonial garden once grew

…we rearranged things a bit to accomodate our growing family of vegetables.

Wheel burrow upon wheel burrow of yummy Soilutions compost, bags and bags and bags of my neighbors leaves,
rototilling,

hand digging, fluffing, shaping of soil into beds…..

drip tape irrigation,

Finally planting them loving into the well prepped earth

Mulching like crazy

Even laying tiles in the paths for solar/rain collection as well as for walking…excessive maybe, but I had them laying around

staking,

tying & pruning & training

And of course the waiting……
And then one fine, late July day, they started to come on.. pound by pound….

…..by pound
.
Well paced, but incredibly abundant!!

And boy were they good! It was all worth it!
There were a few problems of course, like blossom end rot

And some serious cracking

But I still ate them of course

and sauced and roasted and stewed them —
125lbs pounds of ripe gorgeous tomatoes to date, and at the looks of things I might still be in for plenty more.

You see, my husband decided he could whip a little hoop house over them to protect them from frost and help them ripen.

I thought he was crazy at first,I mean they are over 6 feet high by now… but of course, whip on up he did.

With 8 cattle panels, contractors plastic

an old post from a stop sign & some scrap lumber made into a ridge pole, some bailing wire and some of those cool paper fastener things….
Amounting to about $275 and 2 afternoons… we got ourselves and hothouse baby!!

And hot it is, steaming in fact, so much the tomatoes were sweating and my camera was clouding up.

It is all an experiment of course, I have no idea how it will all end, but I do know it sure was tasty fun and I will let you know when they finally fade,
but for now….no frosty nights for these girls!
All Prepped up and ready to Sow!

This watery full moon in Pisces brought me back to the garden, knowing it would be one of my last chances to plant fall greens, I went at it with great gusto. Though not a great time to harvest roots, I simply had to make room in the garden for greens so I dug up a potato row, planted around St. Patty’s Day. It was a beautiful harvest, perfectly rain moisten soil, cool air and sunshine on my back, baby and daddy sleeping and just me and the mother earth..and 16lbs of perfect plump taters…

After I dug, I sprinkled a nice layer of compost I had stashed from this spring onto the bed

And then the Zen art of raking a bed, brought me back to my days at CASFS, where I studied gardening as a fine art. We would spend what seemed like hours, leveling and raking the beds, so they were perfect plane and the very finest of tilths.

The finer and fluffier the bed is, the easier it is for those tiny seeds to nestle in and take root.
Then I laid down the drip tape and made little furrows along it for my seeds

Tucking in so tenderly the last lettuce of the season

Ahh.. nothing like the joy of seeds well sown. I covered them with a thin layer of straw so the birds wouldn’t get them too quickly, and of course to keep the freshly raked soil nice and moist and warm. I also placed 19 gauge wire hoops over it, for when I cover them with row cover when the cold does come..and they act as a good baby deterrent too, though he was not too happy about not being able to walk on my perfect bed..

Ok big watery harvest moon, rain down and let’s get one more salad crop out of this season.
Preserving the Harvest
So much to do so little time!! The tomatoes are coming on full force, the basil is bursting, the apples are ripening…No time to write about it all, barely time to do it!!
But then I realized, I don’t have to. Inspired by one of my new favorite Blogs Small Measure, I have decided to just send you straight to wonderful, already written blogs about how to process and preserve your harvests.
So here are some ideas about….

What to do with abundant Cucumbers

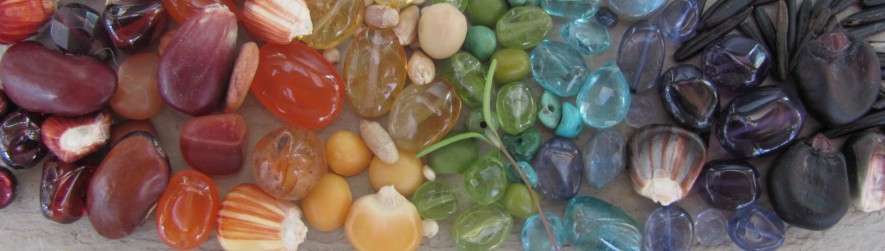
How to save Seed from Garden Vegetables

How to Process Tomatoes any which way

What to do with all those Apricots

And all those glorious Apples oh my!!

Oh and my personal favorite Bountiful Basil!
Happy Harvesting and if you do have extra bounty don’t forget to get your name on the list for the Santa Fe Harvest Swap
Bring on the Bounty & pass it along

The Tomato basket weighs as much as my baby!! (well almost!)
Oh the bounty of these days is so divine & delicious!! This must the best fruit year as long as I have lived here in the high desert and I am buying stock in the Ball Jar company right now! No, Not really, but I am stocking up as well as co-planning a local harvest swap with my Radical friend Kyce. This is not a new idea, people have been swapping their bounty, well forever, and the new wave of happy homesteaders are doing this in cities all over the country, like here and here, with great success and tons of great resources like here. As far as I have heard, this will be Santa Fe’s First Harvest Swap.

Gathered from the garden, and that’s just today
It is open to all – though you must register here to save your spot – (the room is only so big). It surely will be a good time, just think a room full of canners, gardeners, seed savers, wild crafters, milk maids, foragers, and even a few hunters and their stashes! It is such a wonderful way to celebrate the bounty of our abundant desert, share the fruits of our labors, and experience a truly fair version of Fair Trade. To me this feels like a way to bring our work, our livelihoods and our hearts together to eat, swap and be merry.

Better make room in the pantry for more jars, oh my!!
So here is the official invitation, Come join us!!
Dear Fellow Preservers of the Harvest,
You are cordially invited to a Delectable Harvest Swap in which the bounty of our gardens, barnyards, orchards, and wild lands will be celebrated and shared.
Consider this your advance notice to put up extra of whatever putting up you do. Bring that extra bit you know you can’t use, and let it be your currency to barter your way to a dream pantry while spending a morning amidst fabulous folk.
Wondering what to bring?
Whatever you’ve canned (according to Dept. of Ag regulation specs, please!)—chutneys, jams, fruit butters, sauces, salsas, whole fruits, pickles, but also vinegars, condiments, fermented fare, dried fruits, cider, chiles, and garlic.
Not a big canner? How about baked goods, salves, tinctures, honey, soap, seeds, dried culinary or medicinal herbs…or whatever your homemade, homegrown, or wild harvested specialty is. Oh, and don’t forget pumpkins, cabbages, and other fresh fall crops.
Register here: Santa Fe Harvest Swap
Learn more about food swaps here: Food Swap Network
As you can see I am very excited to swap, meet and eat the bounty of our harvests together, in the meantime, I’ll be out picking!!

Glistening Choke Cherries, one of New Mexico’s Finest Wild Offerings
